Virtual Robot - Creating a Two Robot Performance
Virtual Robot > Creating a Two Robot Performance
Contents
Introduction
This page is now out-of-date. For modern multi-robot performances (after summer 2018) please see: Virtual_Robot_-_Multi-Robot_Performances.
Animating a performance for two robots to perform side by side, requires some careful planning if they need to be synchronised with an audio track or each other.
Performances for two robots can be triggered on the fly using programmed buttons on the touch screen interface. Embedding an input in the timeline of a performance is also possible. This means robots can trigger sequences on each other, and complete performances can be designed using the 'add input' feature.
Sychronising Two Robots
If two robots need to interact, work out which side or direction Robot #2 will be in relation to Robot #1. Once this is determined, animating and synchronising each robot in VR should be quite simple.
The following guide explains a simple method to synchronise animation between two robots, playing independent sequences.
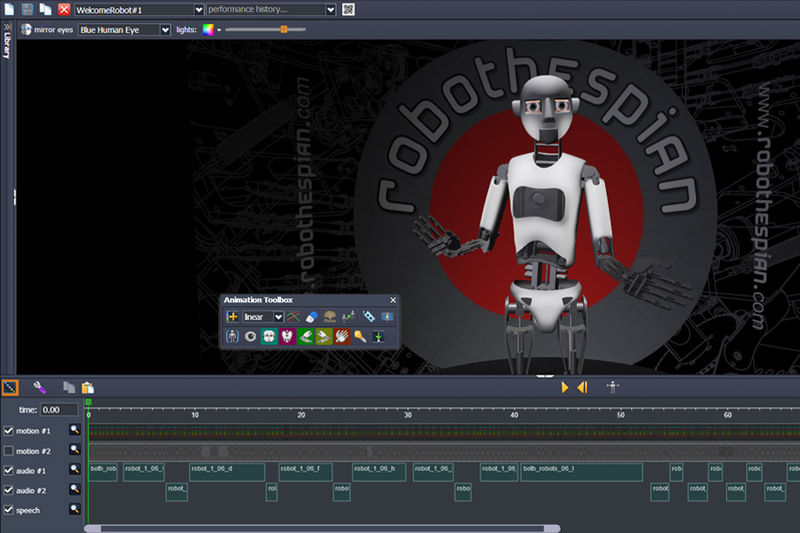
Add Audio
Add audio for both Robots.
- Robot #1 Audio on track "audio #1".
- Robot #2 Audio on track "audio #2".
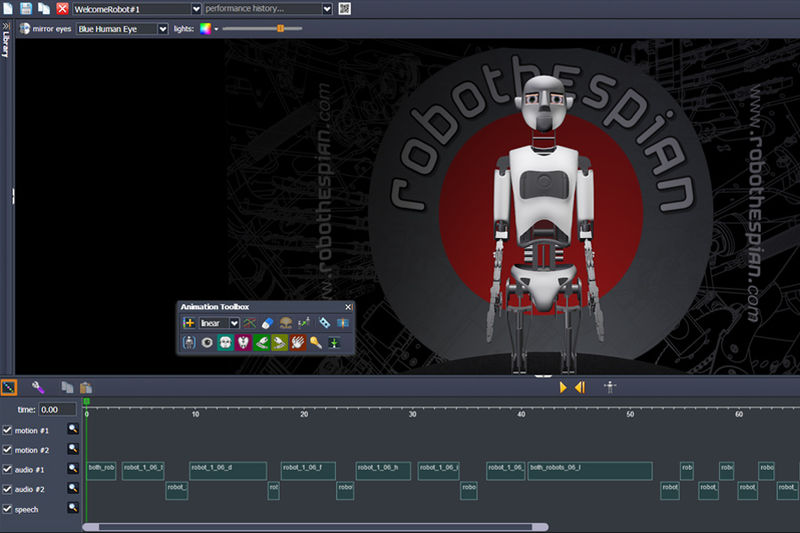
Animate Both Robots
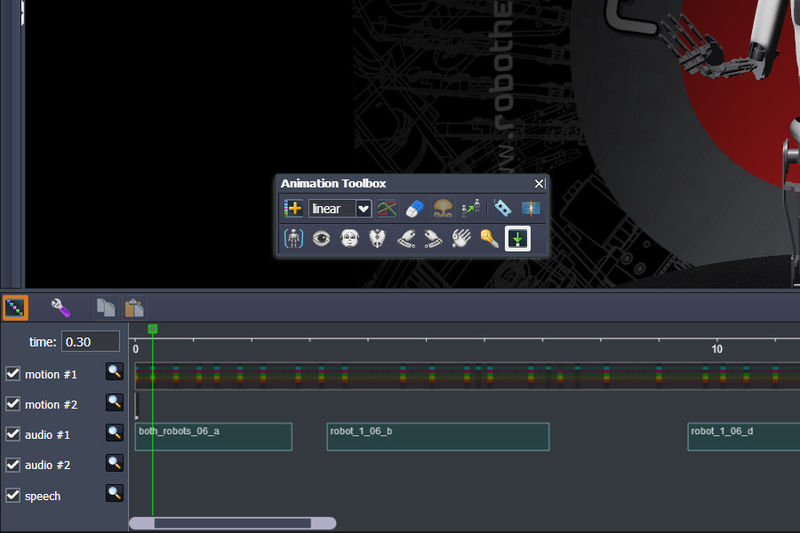
Animate each robot's body, keeping Robot #1 in "motion #1" and Robot #2 in "motion #2".
This keeps animation for each Robot separate, and allows you to toggle the tracks on and off to check synchronisation of movements if required.
Duplicate Performance
Once all the major movements are keyed and synchronised, duplicate this performance. Give the copy a sensible name (e.g. Welcome_Robot#2 , keeping the original file named as: Welcome_Robot#1)
Remove other Robot
Once you have my two files.
- Delete the animation and audio for Robot #1 from the performance for Robot #2.
- Delete the animation & audio for Robot #2 from the performance for Robot #1.

Make Unique
Now you should have two performance files with unique animation & audio, which is synchronised to the other robot. At this stage, continue working on each file, adding further animation detail, eye & lighting animation. Each sequence can then be deployed to each robot, and played as desired.
Add input
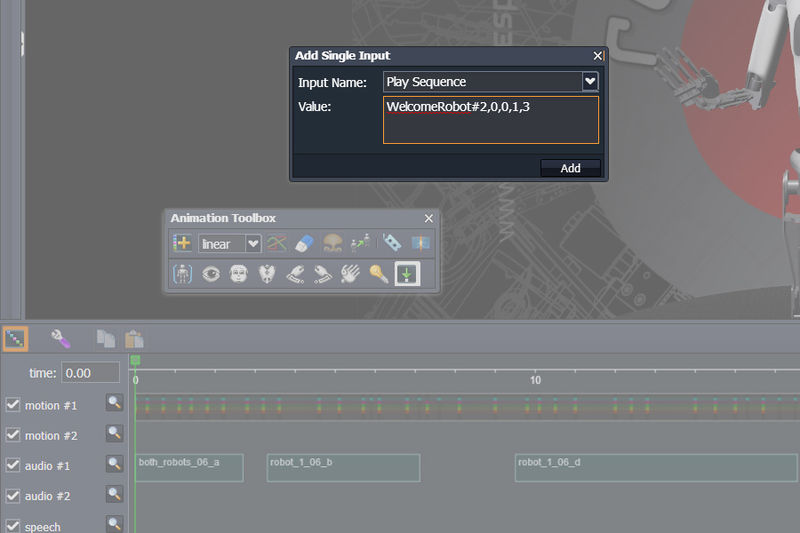
To play a sequence by triggering from within another sequence you will need to add an 'input' to the timeline you wish to trigger from.
- Toggle on the [8] play sequence button (in the VR toolbox)
- Position the timeline marker where you wish to add your input
- Click the 'add single input' button (small pop up dialogue window will appear)
- Enter the following information
- Input Name: Play Sequence
- Value: sequenceName,0,0,1,3
The values in the Value string are: sequence name,offset,length,loops,player id
- sequence name - name of the file you wish to trigger
- offset - delay triggering in milliseconds
- length - not yet implemented (keep setting to 0)
- loops - number of times you wish sequence/performance to loop
- player id- determines where the sequence should be played. For a 2 robot setup this would typically be 3 as in our example.
Keep in mind the player id may be different depending on how your Robothespian's are setup.
In the example above we have added an input on the first frame of Robot#1's performance. This will trigger Robot#2's performance.
Network setup
The robots trigger content on each other via their IP addresses. Robot 1 needs to be configured with the IP address for robot 2 and vice-versa.
Each robot will be assigned an IP by your own network or router. Please let Engineered Arts know the IP addresses of both robots so that they can configure the robots.
Please set your router to assign the same IP addresses each time. If the IP addresses are changed the robots will not be able to trigger each other.