File list
Jump to navigation
Jump to search
This special page shows all uploaded files.
| Date | Name | Thumbnail | Size | Description | Versions |
|---|---|---|---|---|---|
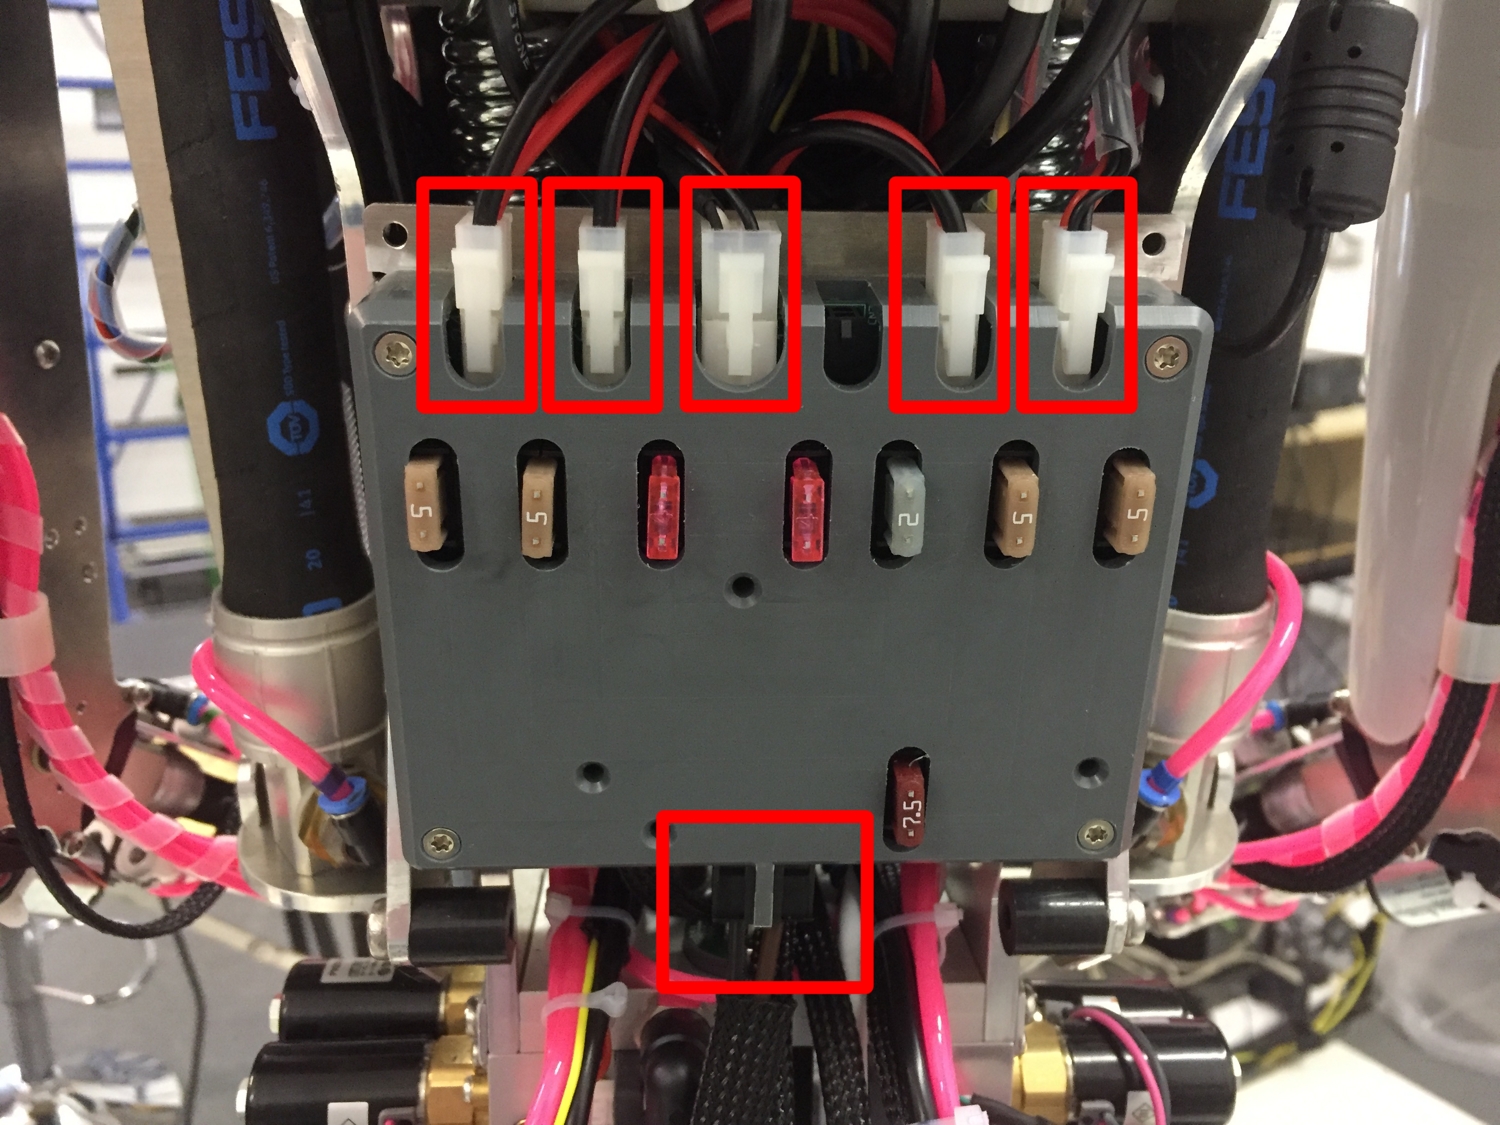
| 08:26, 1 November 2018 | Power-board-plugs.jpg (file) |  |
1 MB | Connections to unplug | 1 |
| 08:32, 1 November 2018 | Power board tilted.JPG (file) |  |
1.41 MB | The power board is backwards gently | 1 |
| 08:48, 1 November 2018 | LED Board Connections.jpg (file) |  |
940 KB | Order in which LED board is connected | 1 |
| 09:02, 1 November 2018 | Unscrew LED board.jpeg (file) |  |
991 KB | Unscrew these 4 bolts to remove LED board | 1 |
| 09:08, 1 November 2018 | Replace the LED board.JPG (file) |  |
932 KB | Replace the LED board | 1 |
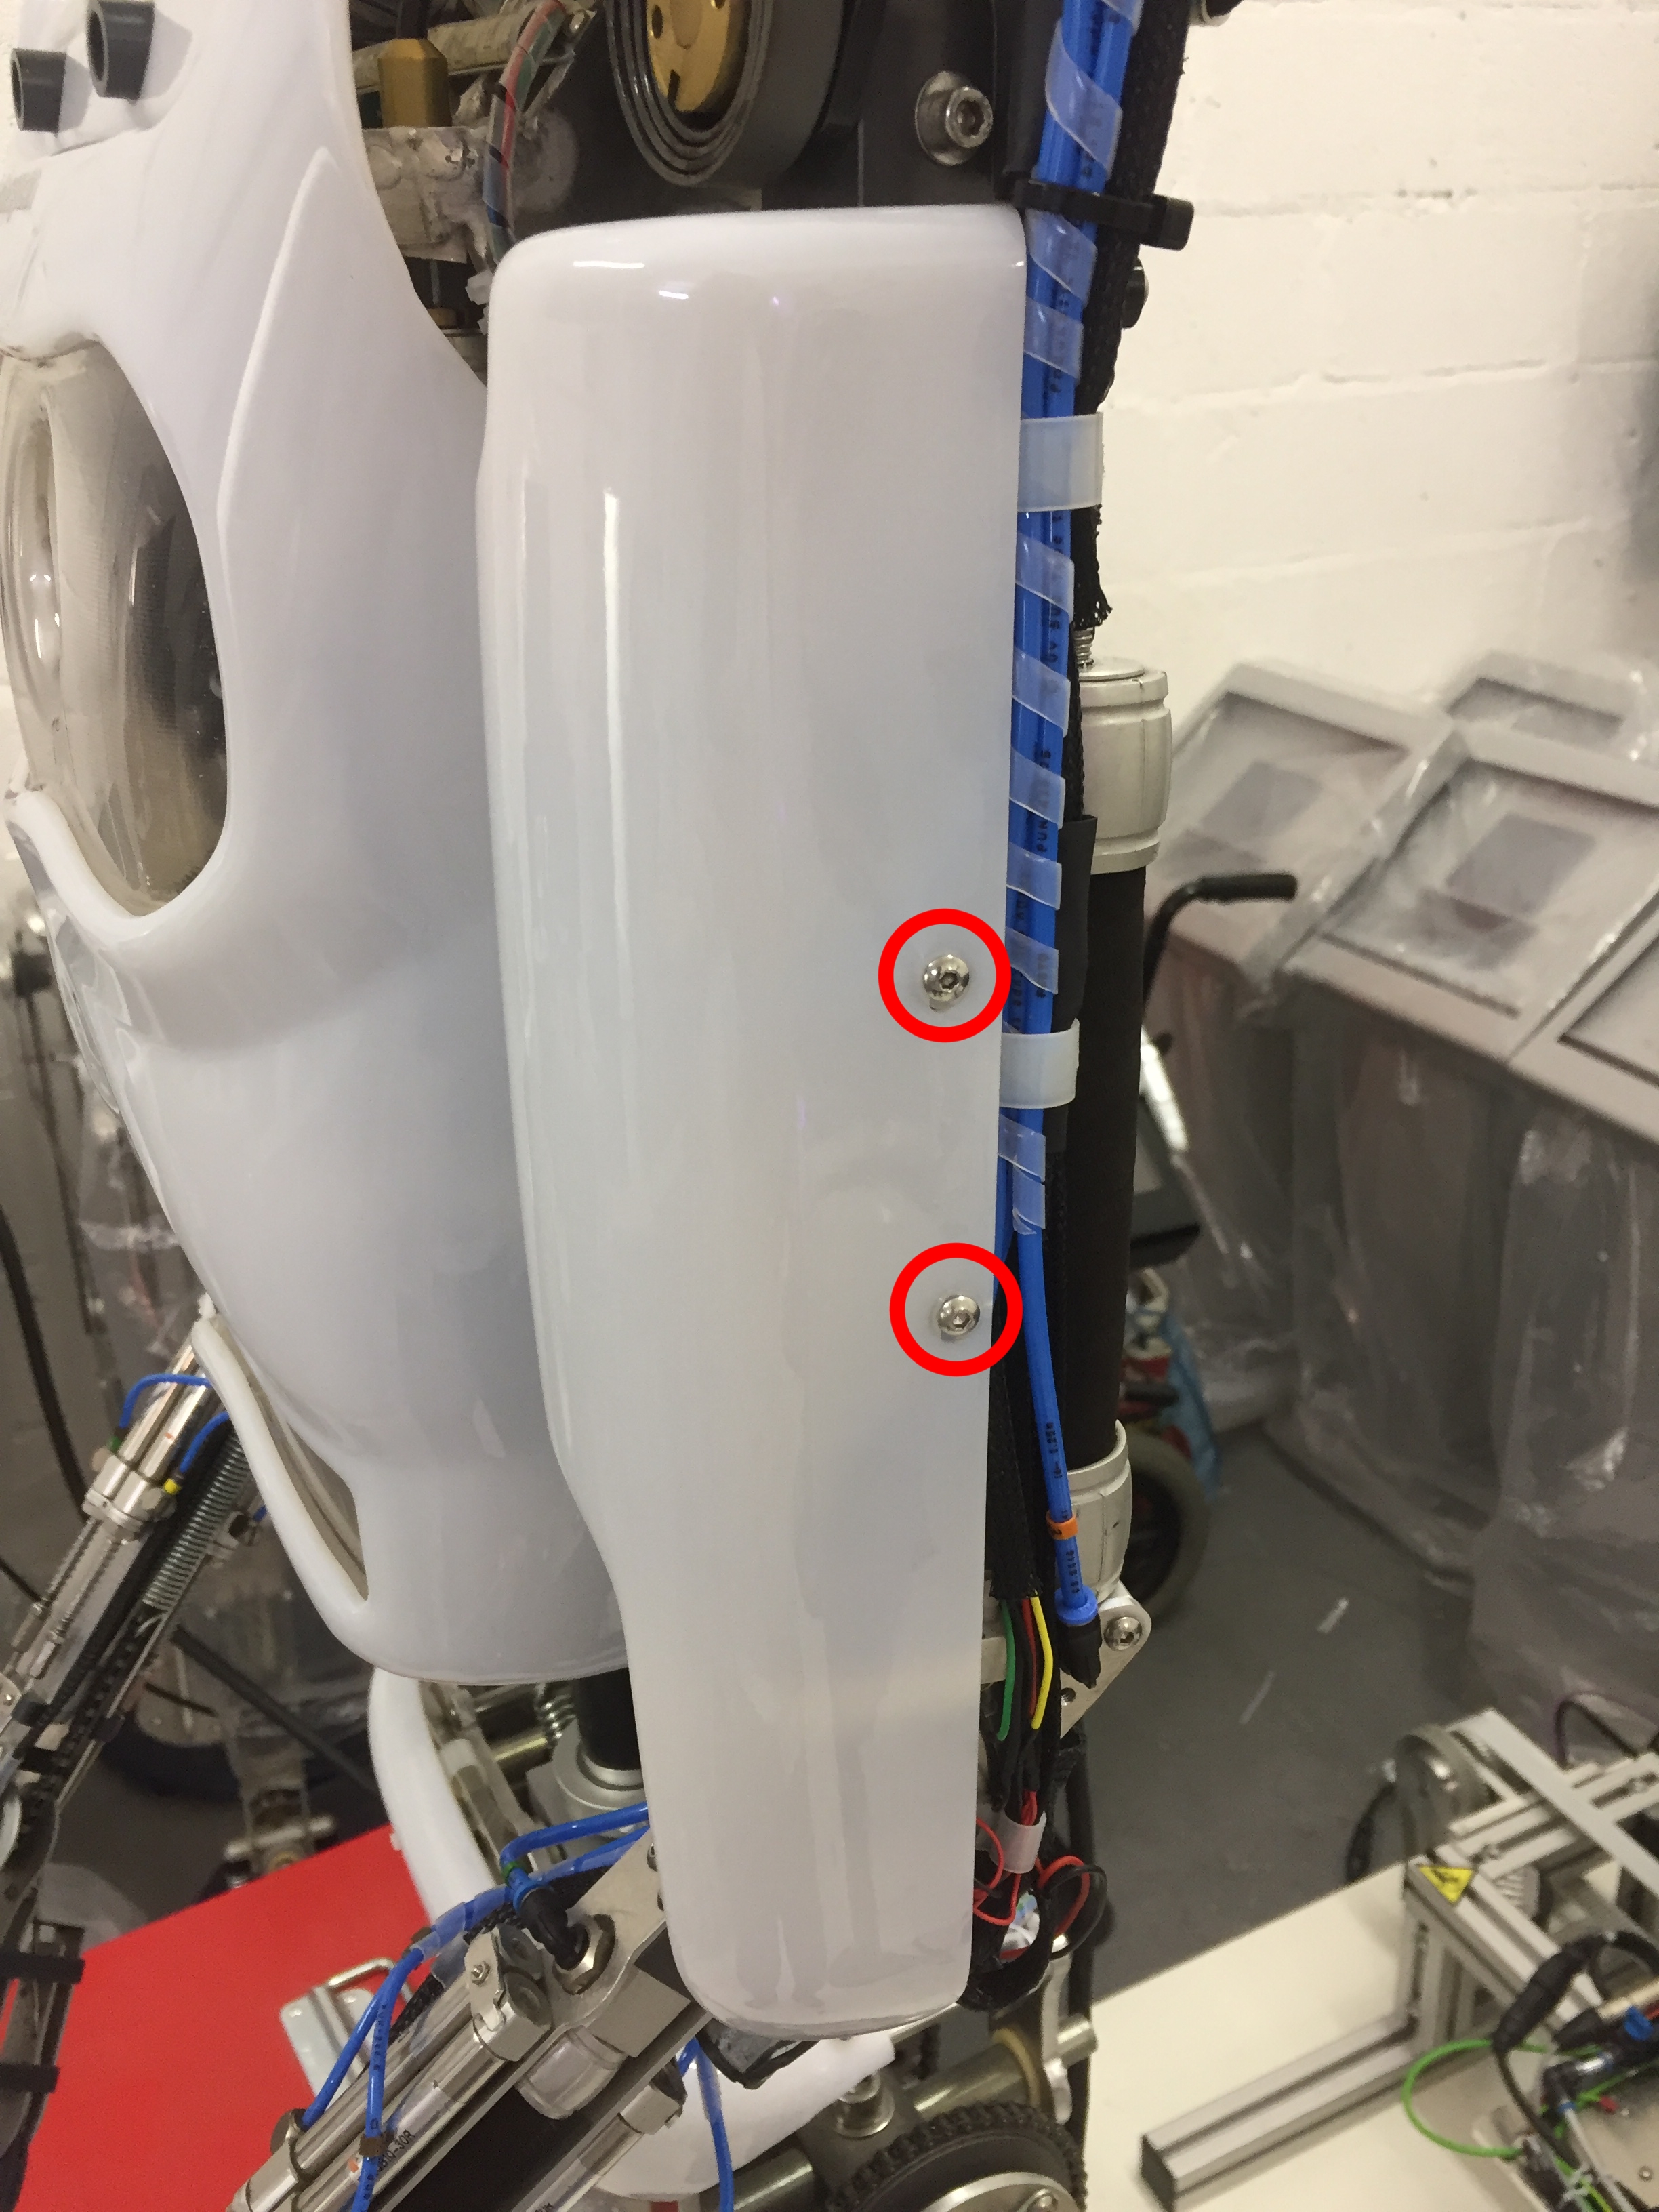
| 09:14, 1 November 2018 | Arm shell bolts.jpeg (file) |  |
1.09 MB | Remove these bolts | 1 |
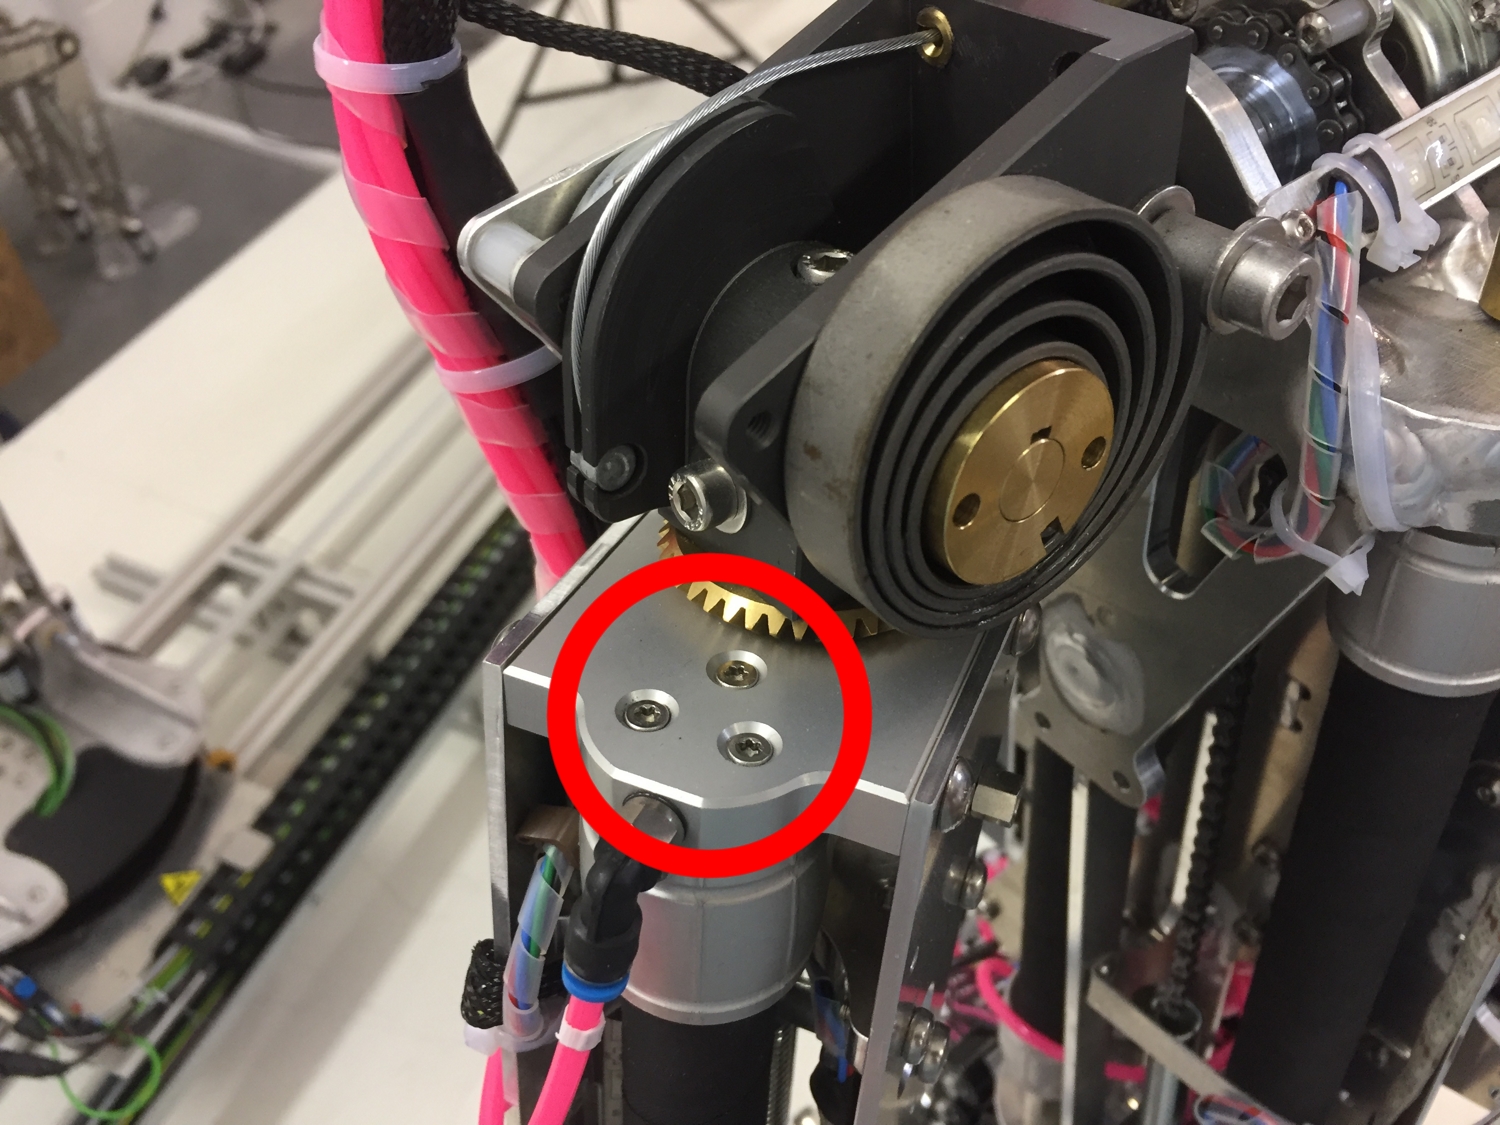
| 09:19, 1 November 2018 | Air muscle bolts.JPG (file) |  |
982 KB | Remove these 3 bolts to remove the air muscle | 1 |
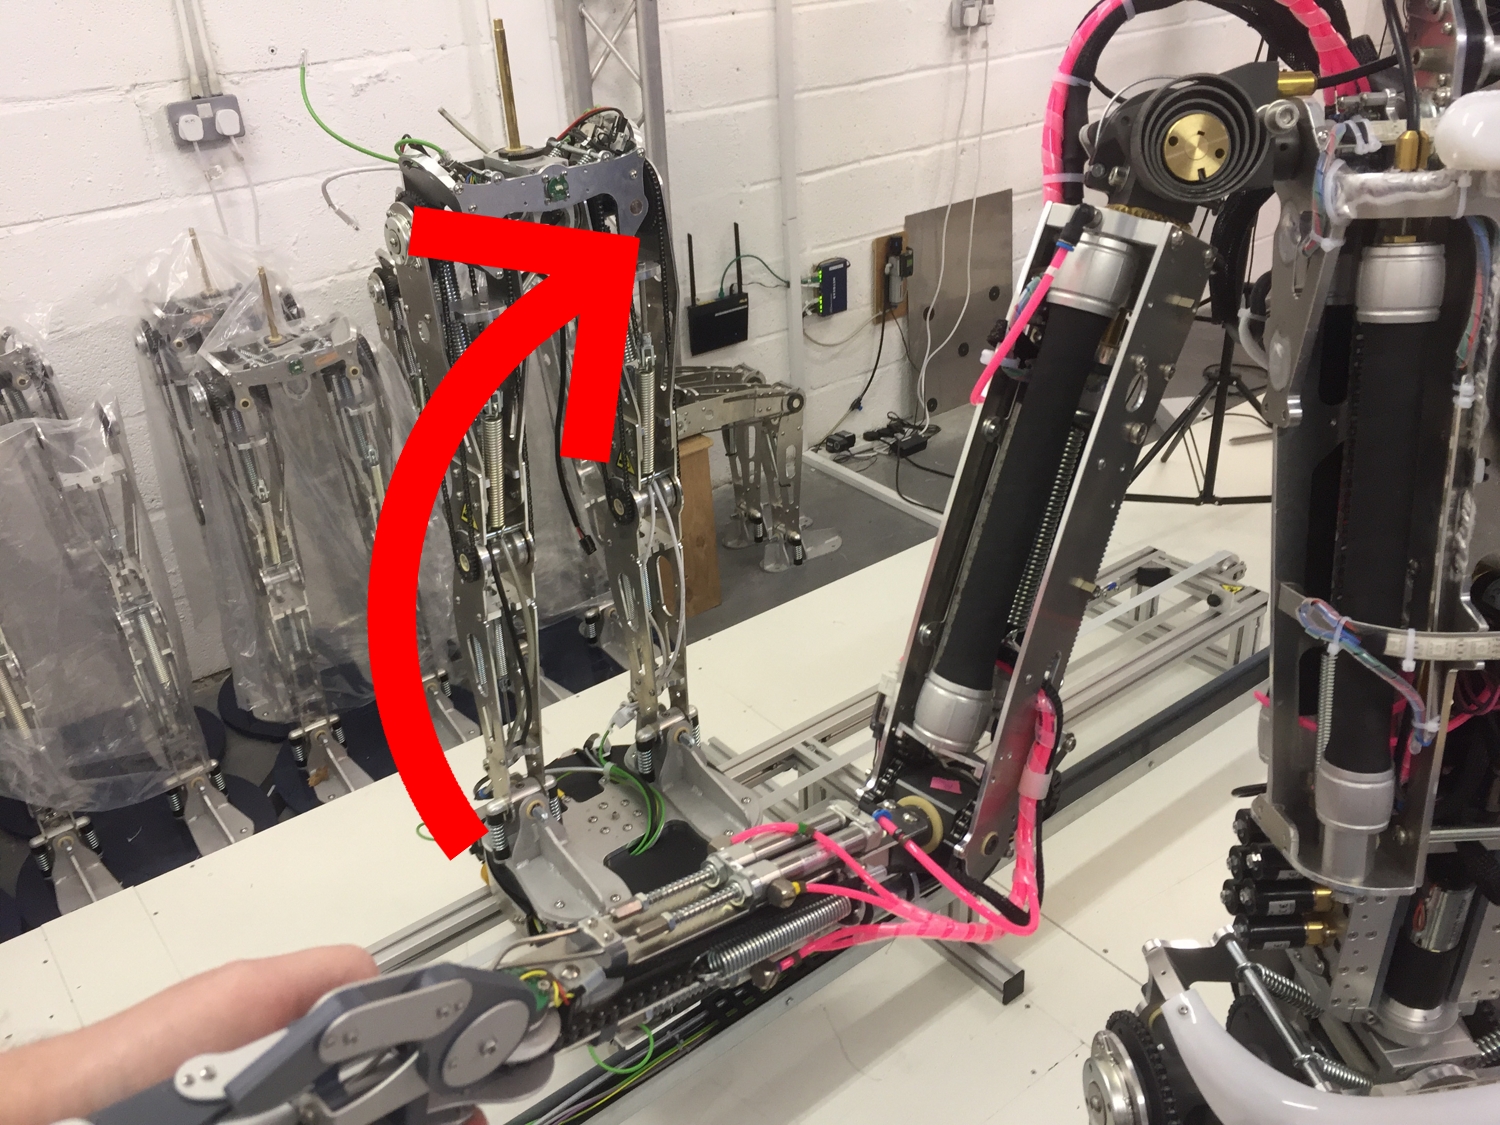
| 09:28, 1 November 2018 | Release tension.jpeg (file) |  |
1.12 MB | Raise the forearm to release tension in the air muscle | 1 |
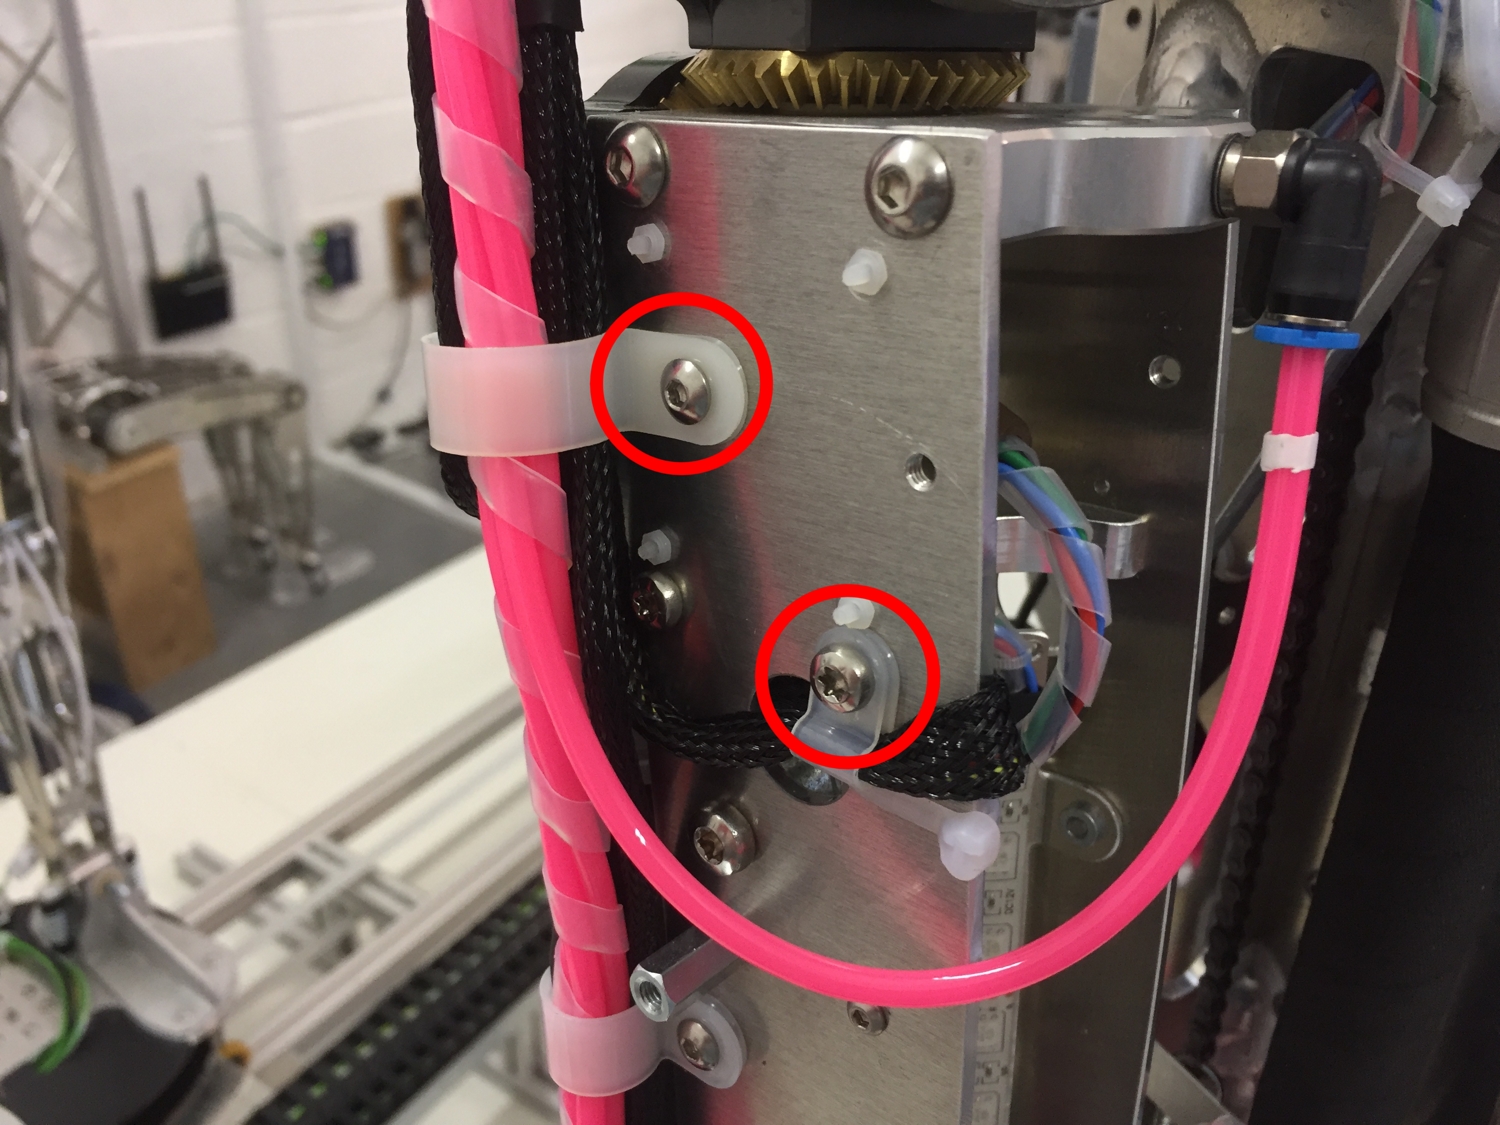
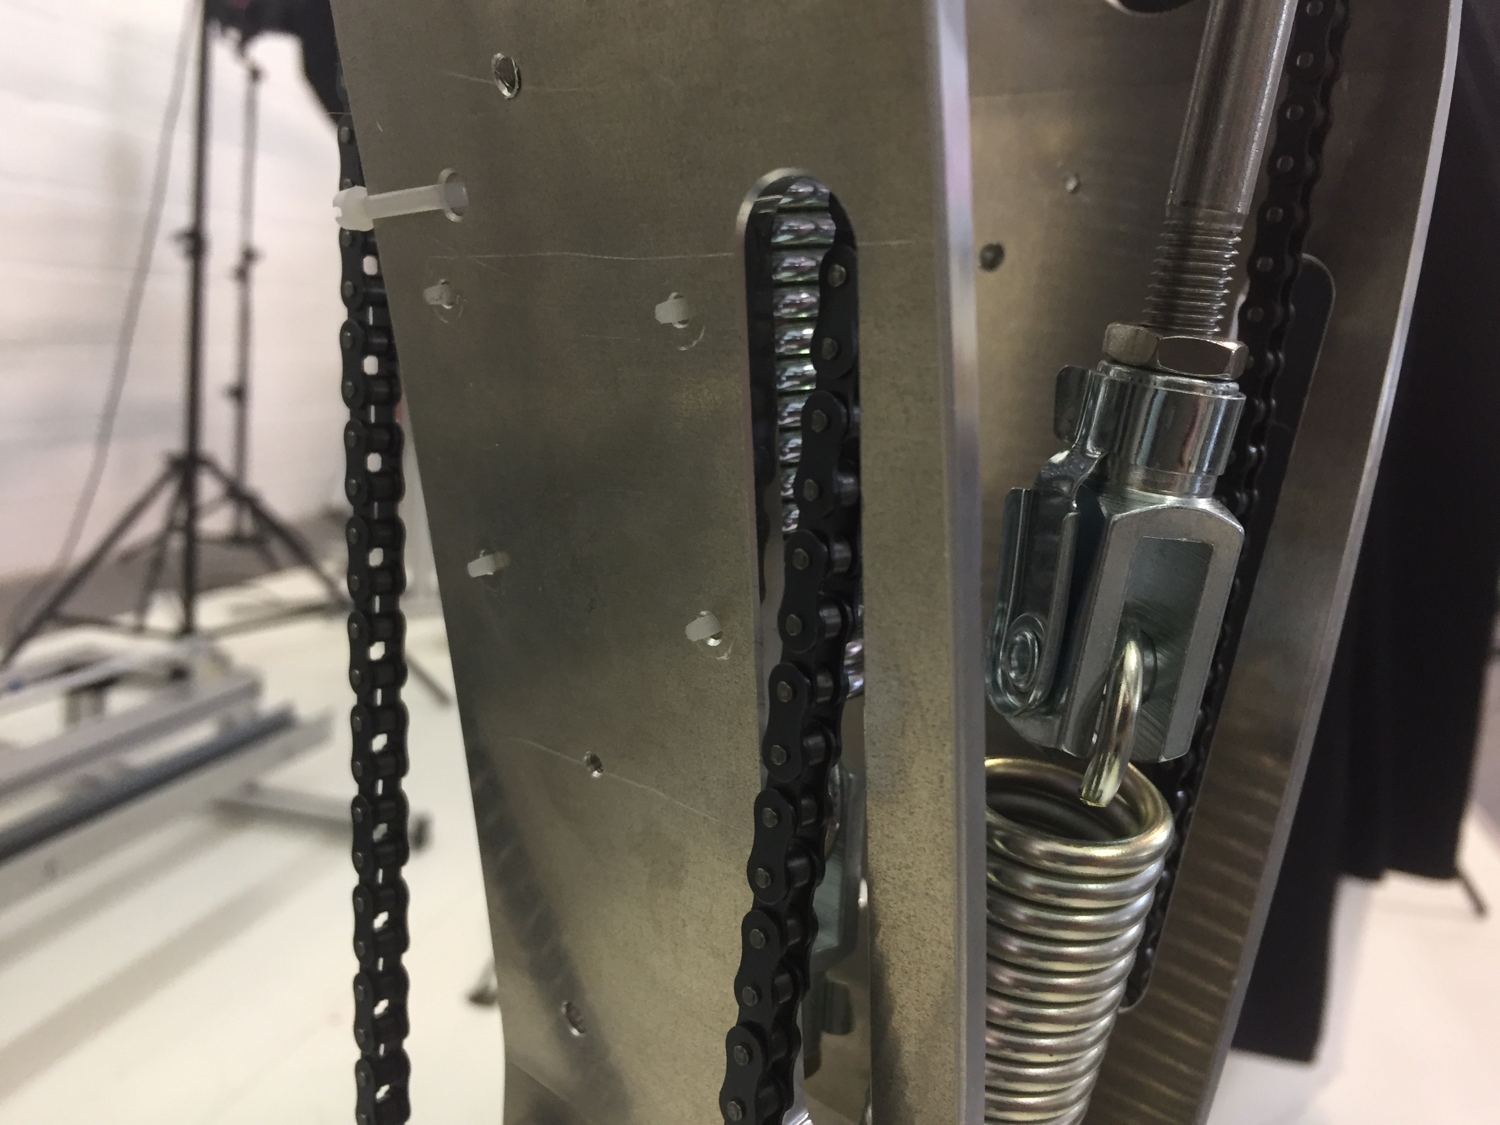
| 09:36, 1 November 2018 | P-clips.jpeg (file) |  |
960 KB | Remove these 2 bolts to move the P-clips out of the way | 1 |
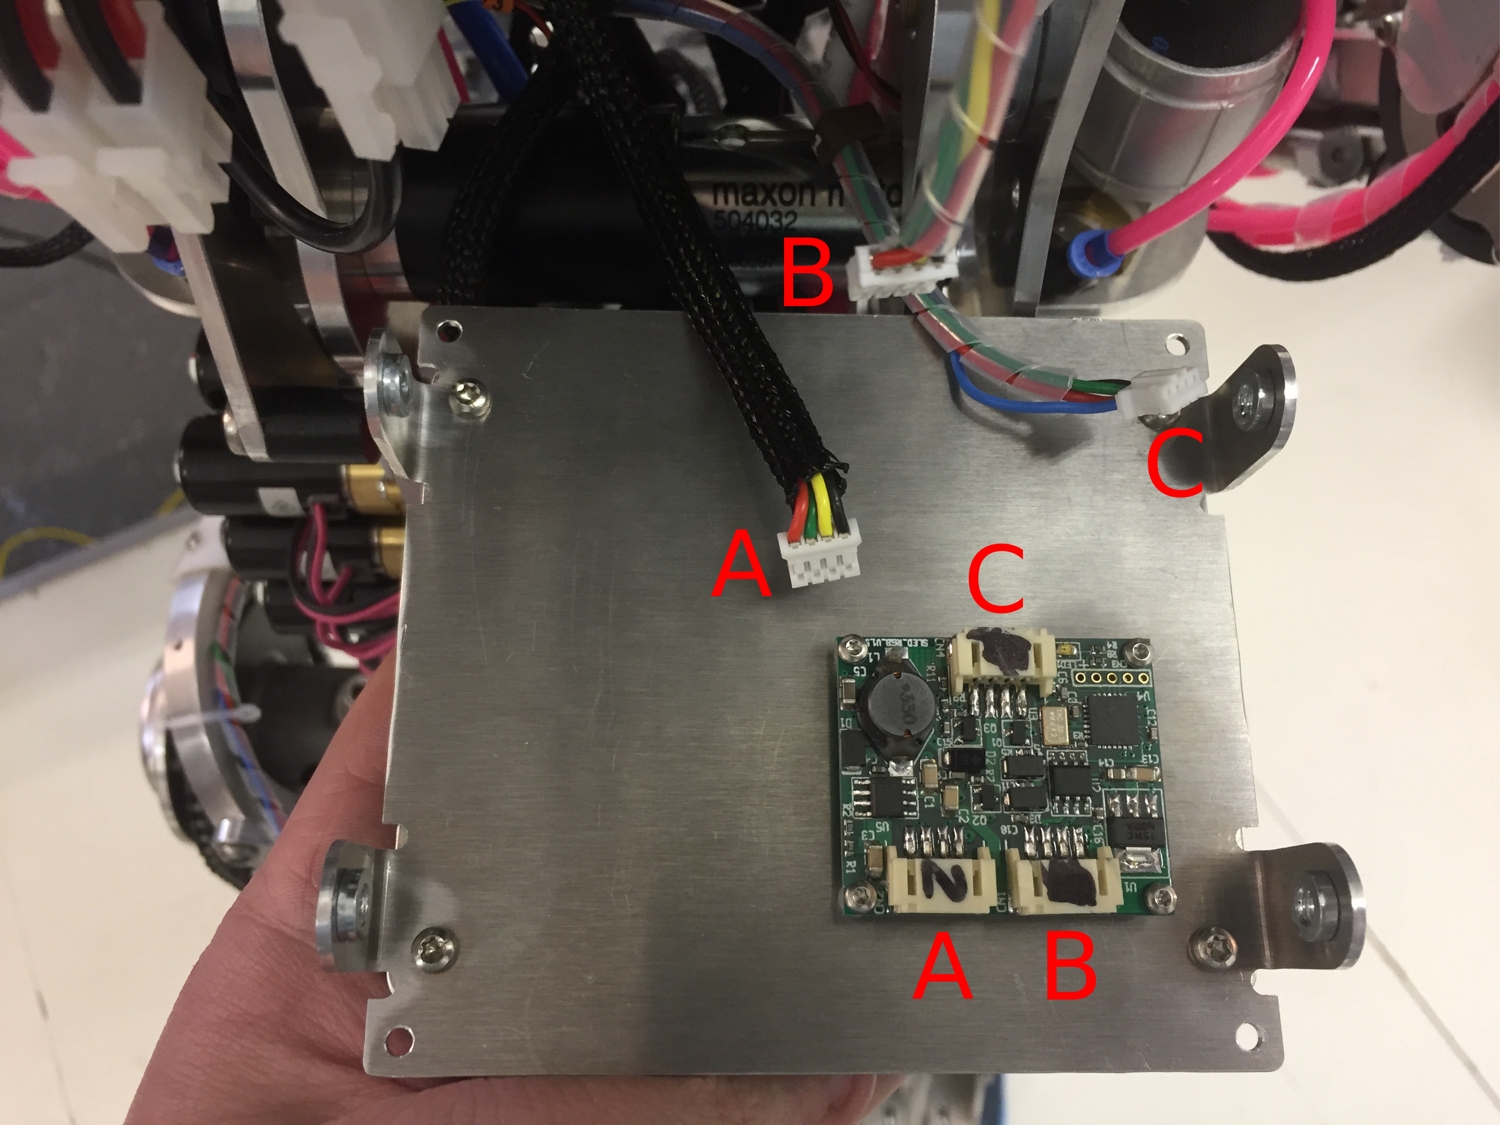
| 09:43, 1 November 2018 | Unplug Arm LED Board.jpeg (file) |  |
991 KB | Unplug the 3 LED driver board cables labelled A, B & C | 1 |
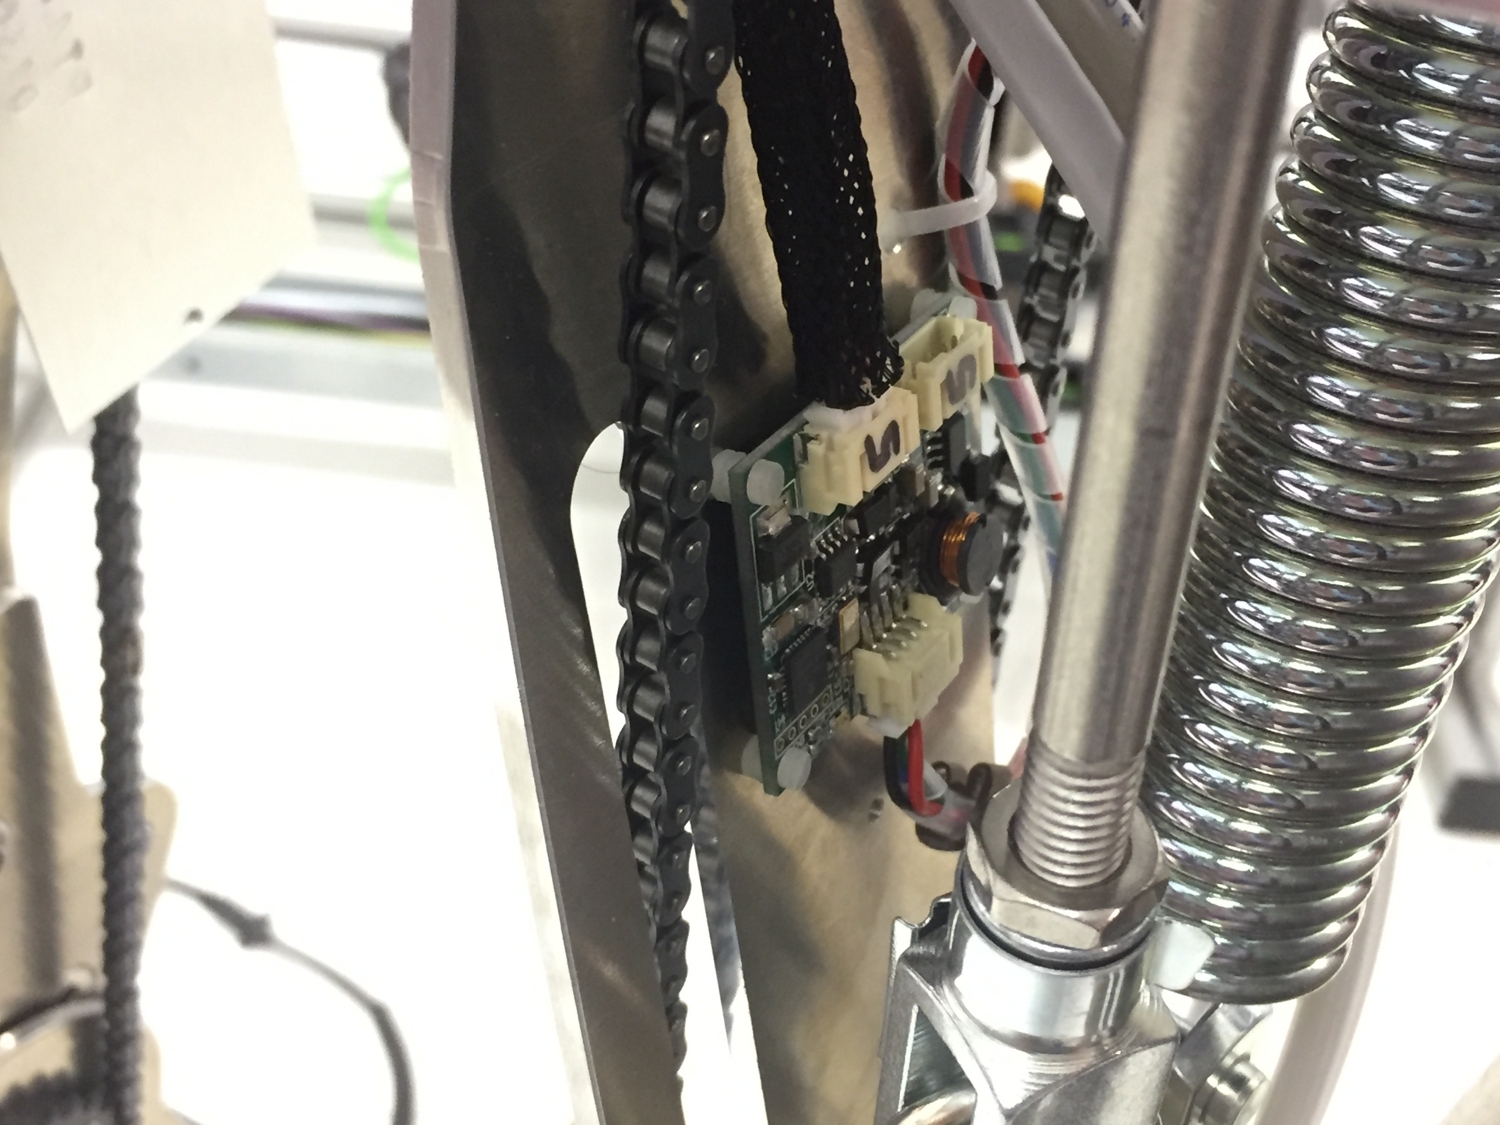
| 09:50, 1 November 2018 | Unscrew arm LED bolts.jpeg (file) |  |
954 KB | Unscrew 4 nylon nuts to release the LED board | 1 |
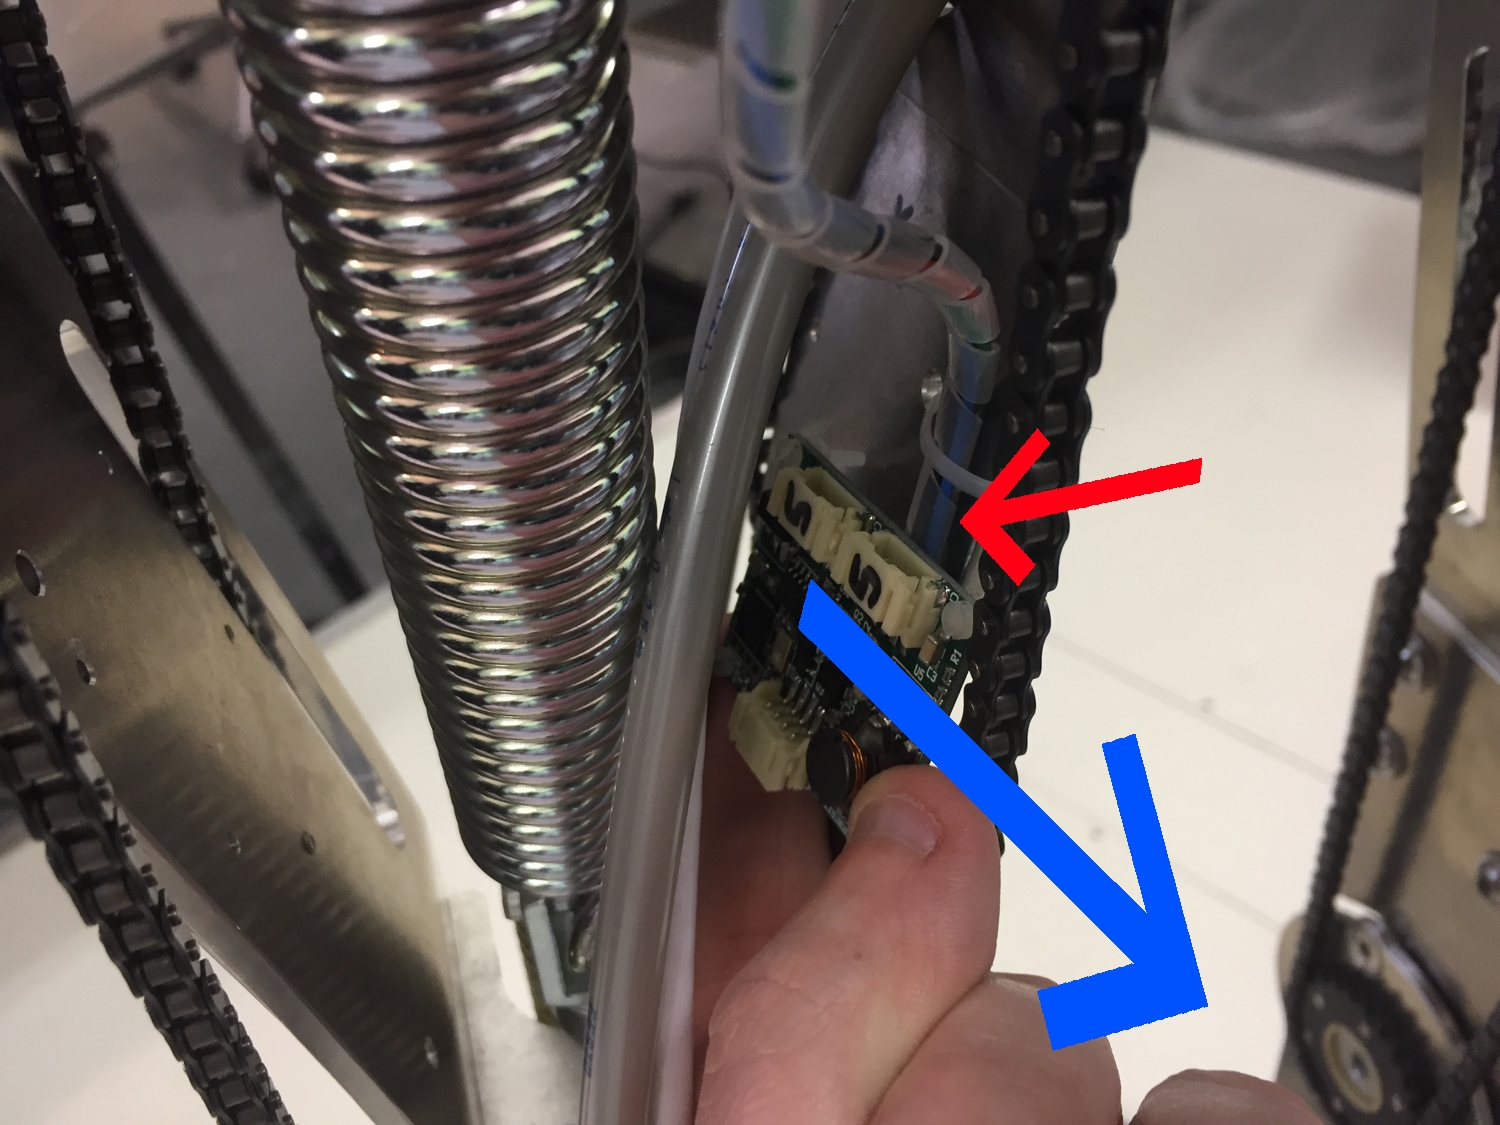
| 09:58, 1 November 2018 | Remove arm LED board.jpeg (file) |  |
935 KB | Remove arm LED board by first pulling the board out of the holes (Red) and then pushing the board forwards through the arm assembly (Blue) | 1 |
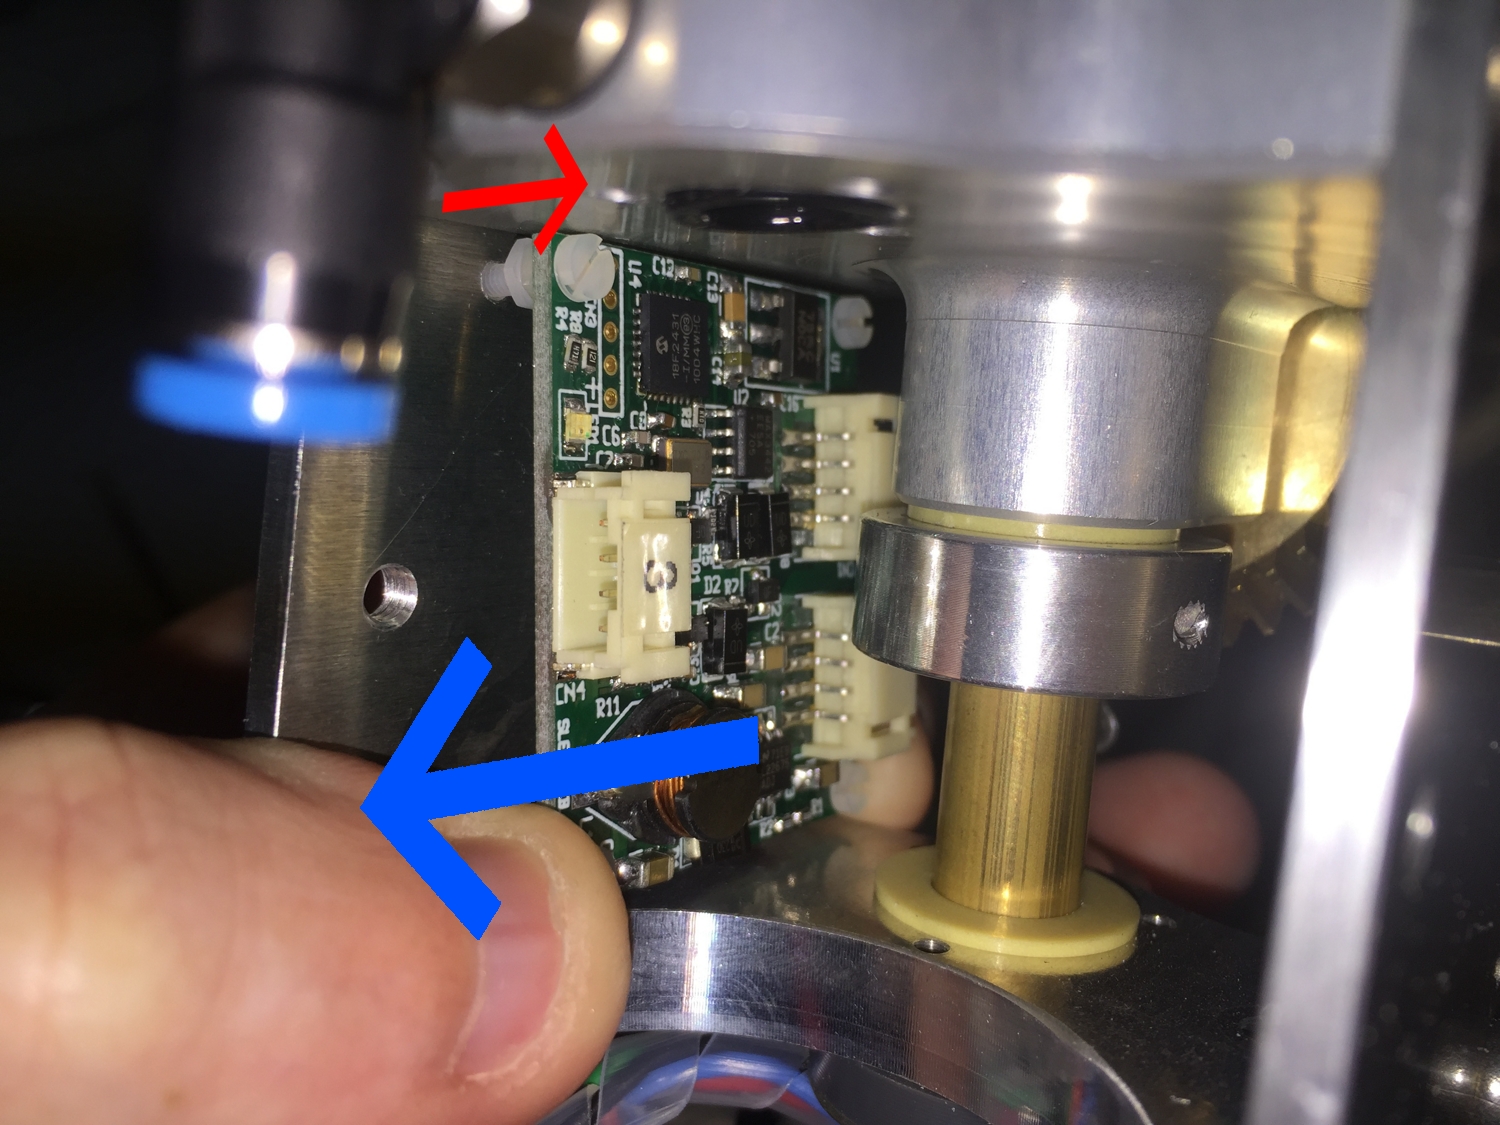
| 10:02, 1 November 2018 | Arm LED board.jpeg (file) |  |
798 KB | The arm LED board has 2 nylon nuts tightened against the board to act as standoffs and to stop the blot from turning when unbolting from the outside | 1 |
| 10:10, 1 November 2018 | Pants LED location.JPG (file) |  |
822 KB | The pants LED is located in the left leg of the robot | 2 |
| 10:13, 1 November 2018 | Remove pants LED nuts.JPG (file) |  |
903 KB | Remove the 4 nylon nuts to release the pants LED board | 1 |
| 10:19, 1 November 2018 | Remove pants LED board.jpeg (file) |  |
945 KB | Remove the pants LED board by first pushing it out of the 4 holes (Red) then pulling it out the back of the leg assembly (Blue) | 1 |
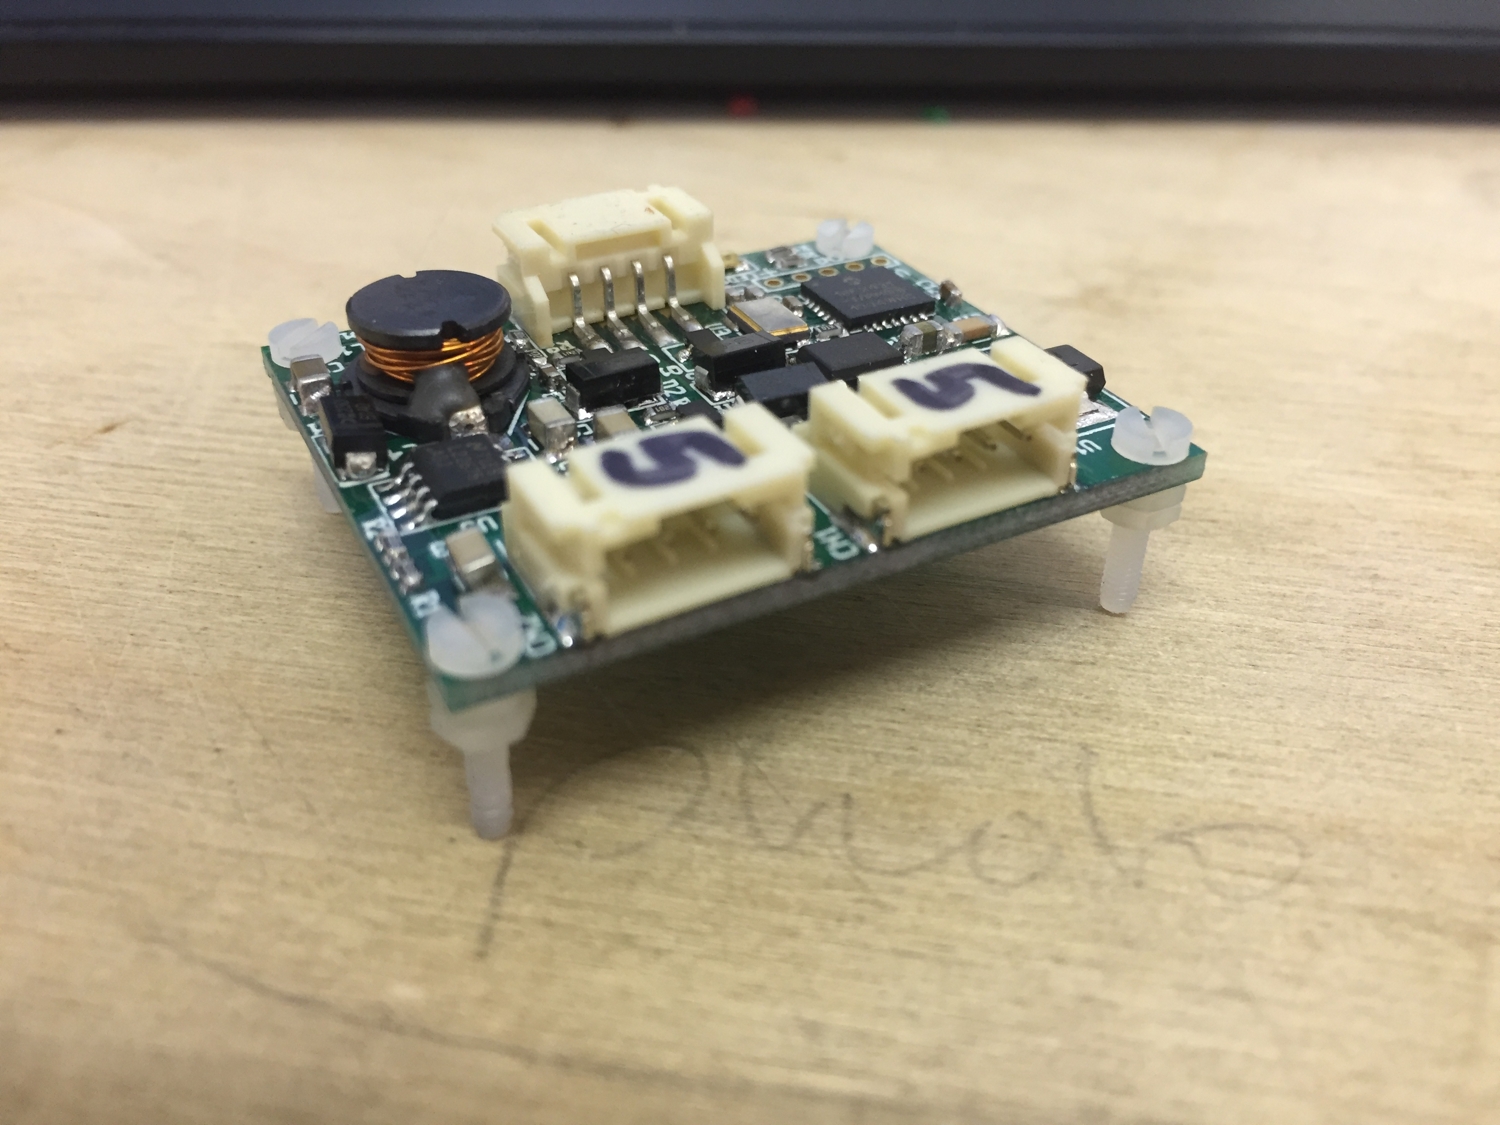
| 10:23, 1 November 2018 | Pants LED board.JPG (file) |  |
870 KB | Replace the pants LED board with another number "5" board, be sure to put the bolts and 8 nuts as standoffs back onto the new board | 1 |
| 11:20, 1 November 2018 | Align back shell.jpeg (file) |  |
1.43 MB | Align the back shell with the front shell, the back shell should clip into the bracket as shown | 1 |
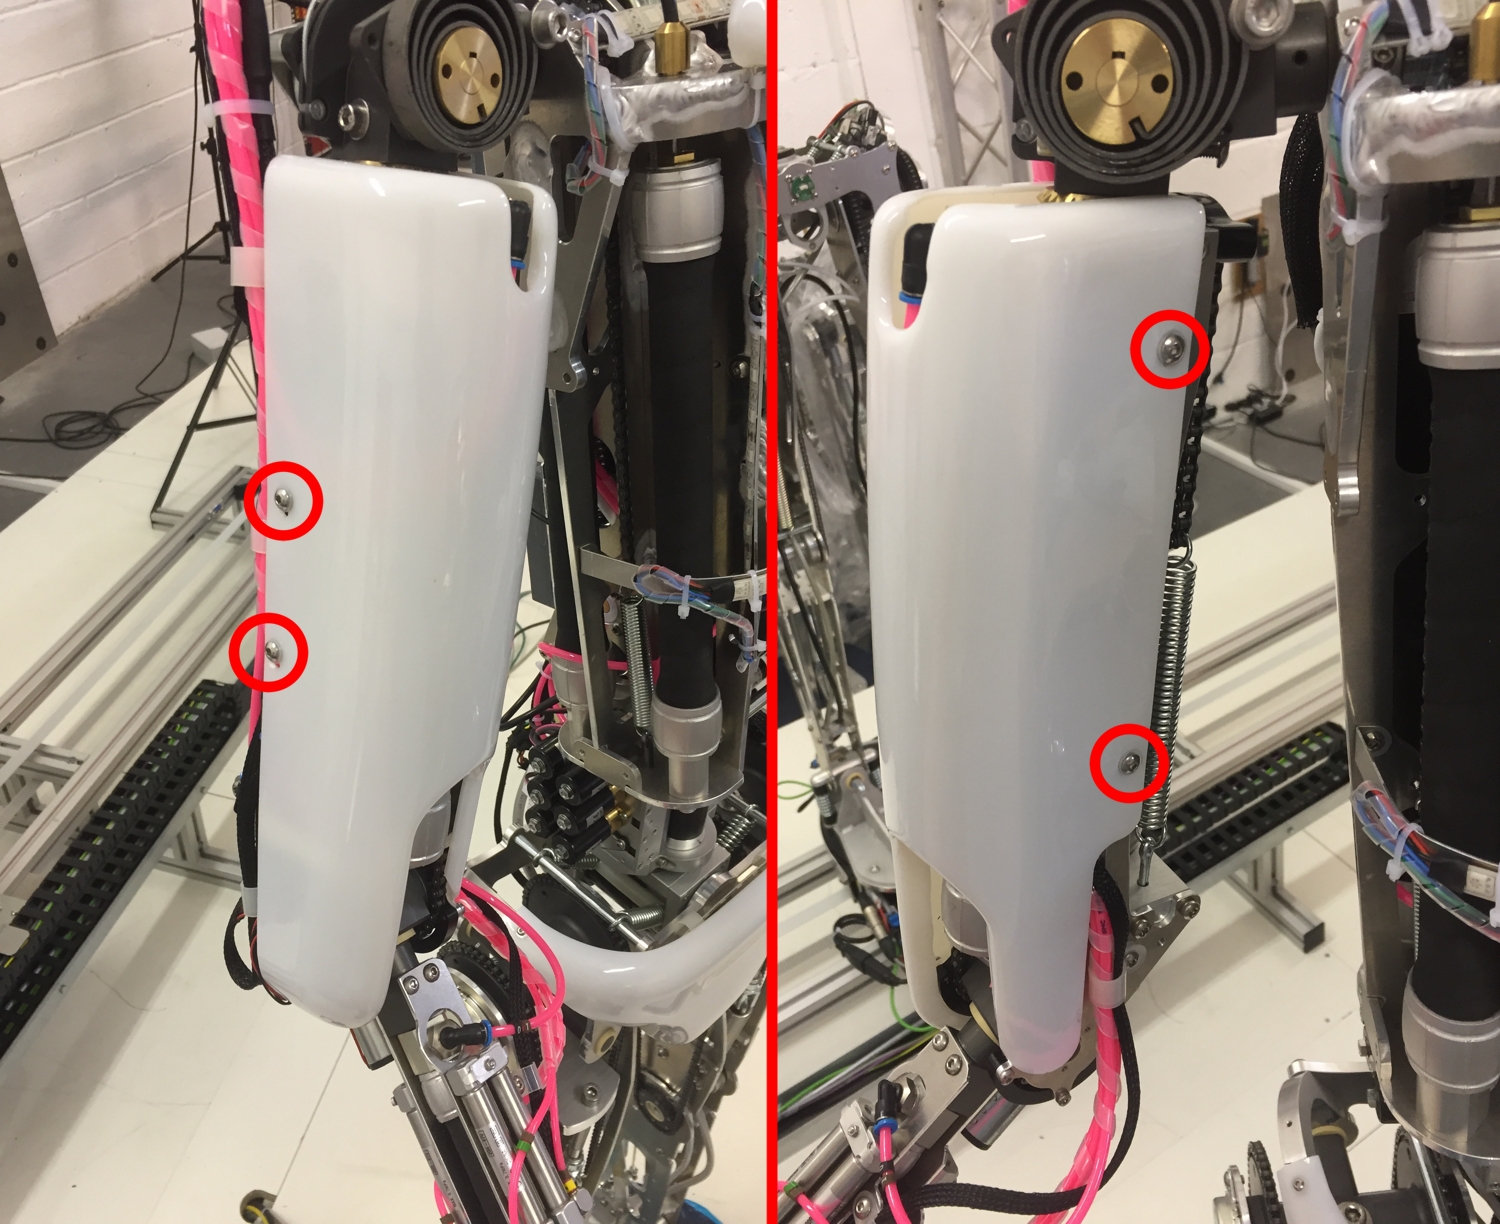
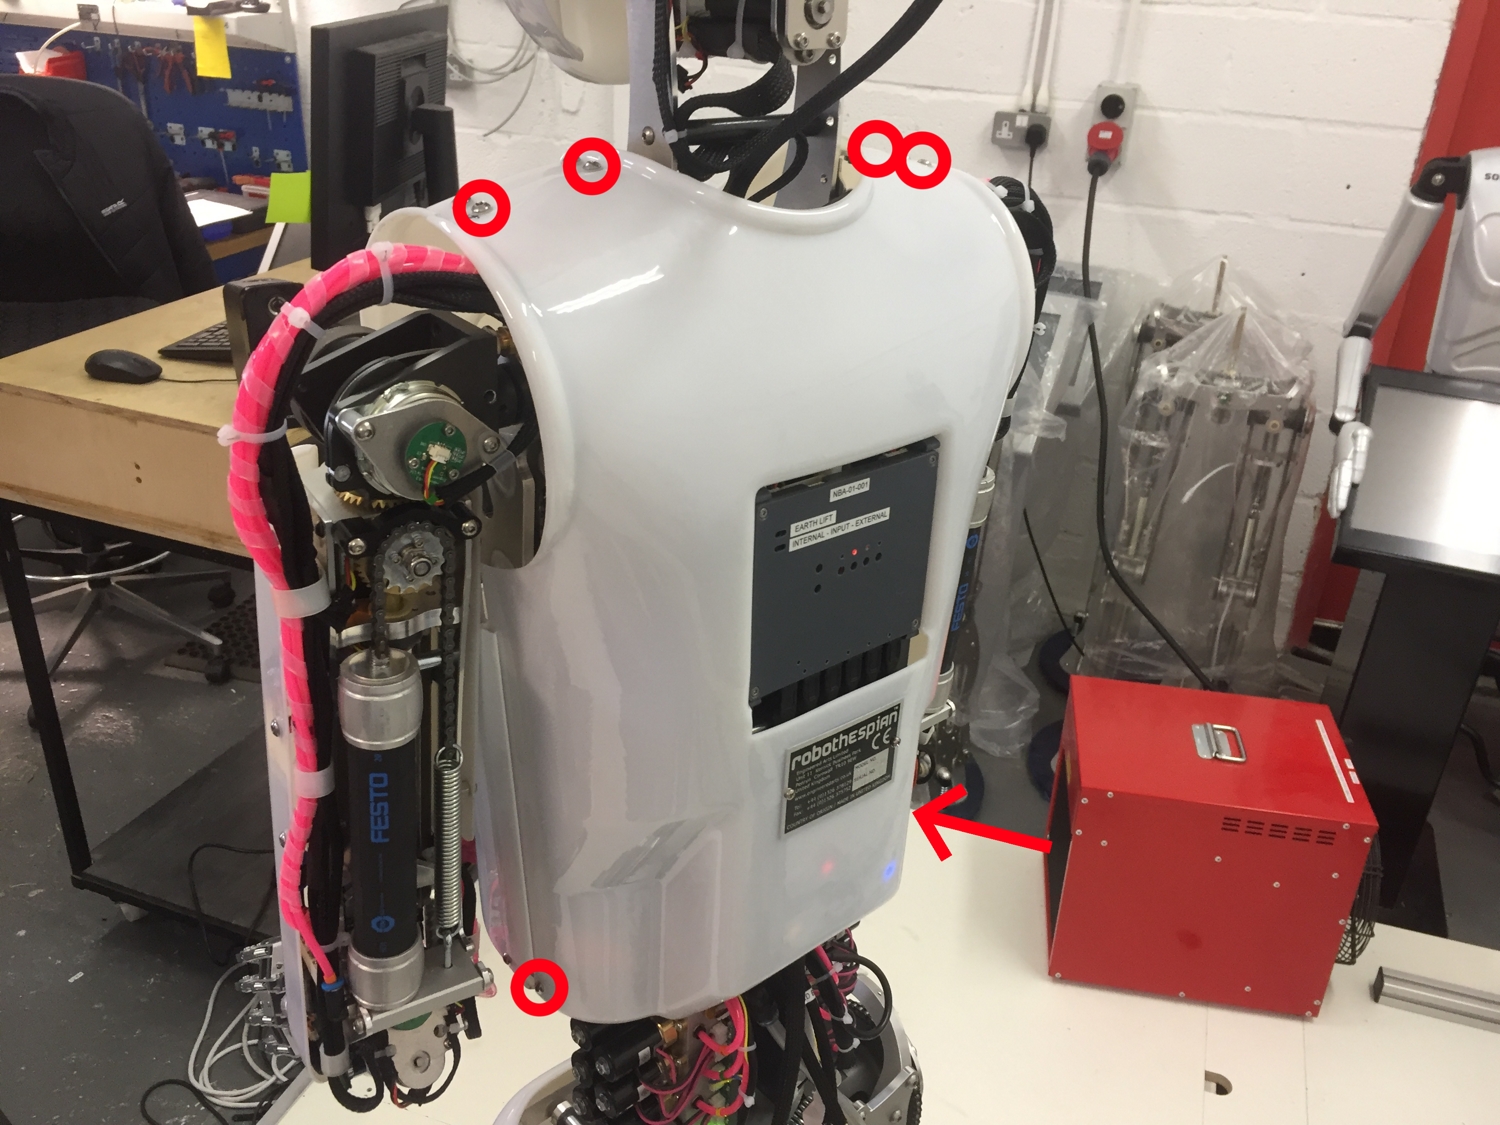
| 11:30, 1 November 2018 | Back shell bolts.jpeg (file) |  |
985 KB | The 6 bolts holding the back shell onto the frame are located is these positions | 1 |
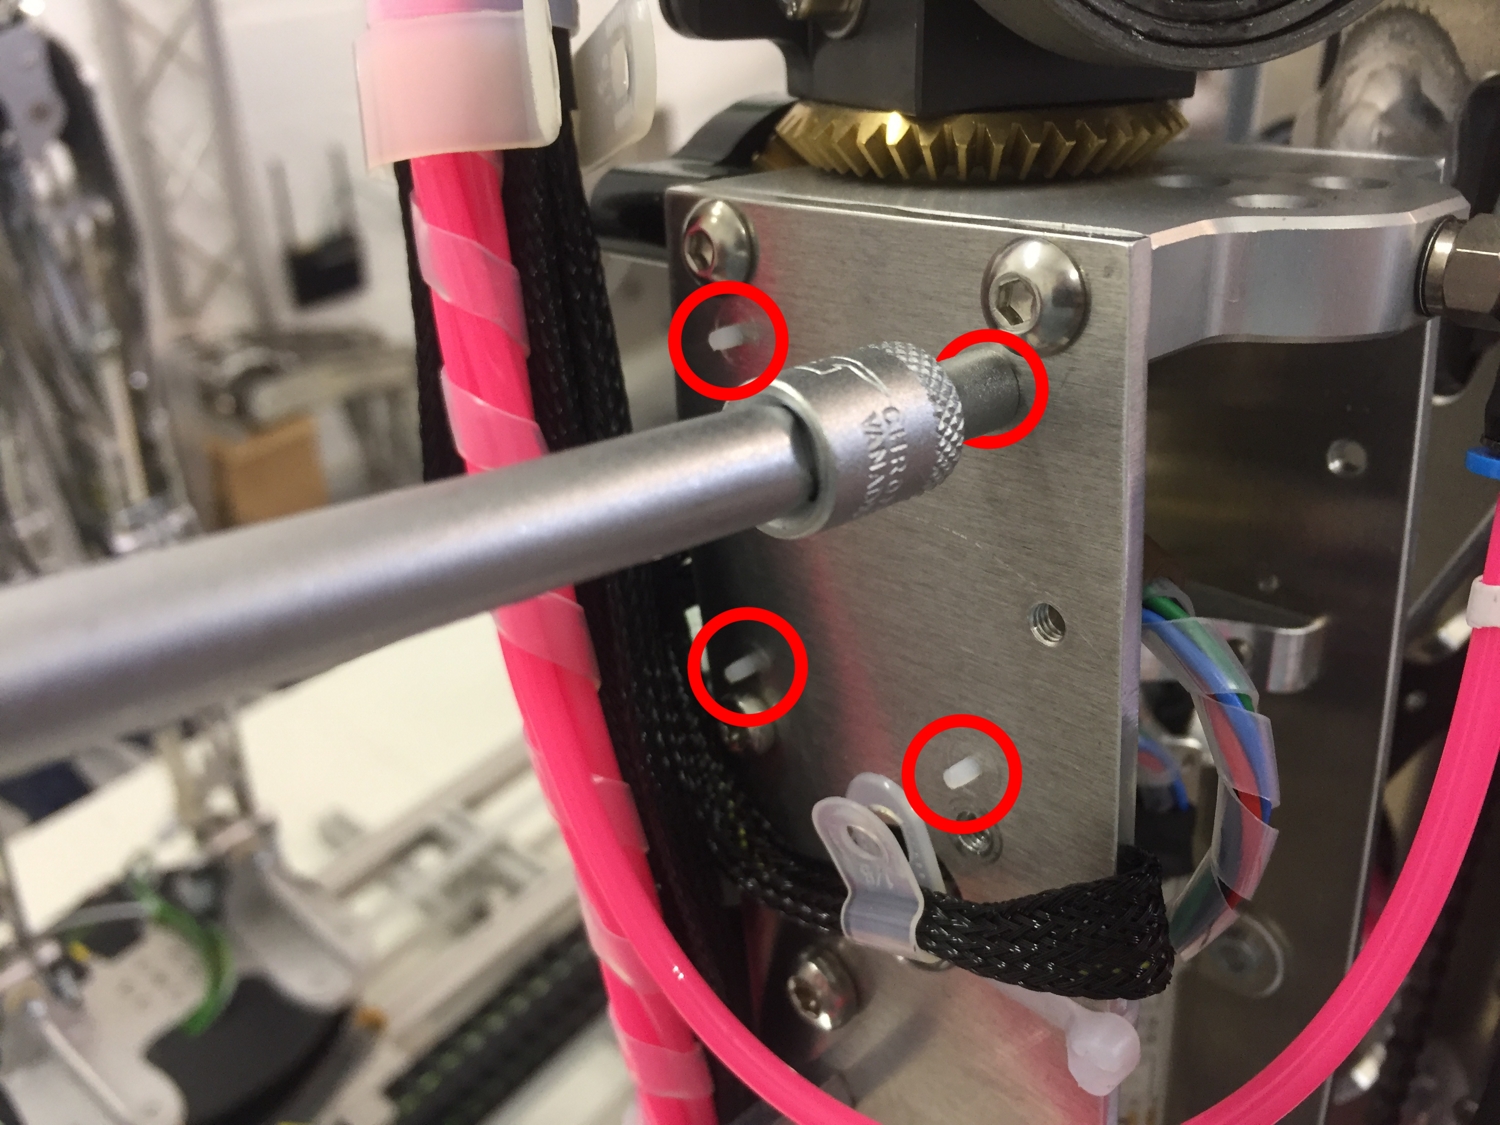
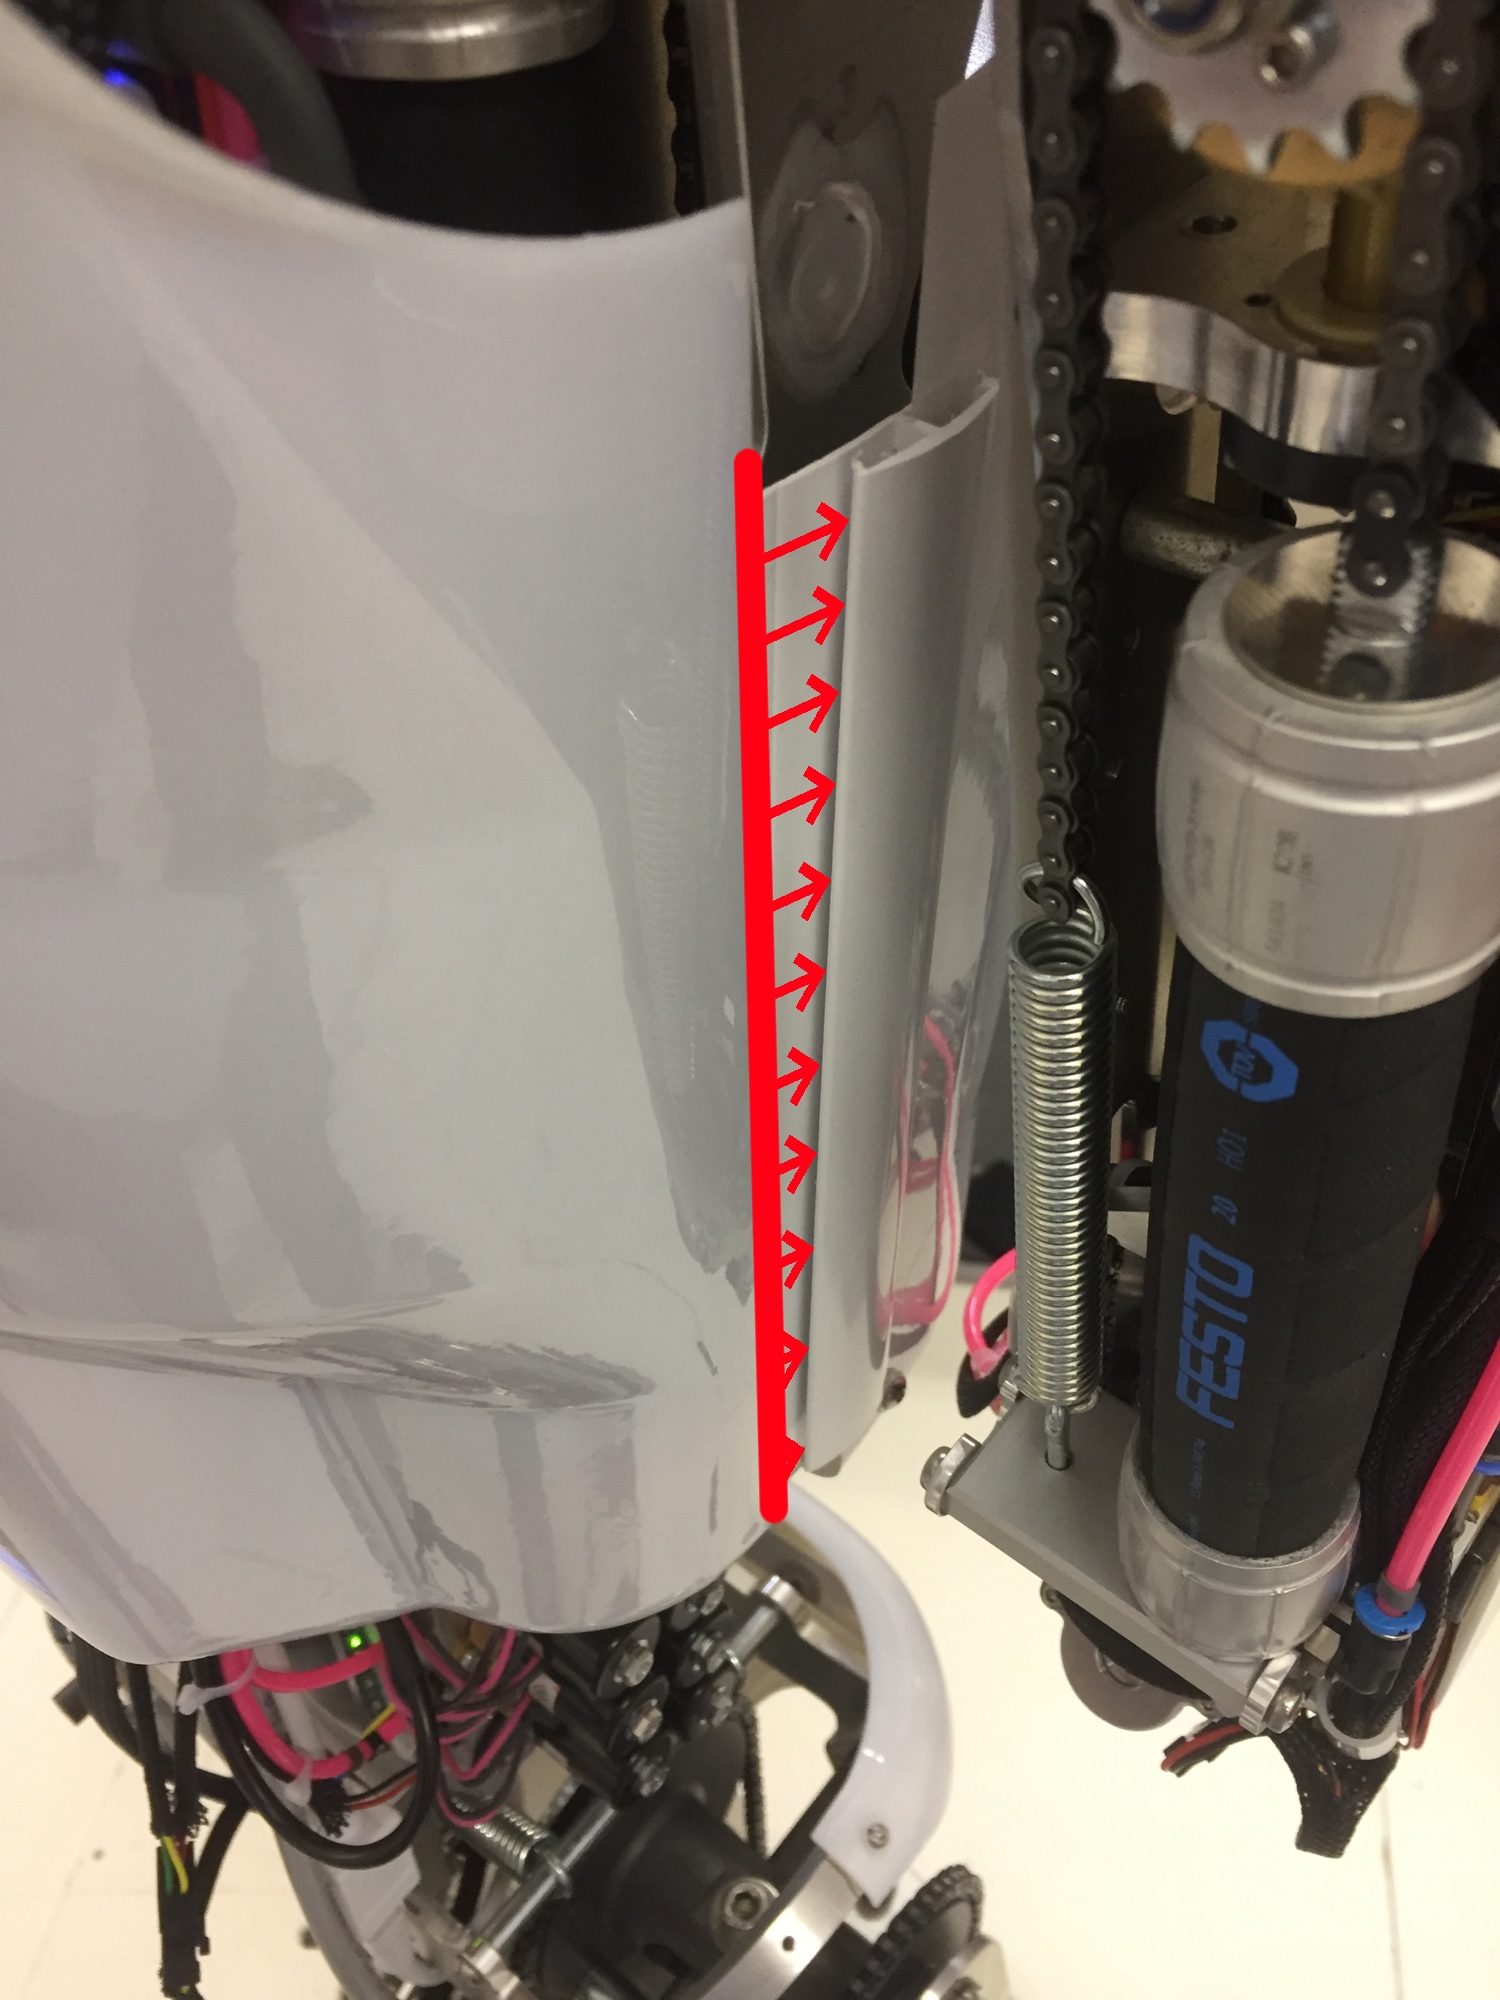
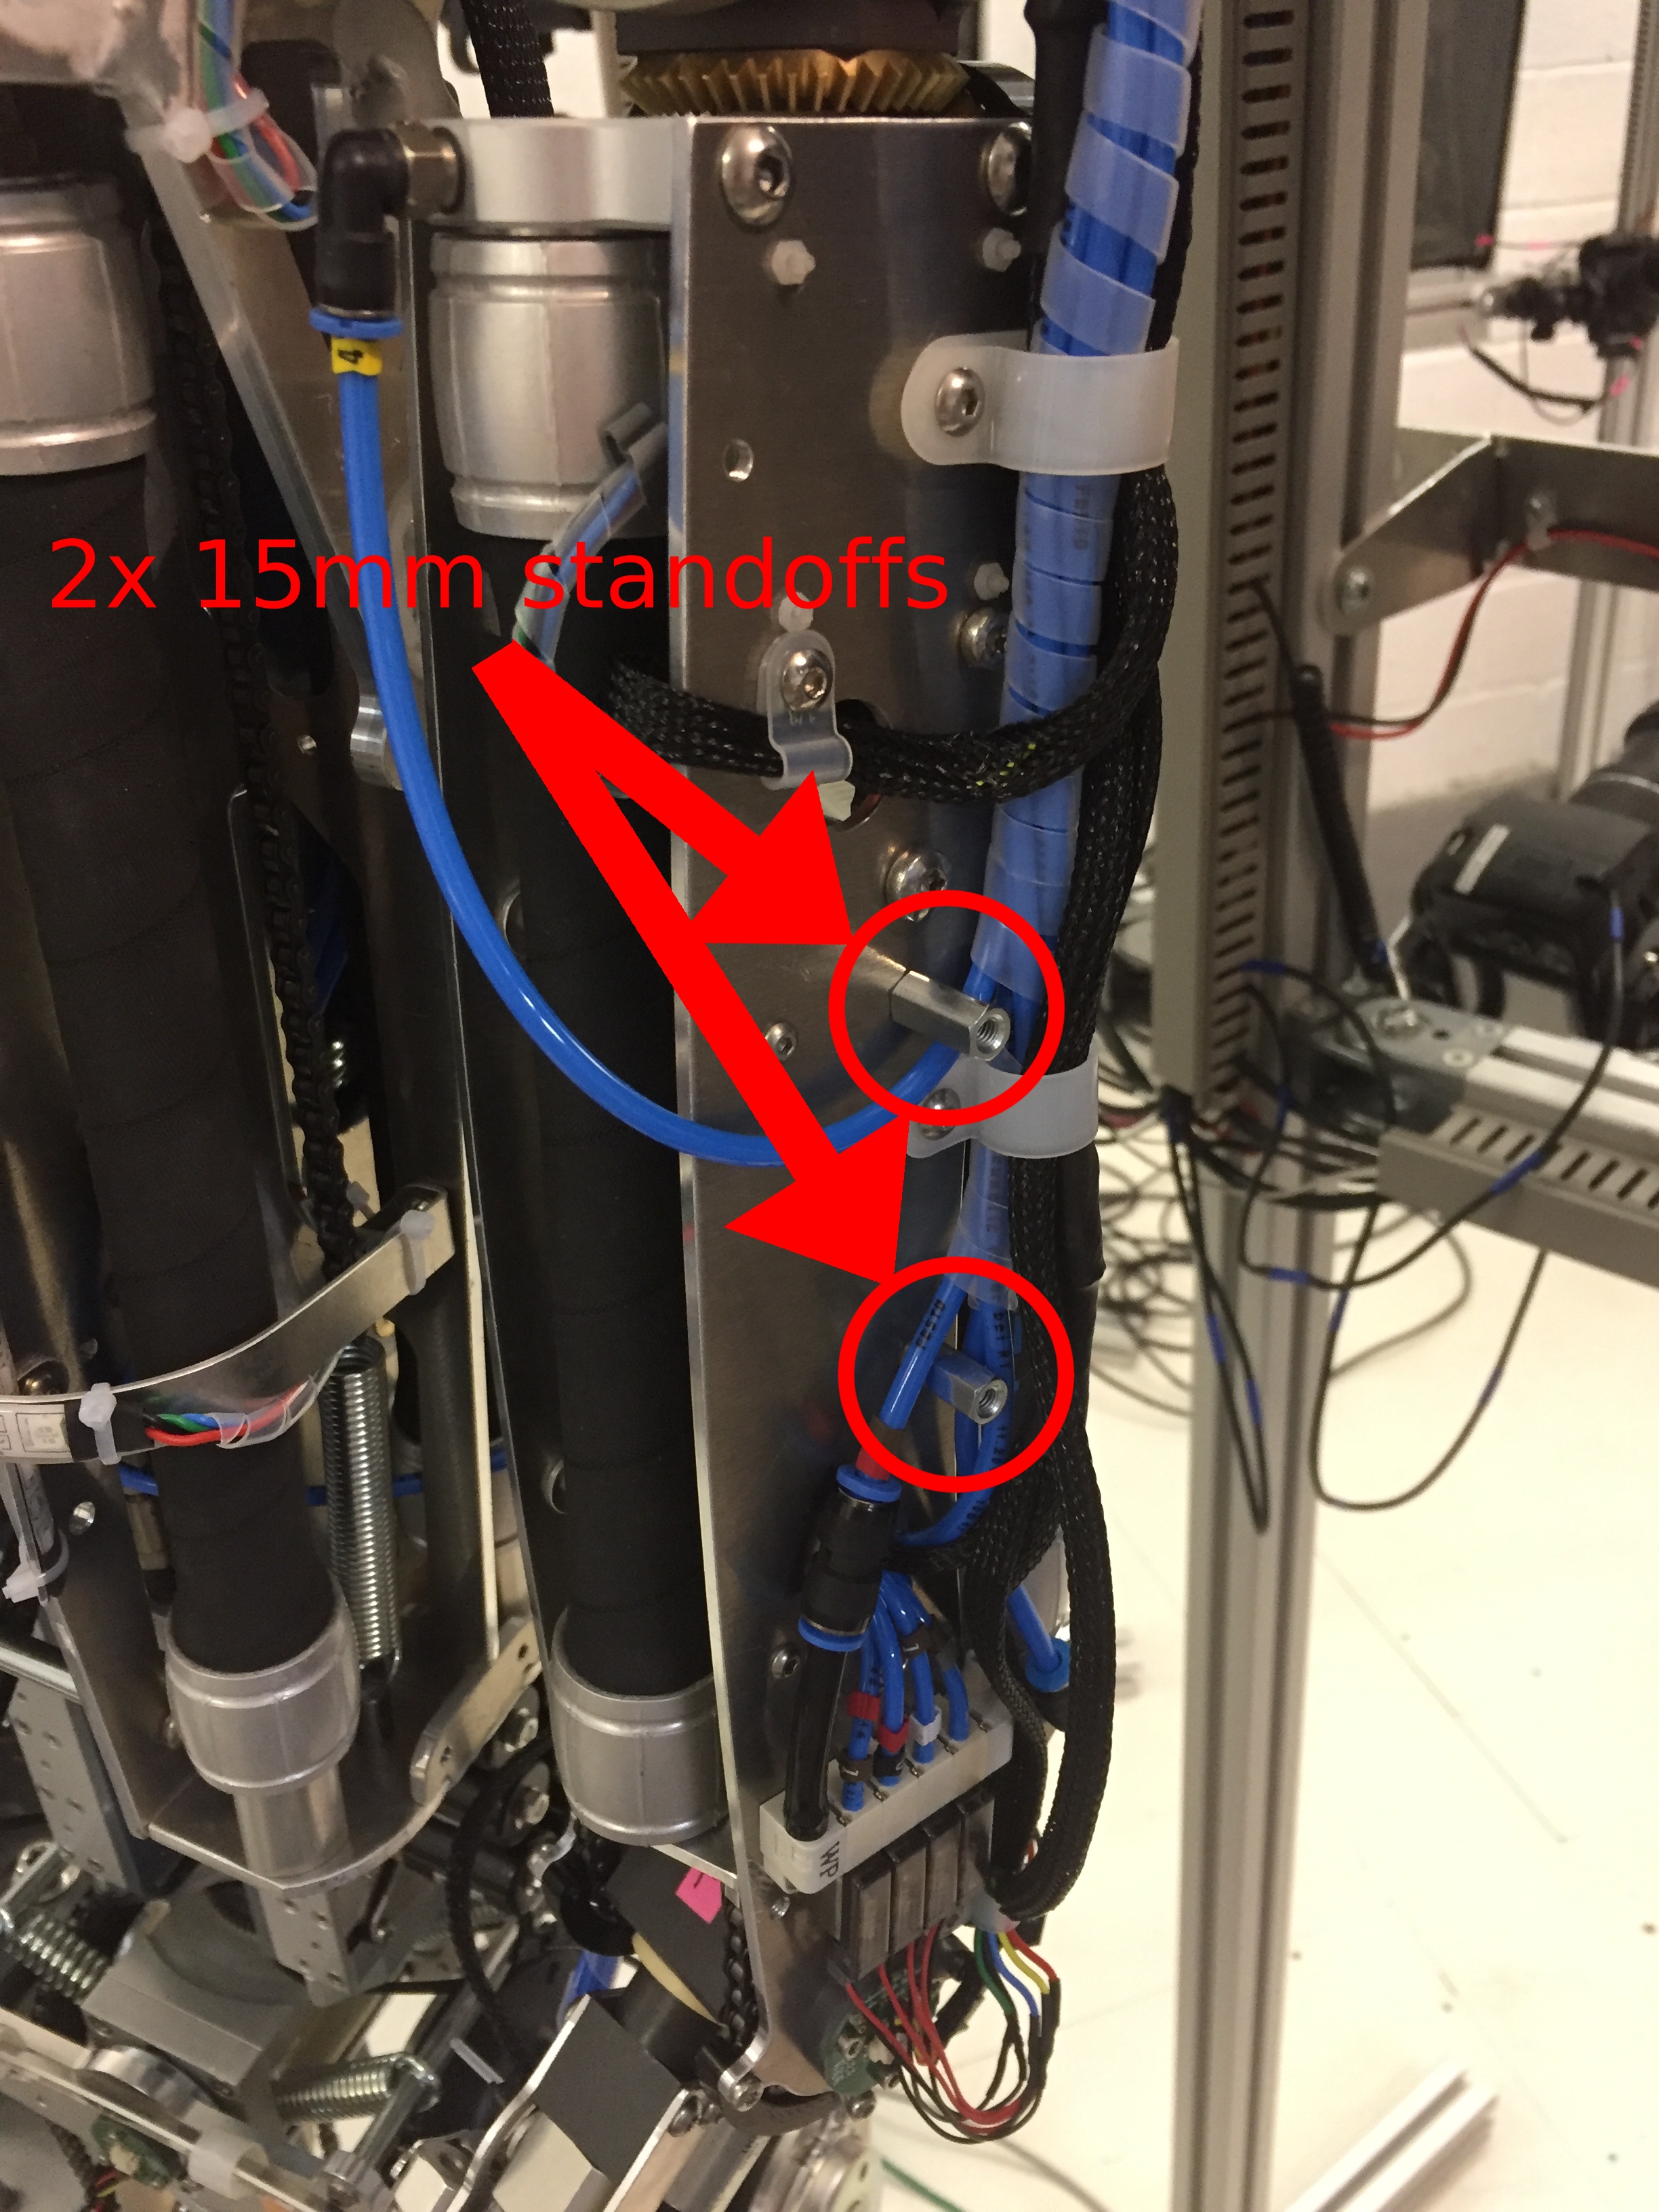
| 09:22, 27 November 2018 | Arm Shell 15mm Standoff.JPG (file) |  |
2.98 MB | 1 | |
| 09:39, 27 November 2018 | Arm shell 5mm standoffs.JPG (file) |  |
2.91 MB | 5mm standoffs on the inside of arm assembly | 1 |
| 11:21, 27 November 2018 | Arm Shell Orientation.JPG (file) |  |
1.47 MB | 1 | |
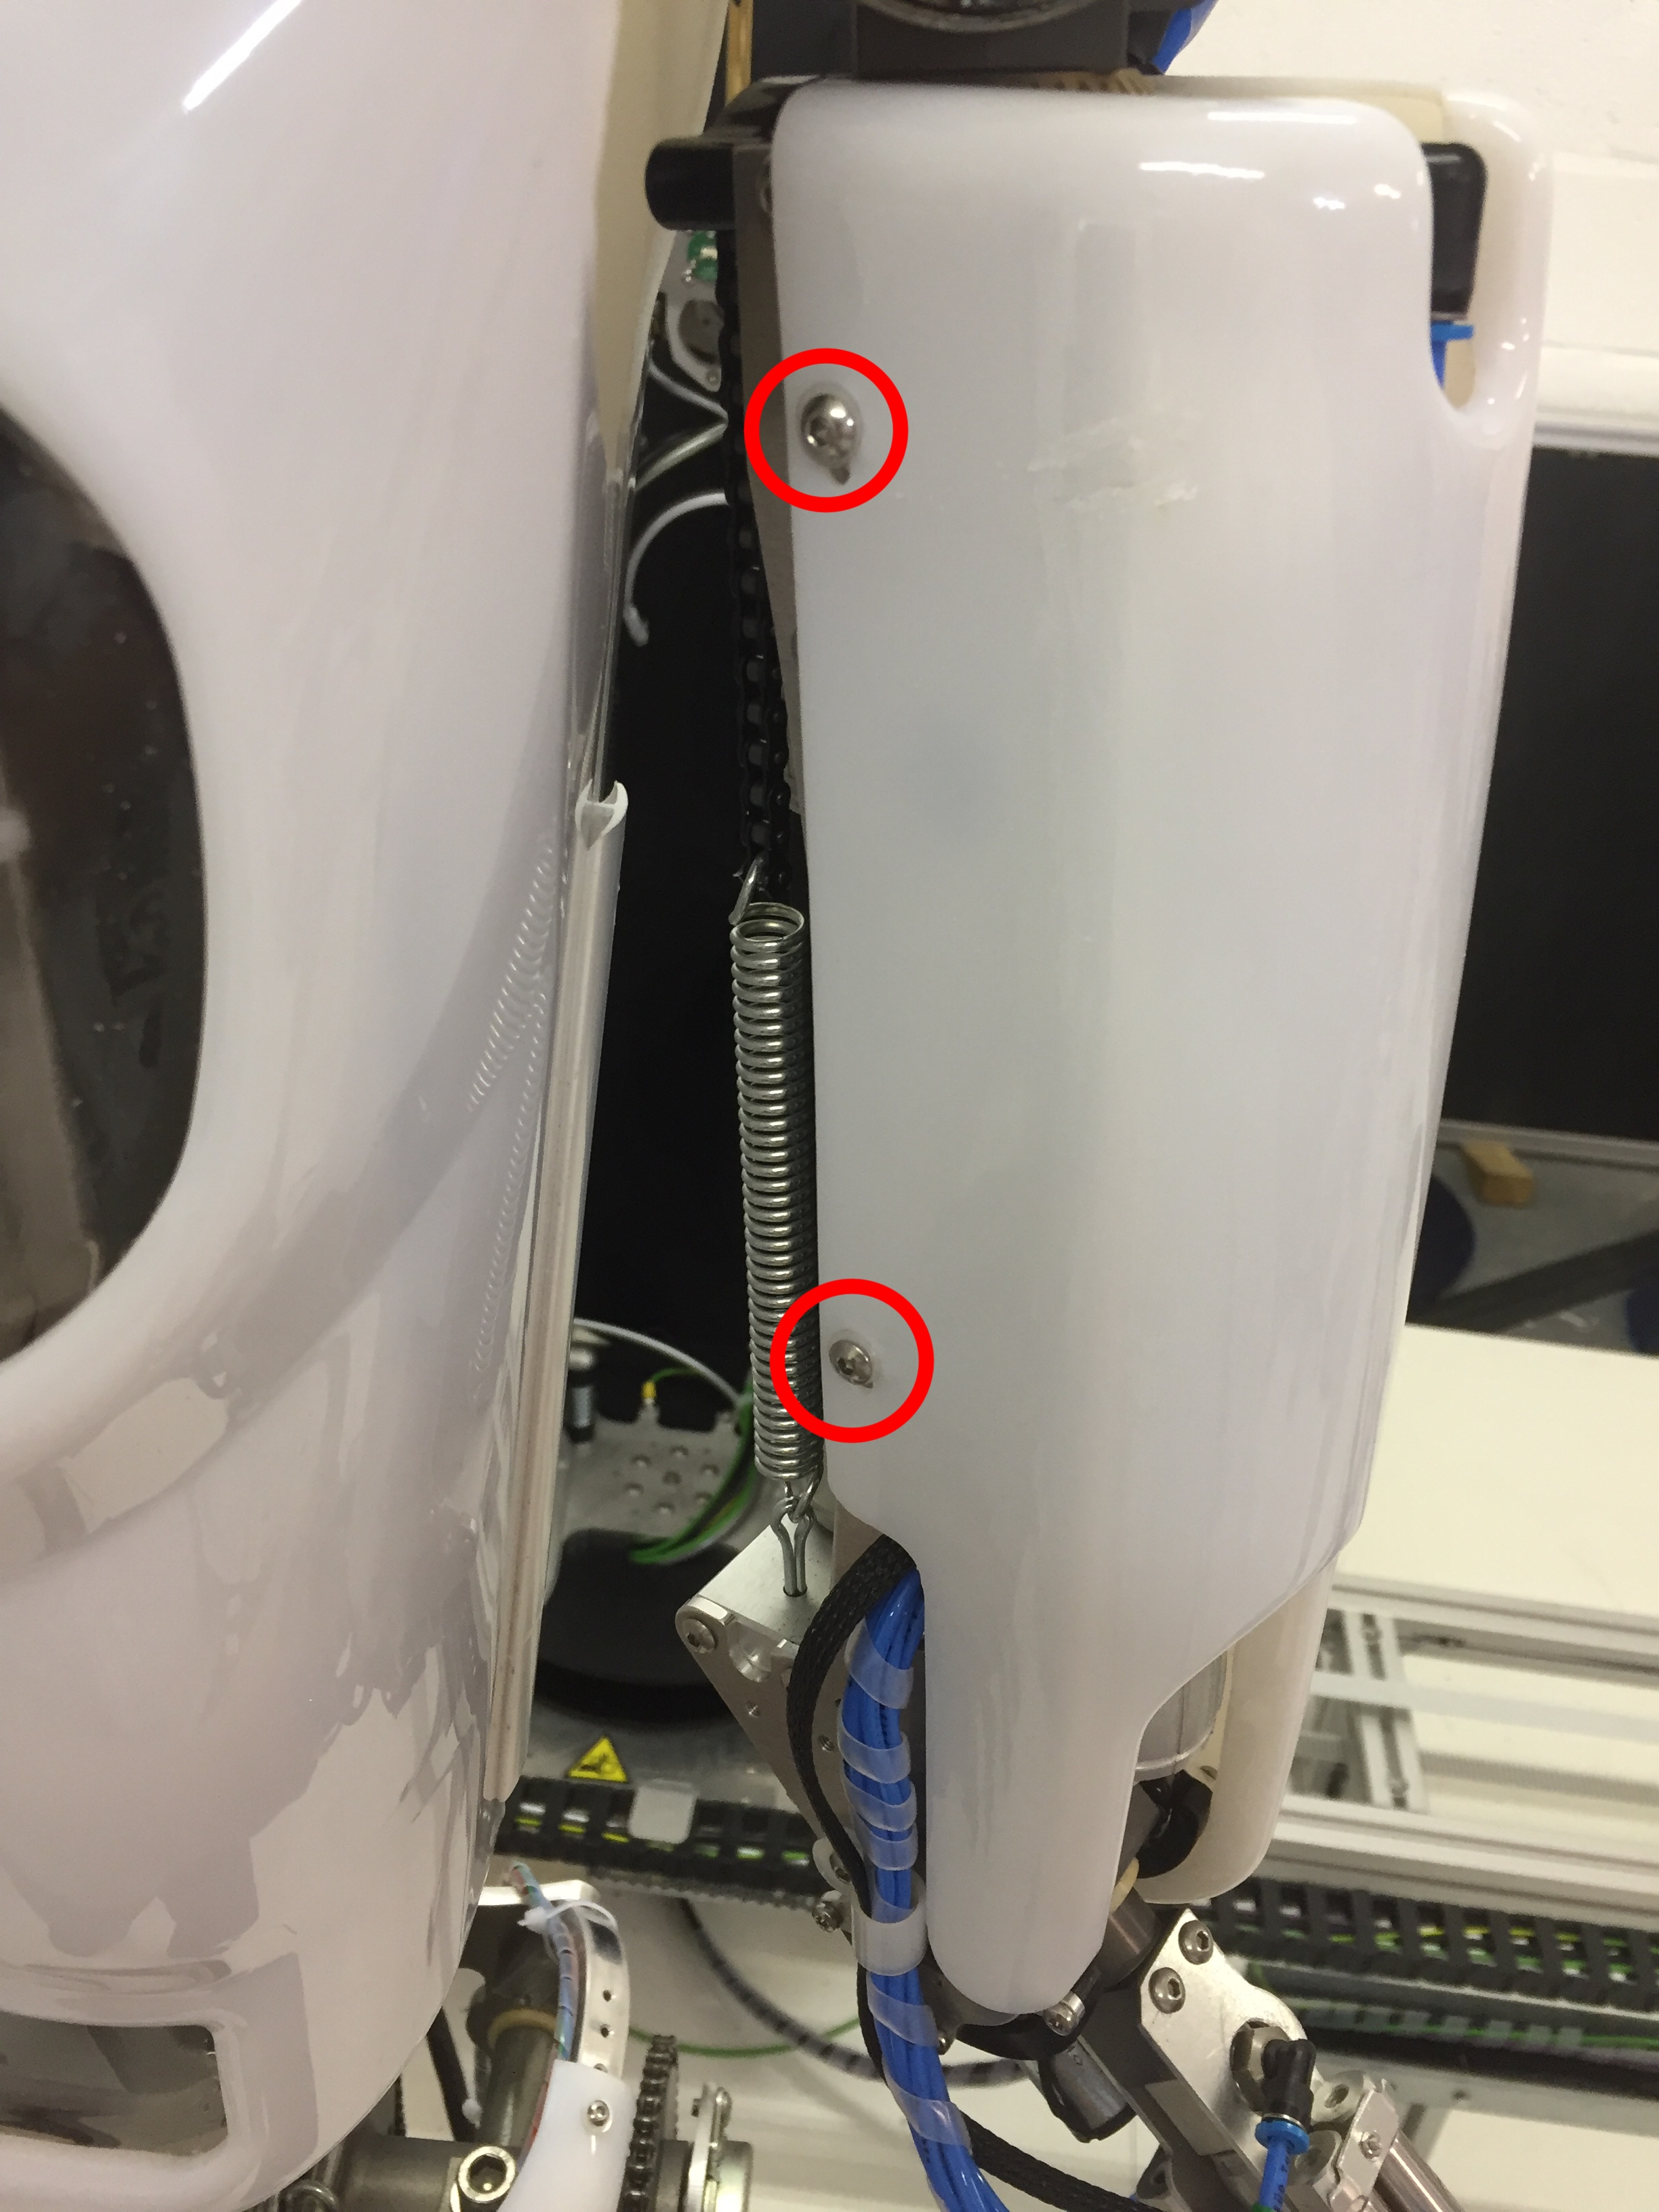
| 11:41, 27 November 2018 | Arm shell bolts outside.JPG (file) |  |
2.68 MB | 1 | |
| 11:43, 27 November 2018 | Arm shell bolts inside.JPG (file) |  |
2.45 MB | 1 | |
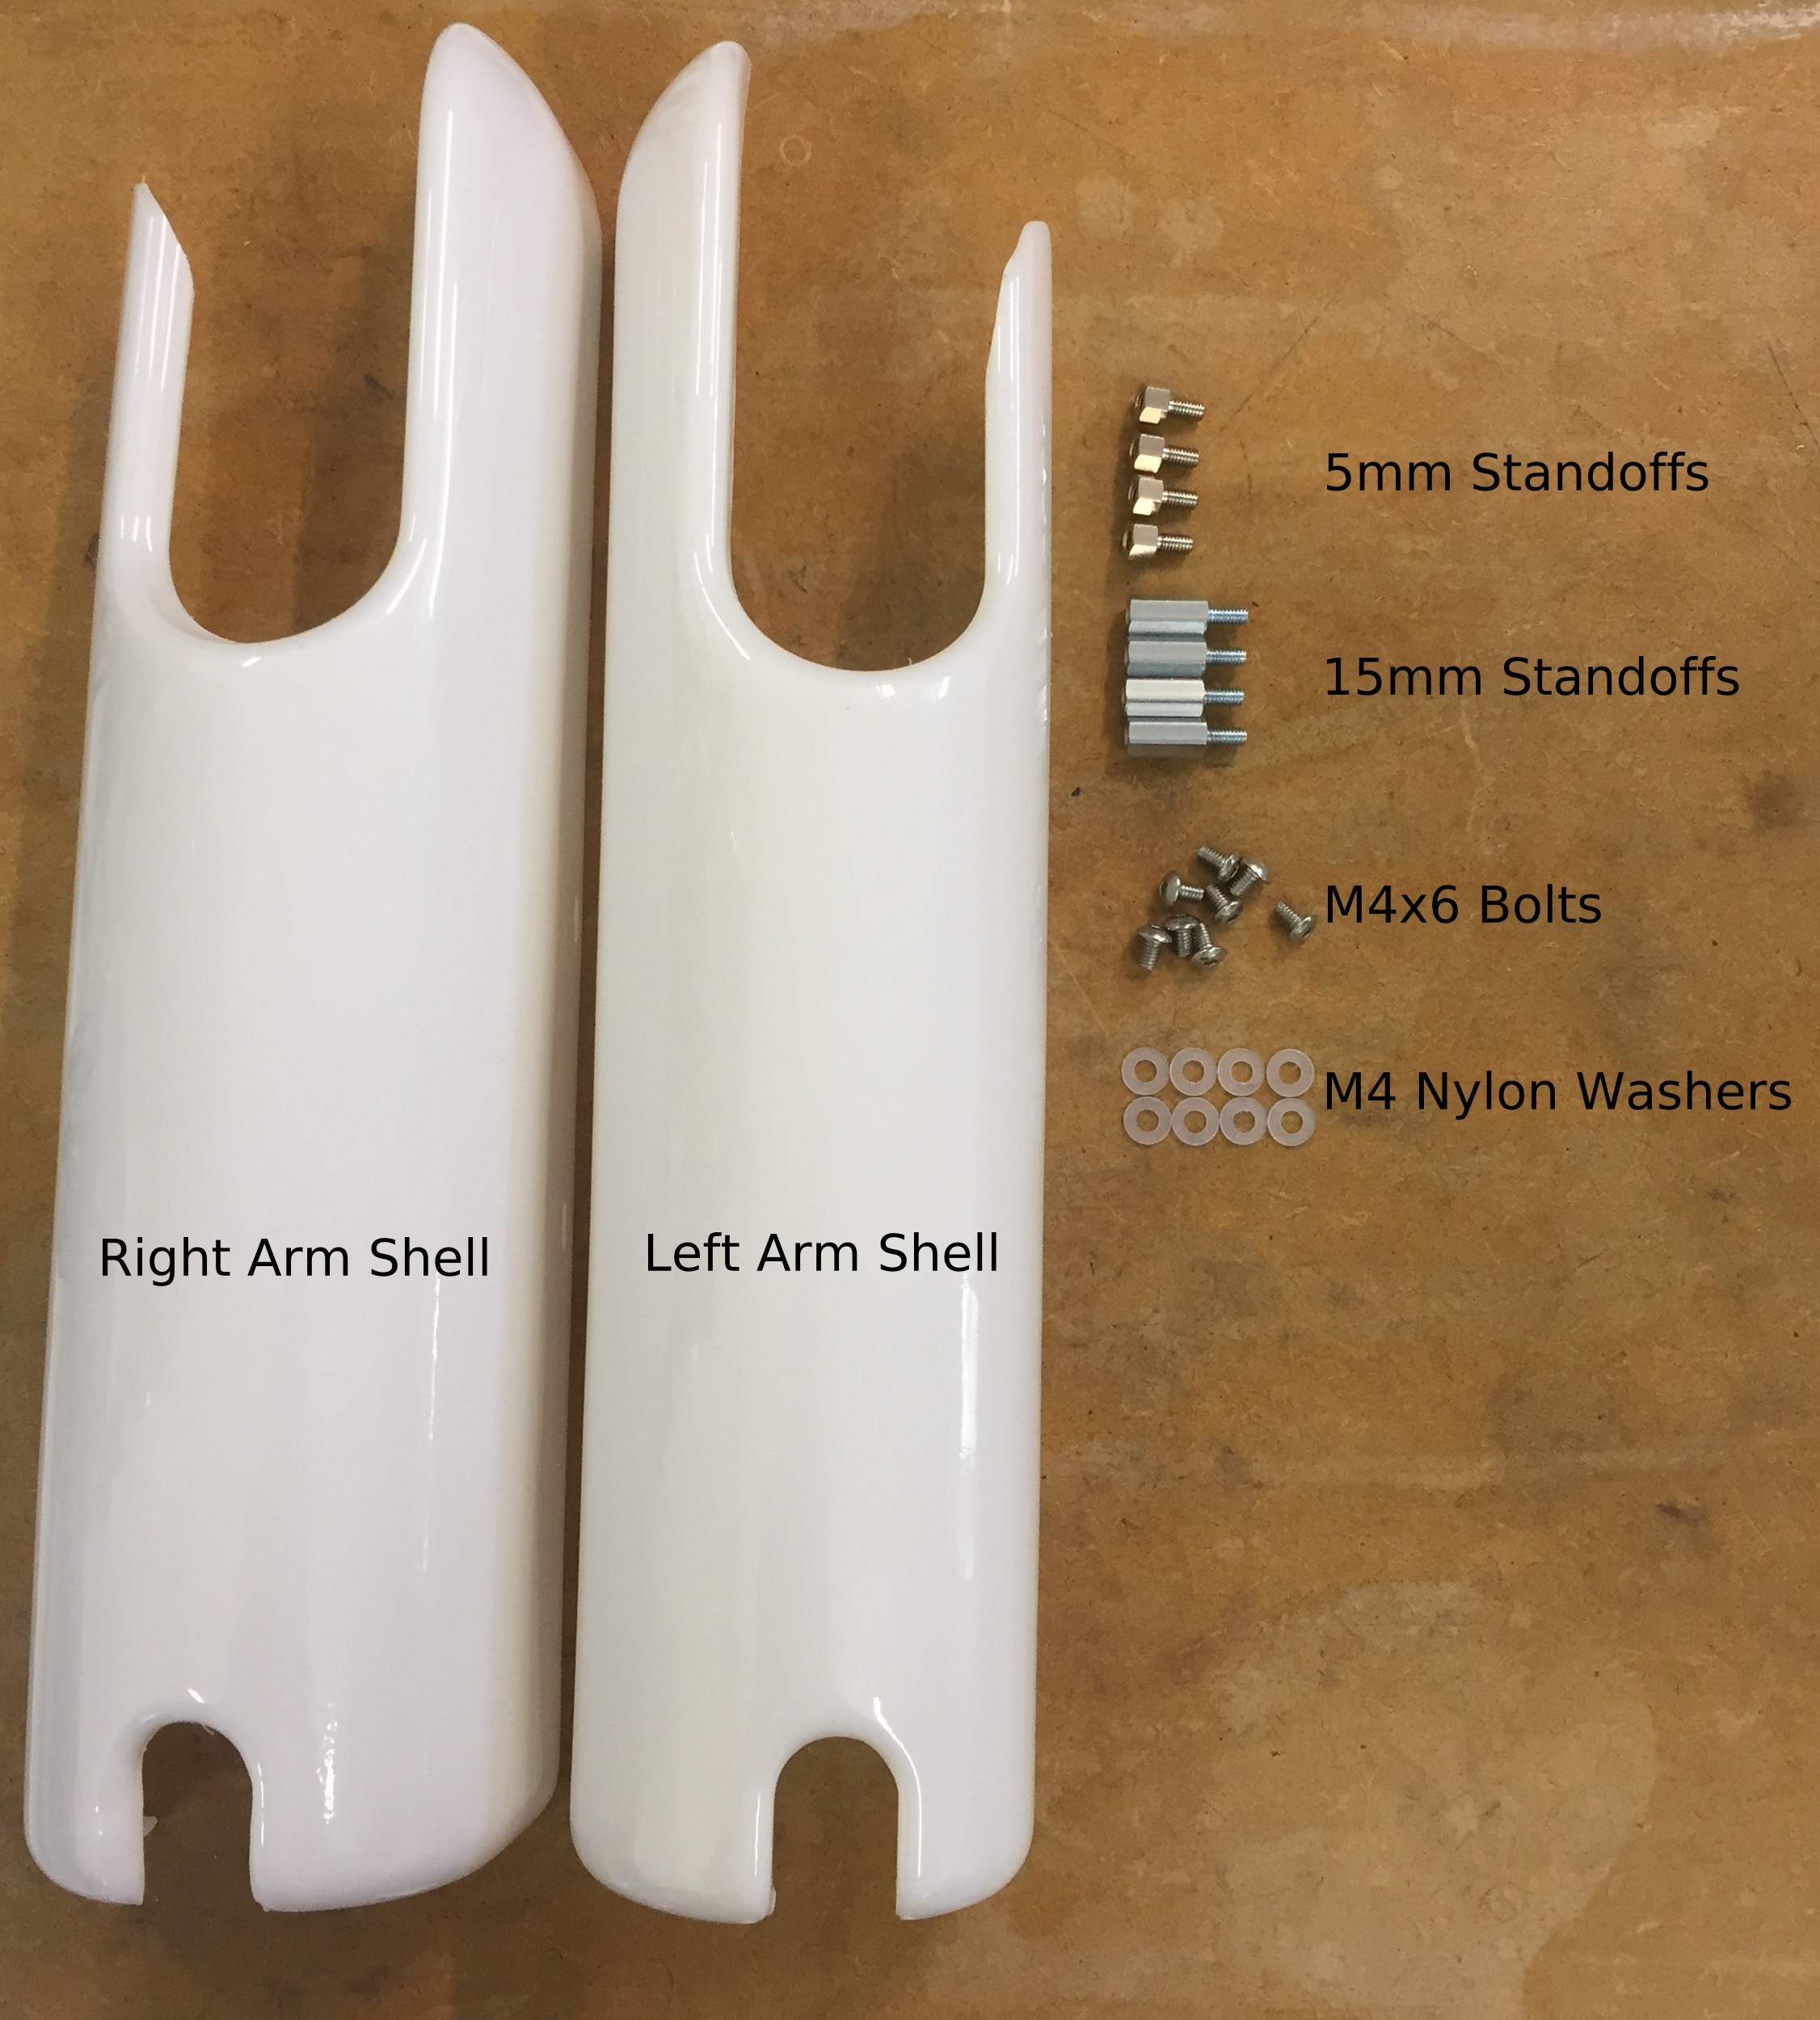
| 12:26, 27 November 2018 | Arm shell replacement pack contents.JPG (file) |  |
2.6 MB | 1 | |
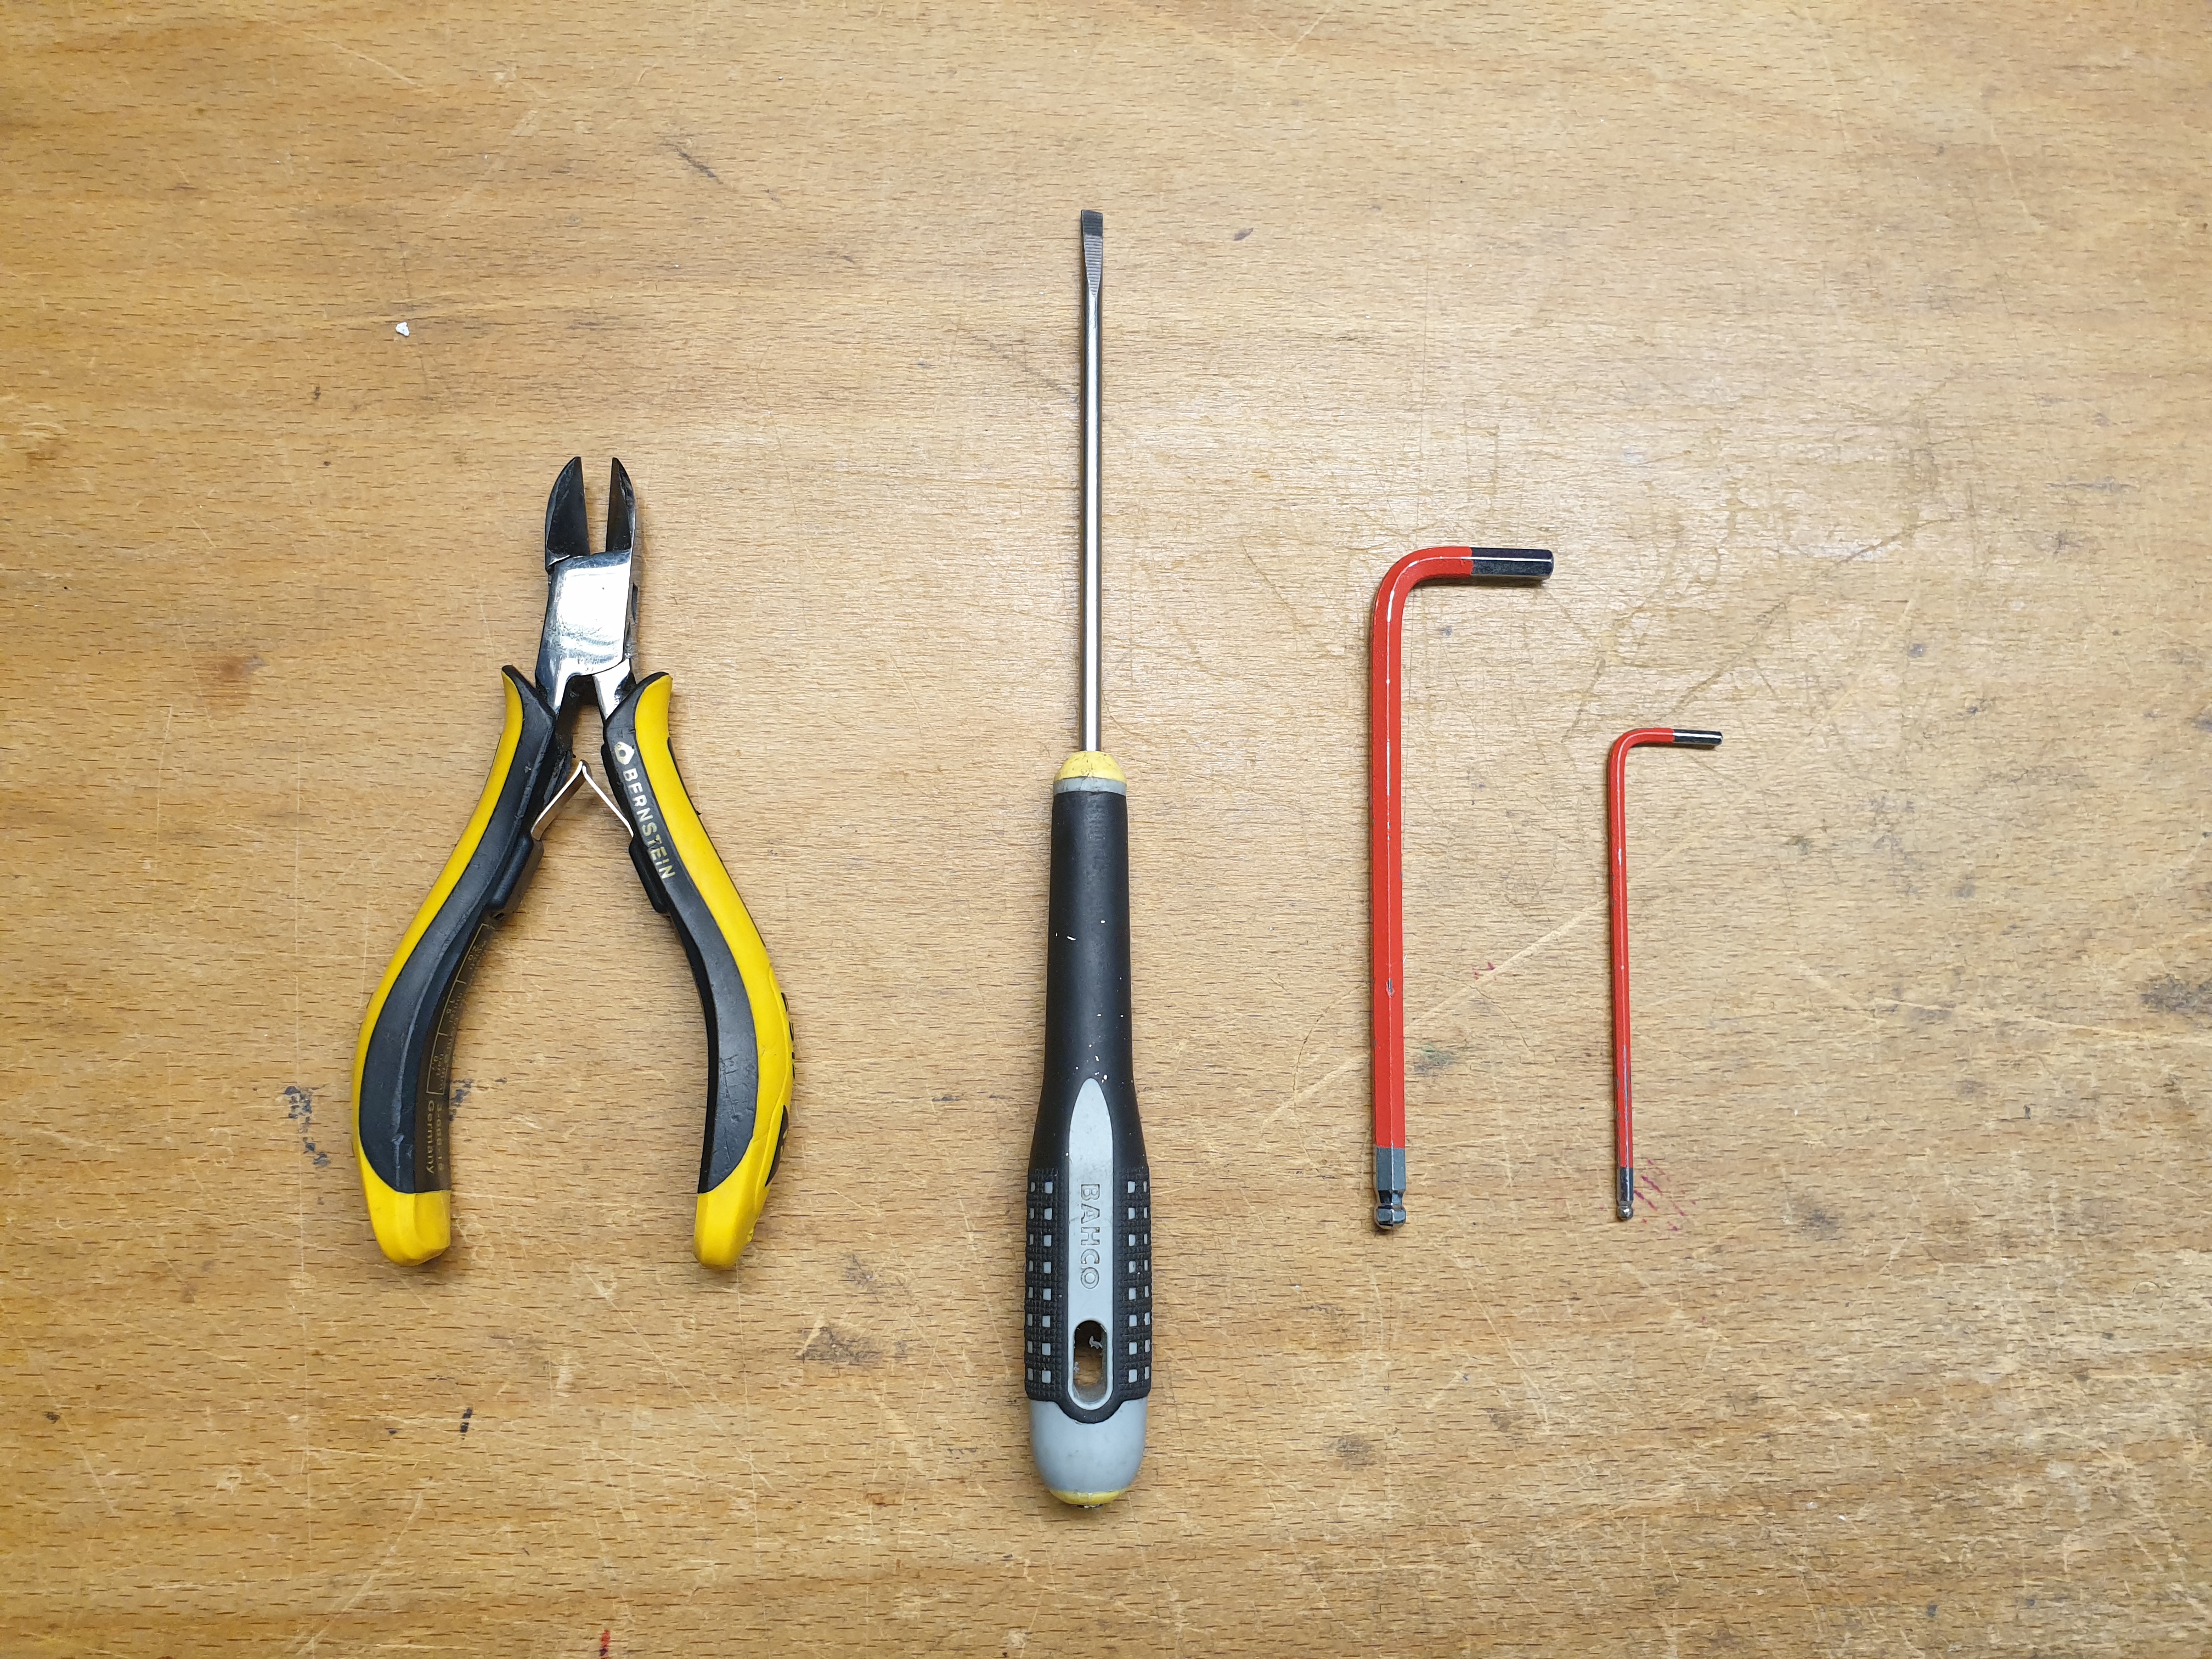
| 12:51, 17 January 2019 | Face replacement tools.jpg (file) |  |
3.37 MB | 1 | |
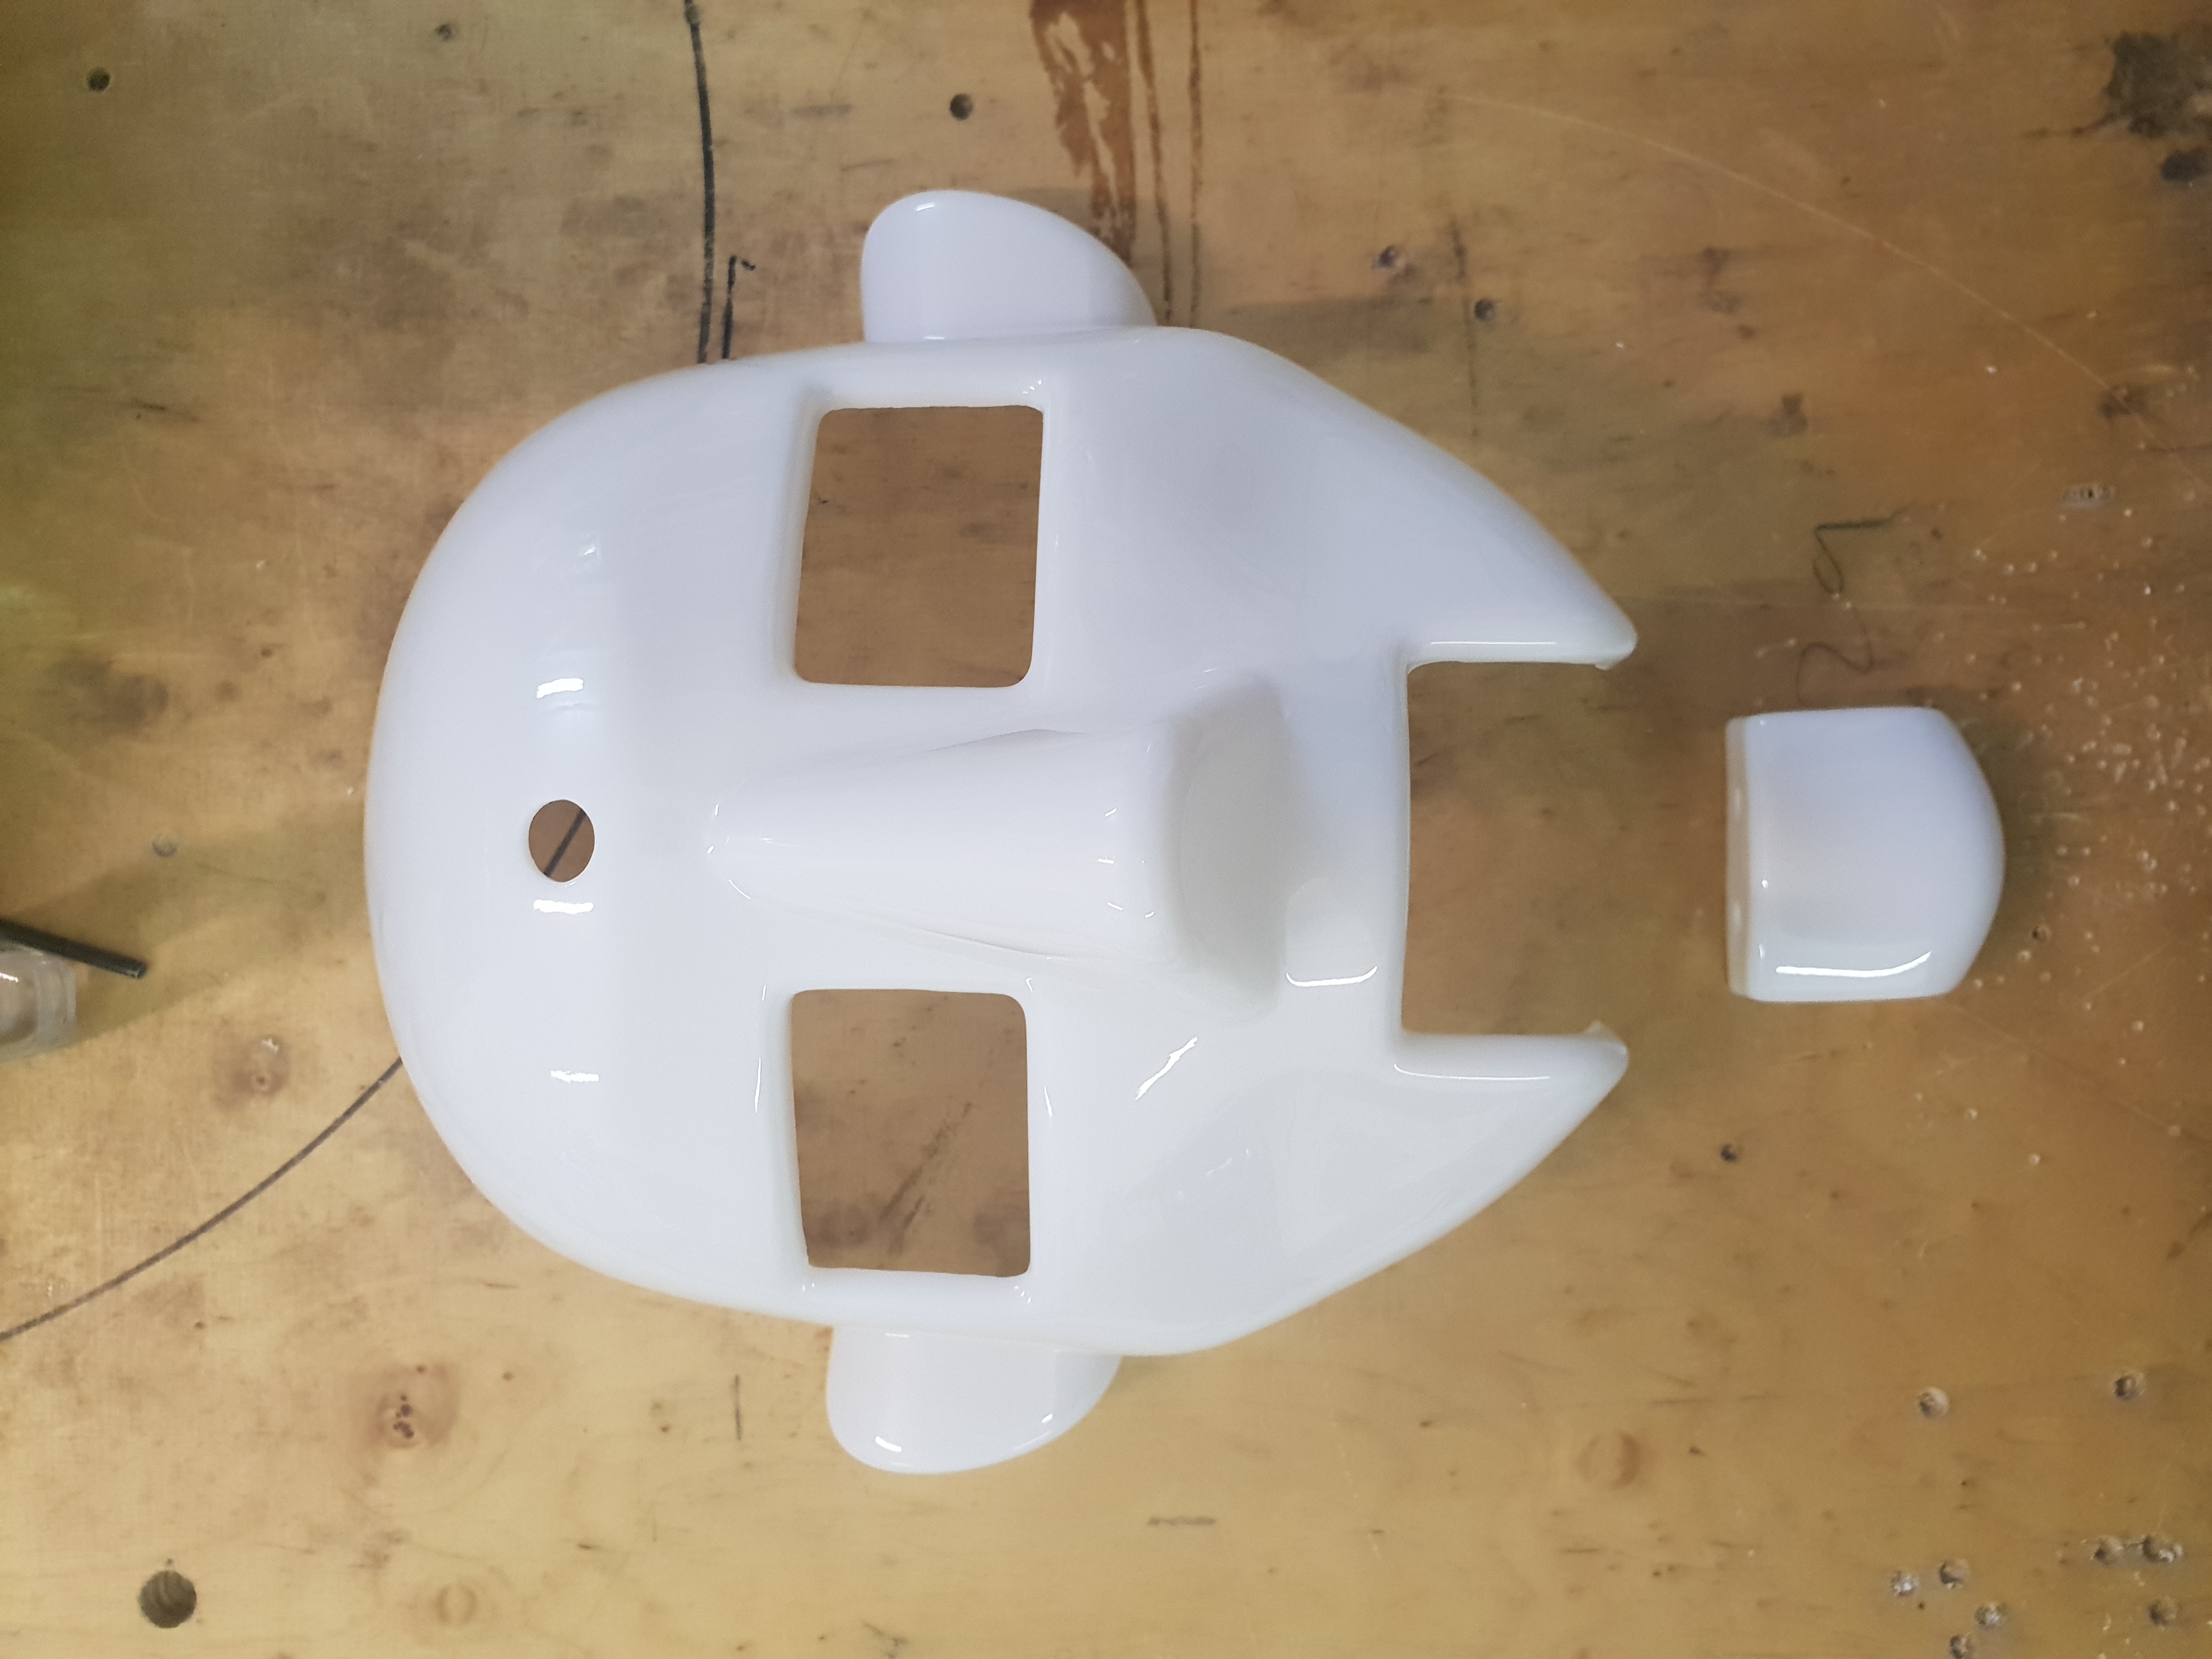
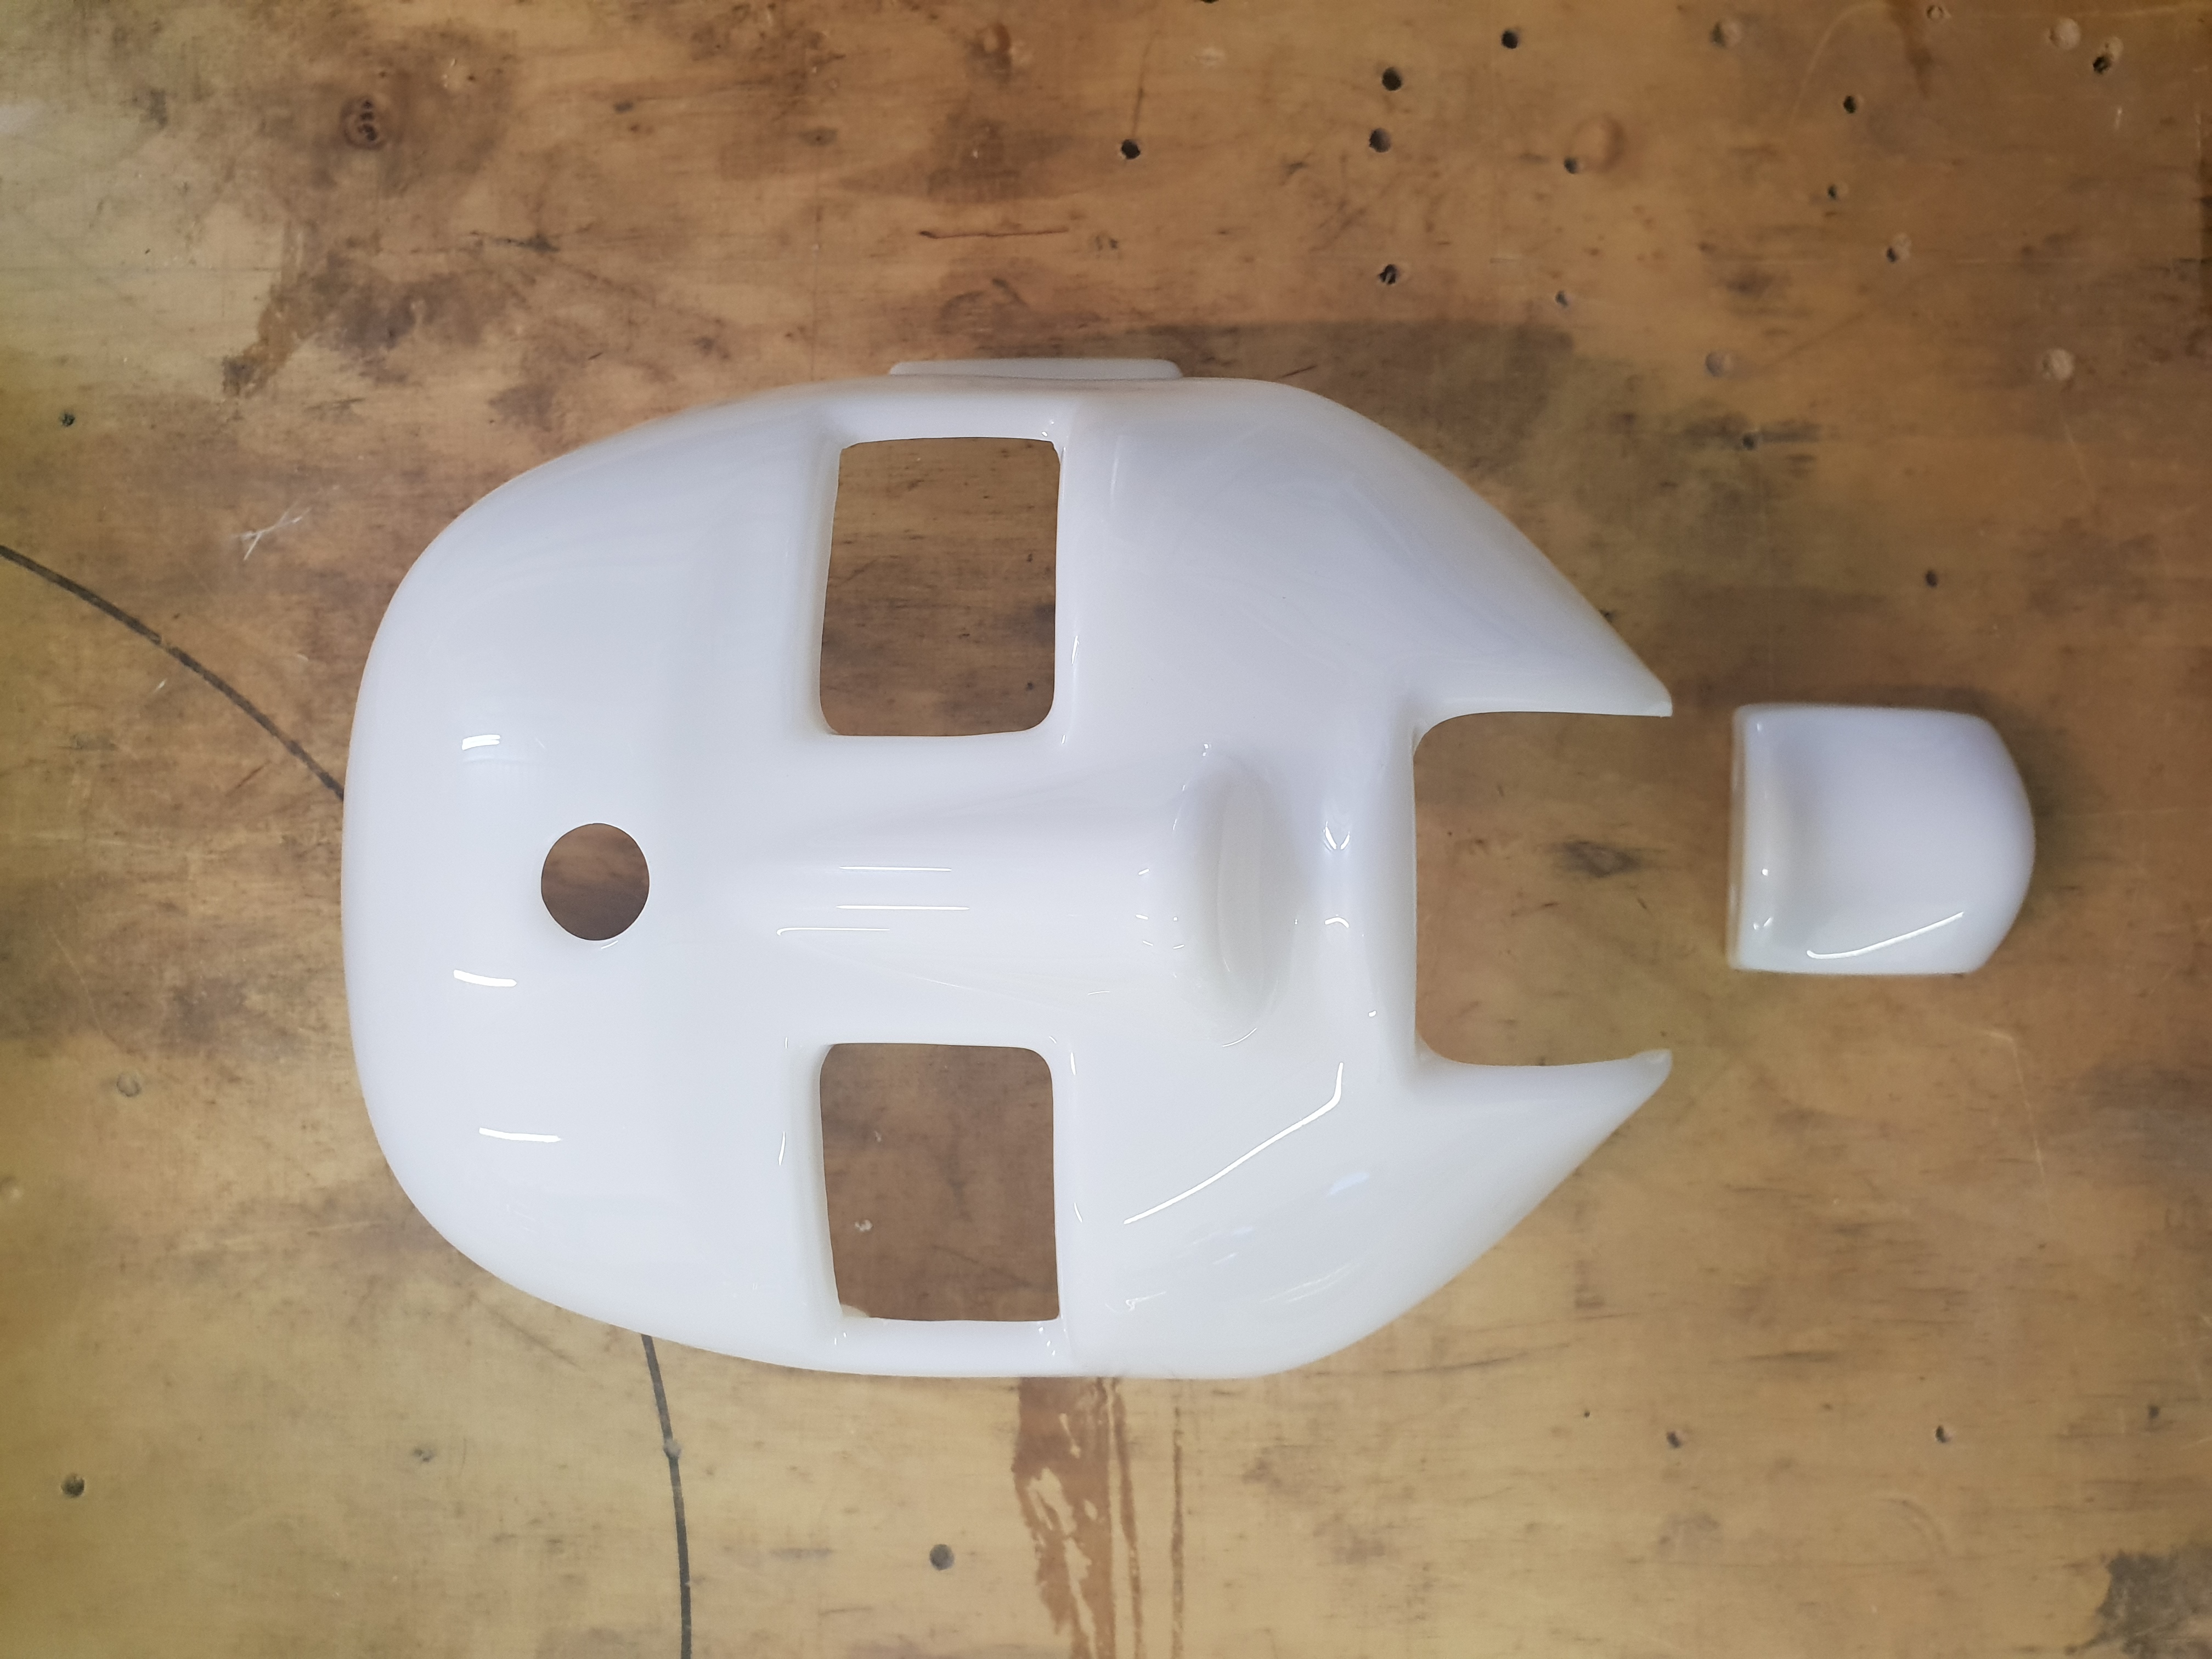
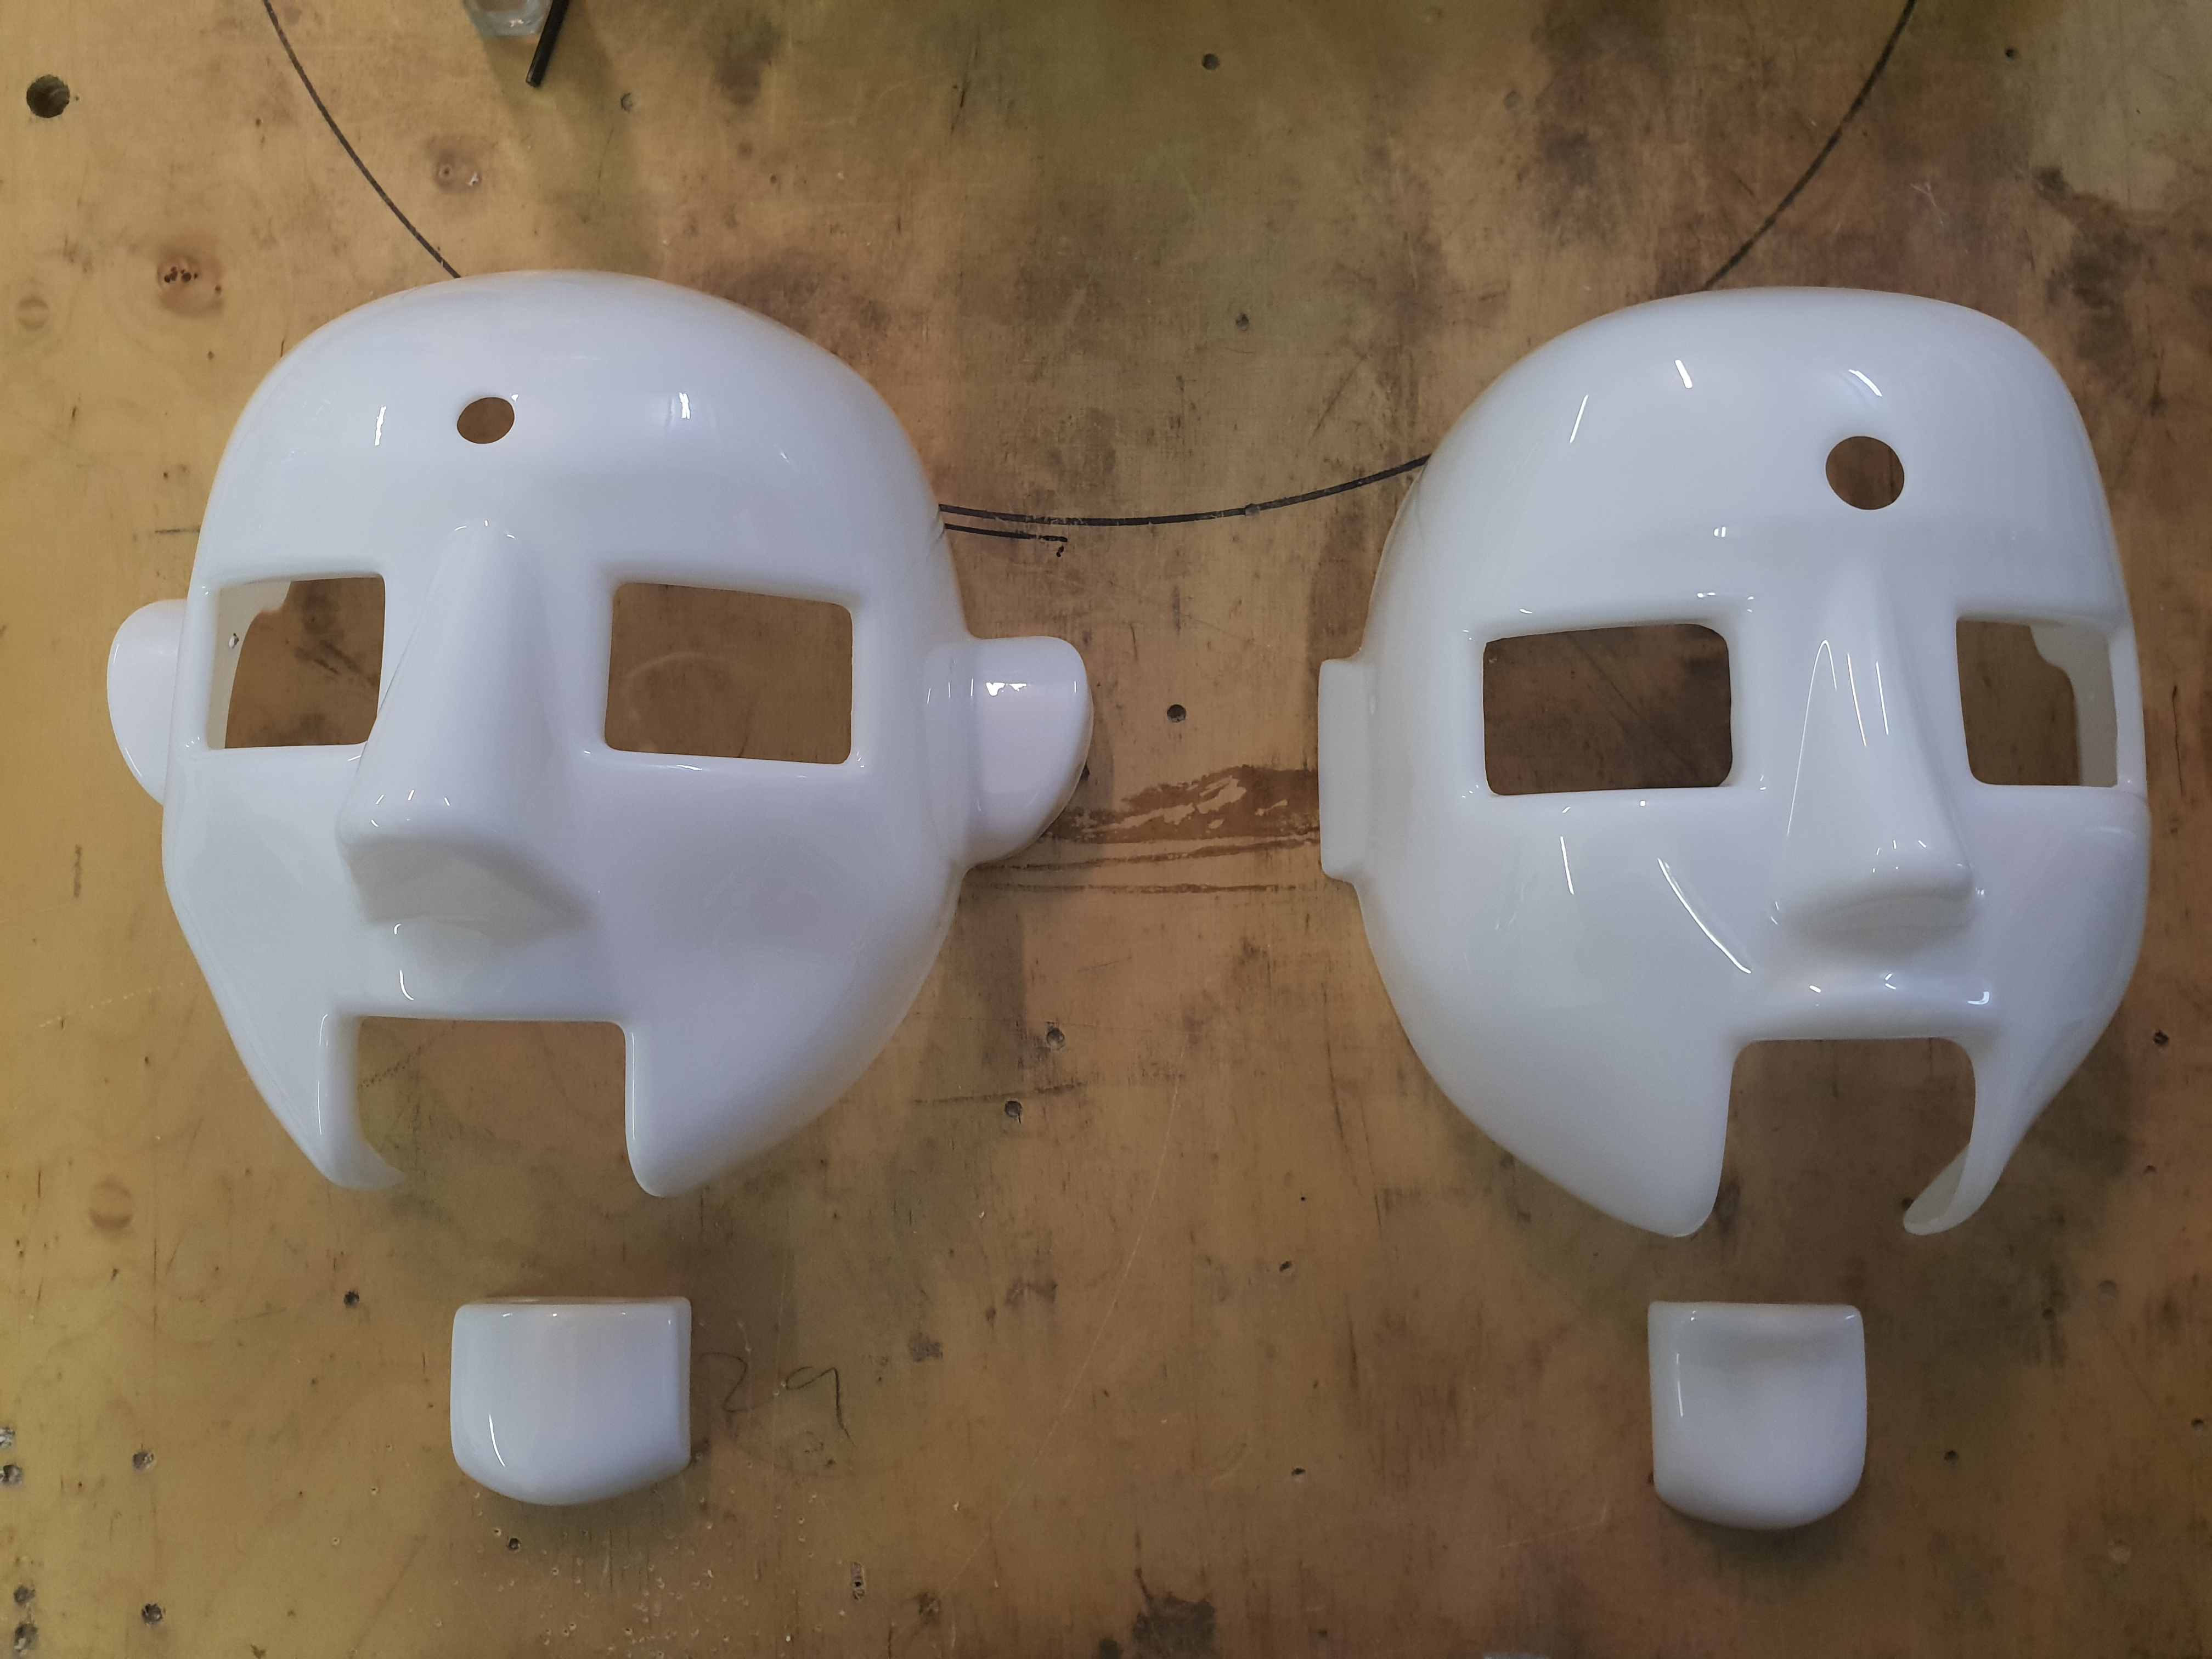
| 15:05, 17 January 2019 | Male face shell.jpg (file) |  |
3.01 MB | 1 | |
| 15:05, 17 January 2019 | Female face shell.jpg (file) |  |
2.78 MB | 1 | |
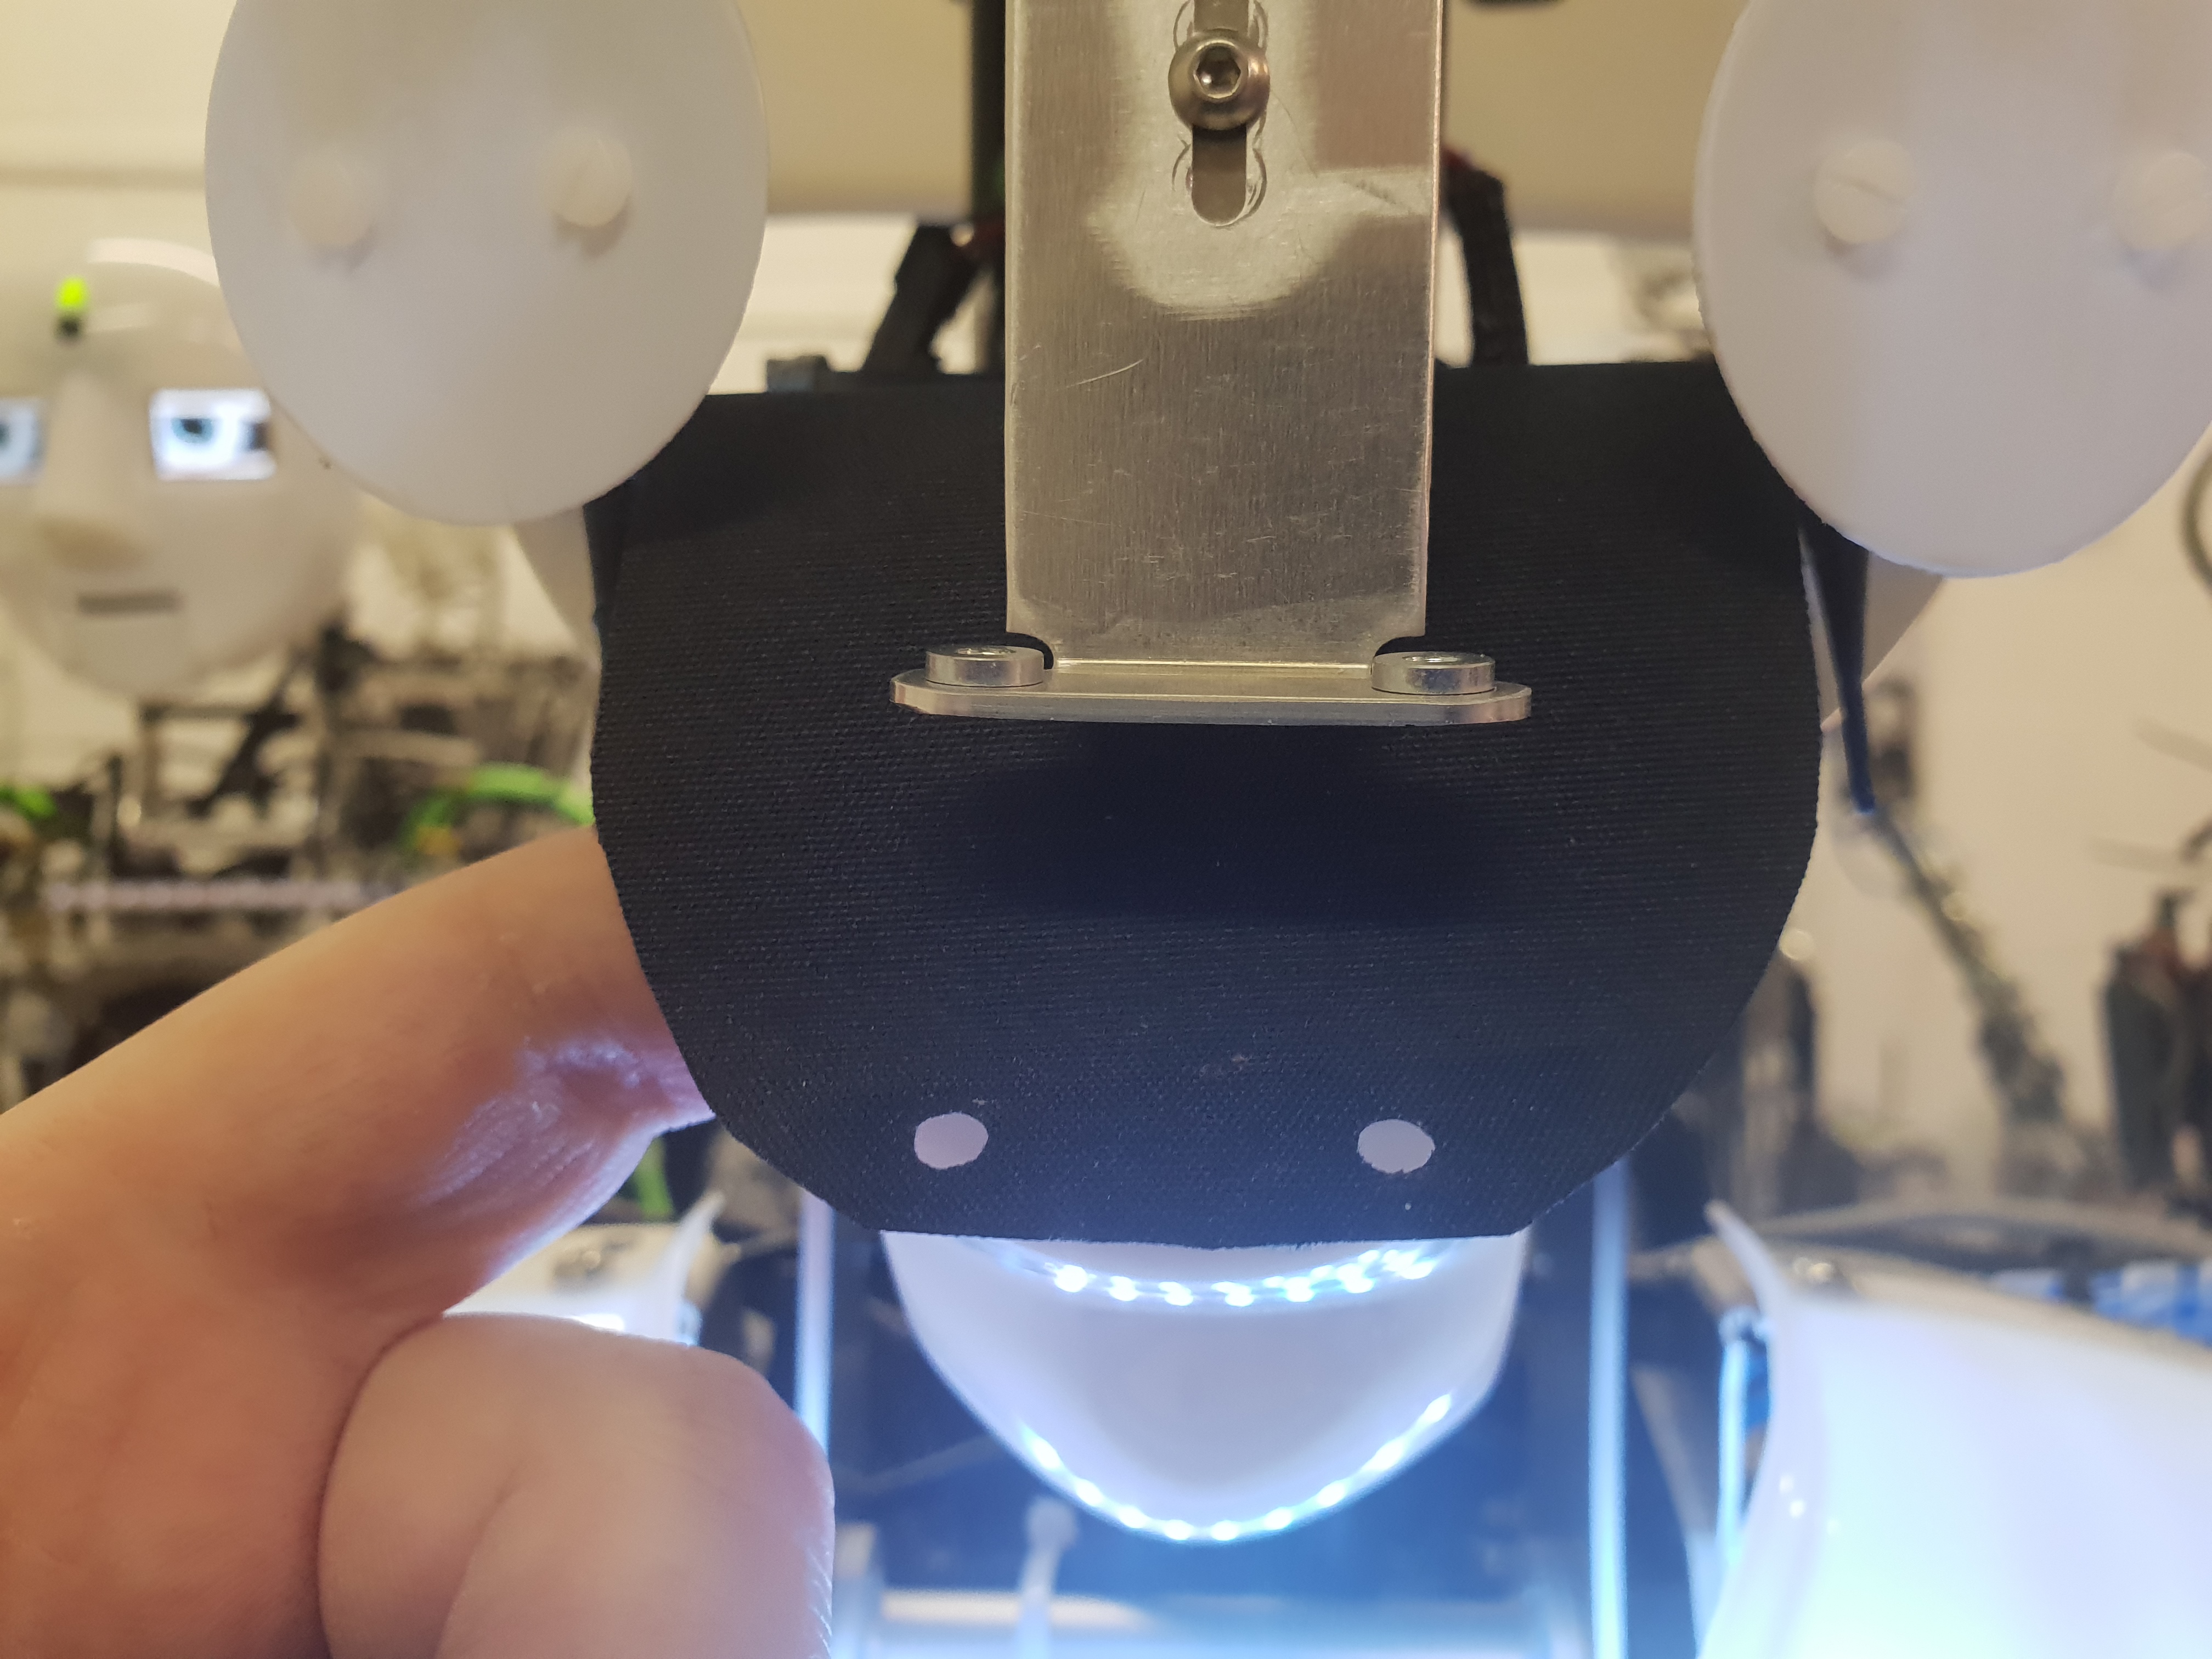
| 15:11, 17 January 2019 | Female head mouth open.jpg (file) |  |
2.44 MB | 1 | |
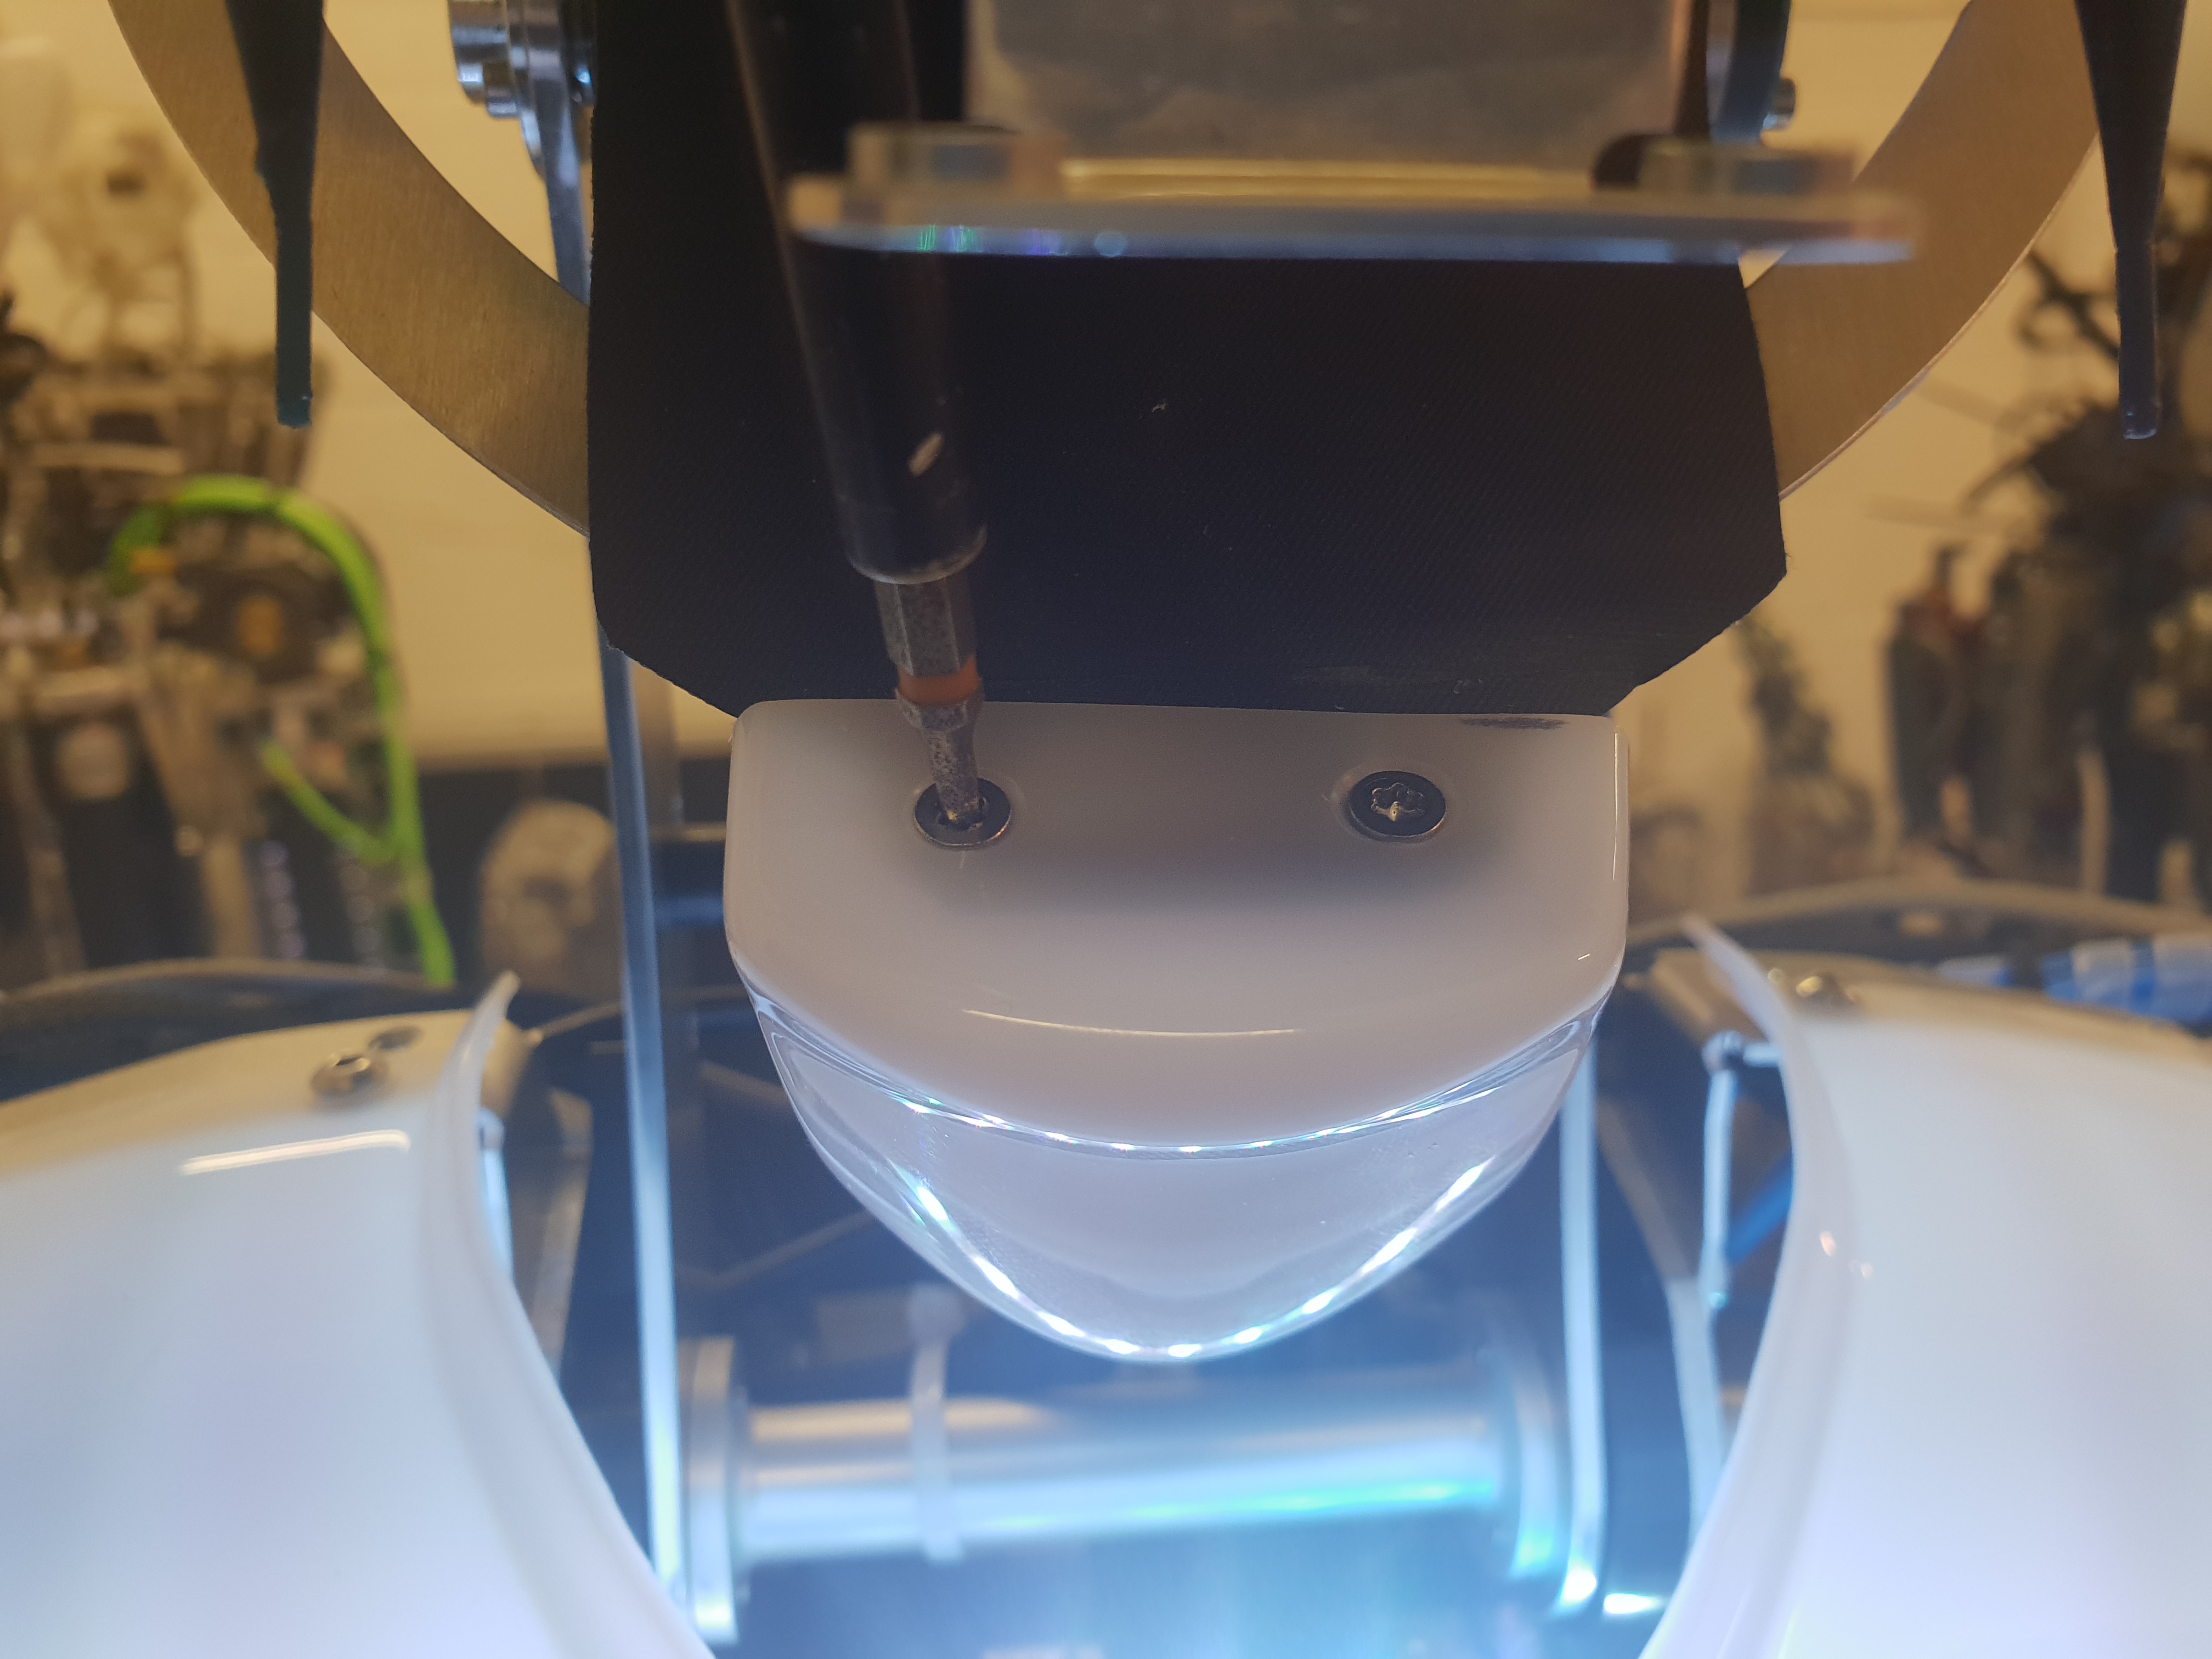
| 15:13, 17 January 2019 | TX10 remove mouth bolts.jpg (file) |  |
2.64 MB | 1 | |
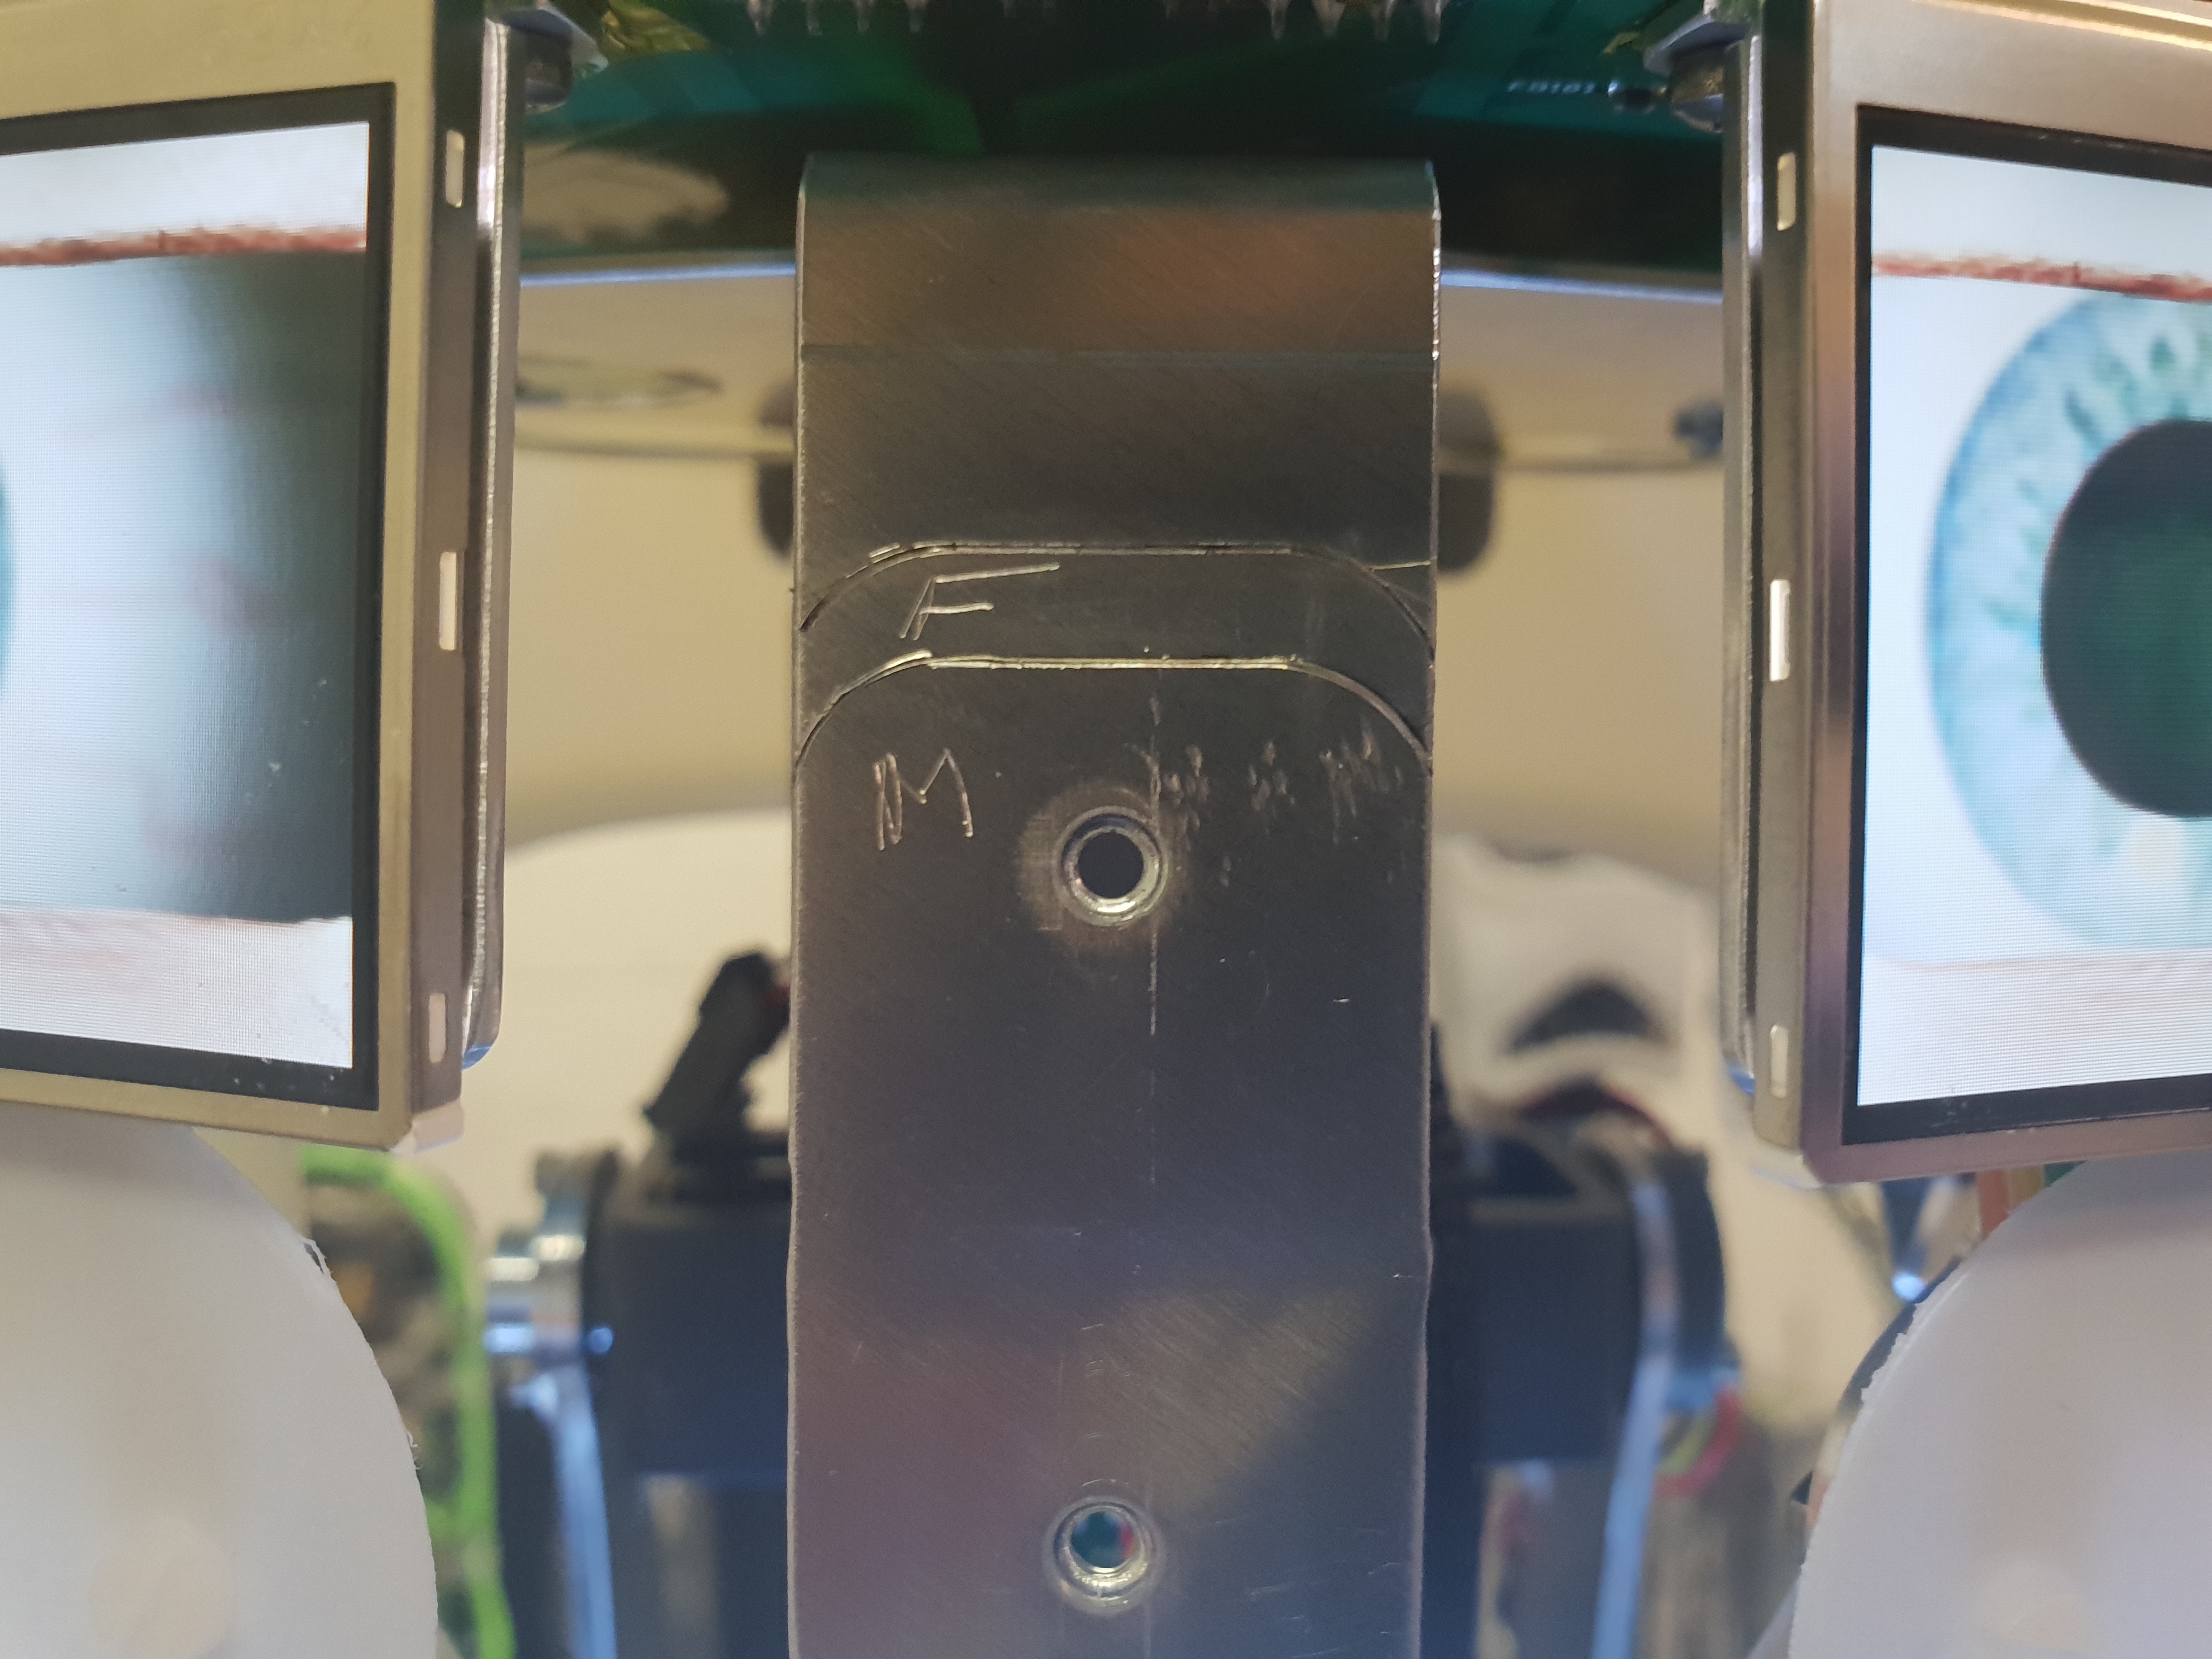
| 15:15, 17 January 2019 | 2mm hex remove temple bolts.jpg (file) |  |
2.73 MB | 1 | |
| 15:16, 17 January 2019 | Defaced robot.jpg (file) |  |
2.56 MB | 1 | |
| 15:17, 17 January 2019 | Mouth flap.jpg (file) |  |
2.95 MB | 1 | |
| 15:18, 17 January 2019 | TX10 remove chin bolts.jpg (file) |  |
2.35 MB | 1 | |
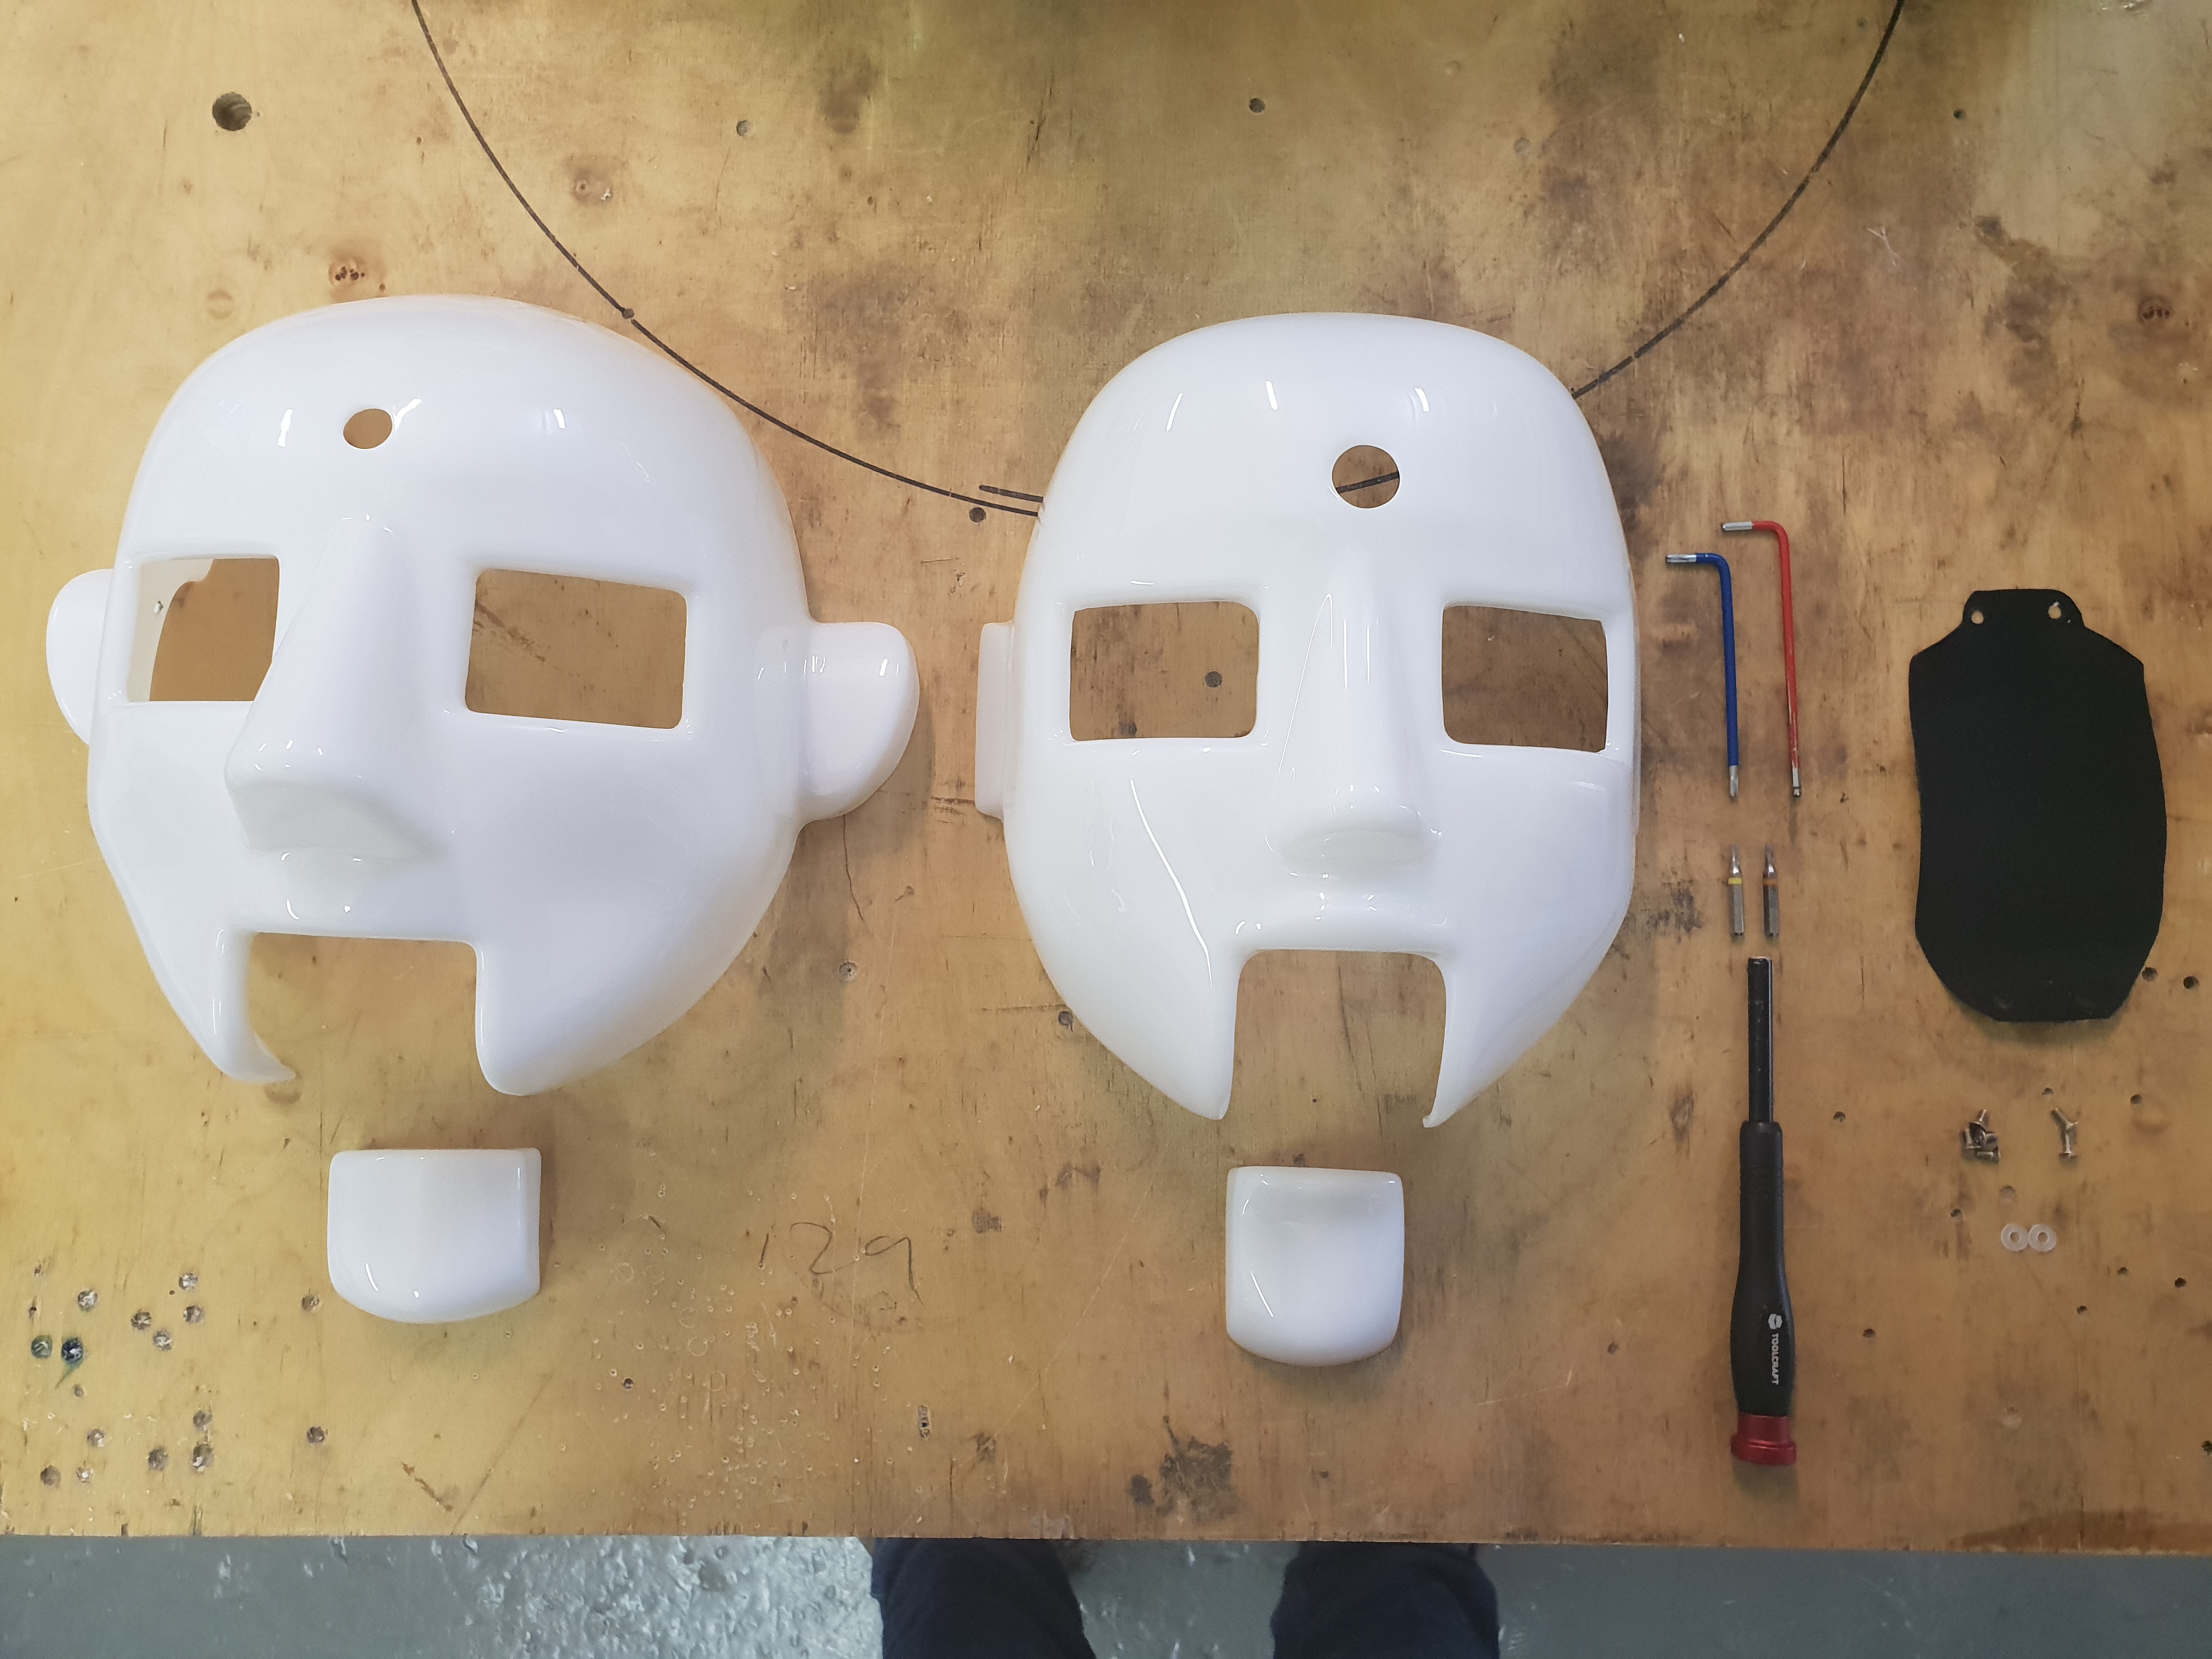
| 15:24, 17 January 2019 | Old face and new face.jpg (file) |  |
3.02 MB | 1 | |
| 15:29, 17 January 2019 | Bracket positions MF.jpg (file) |  |
3.5 MB | 1 | |
| 08:45, 18 January 2019 | Replacing face shells.jpg (file) |  |
2.47 MB | 1 | |
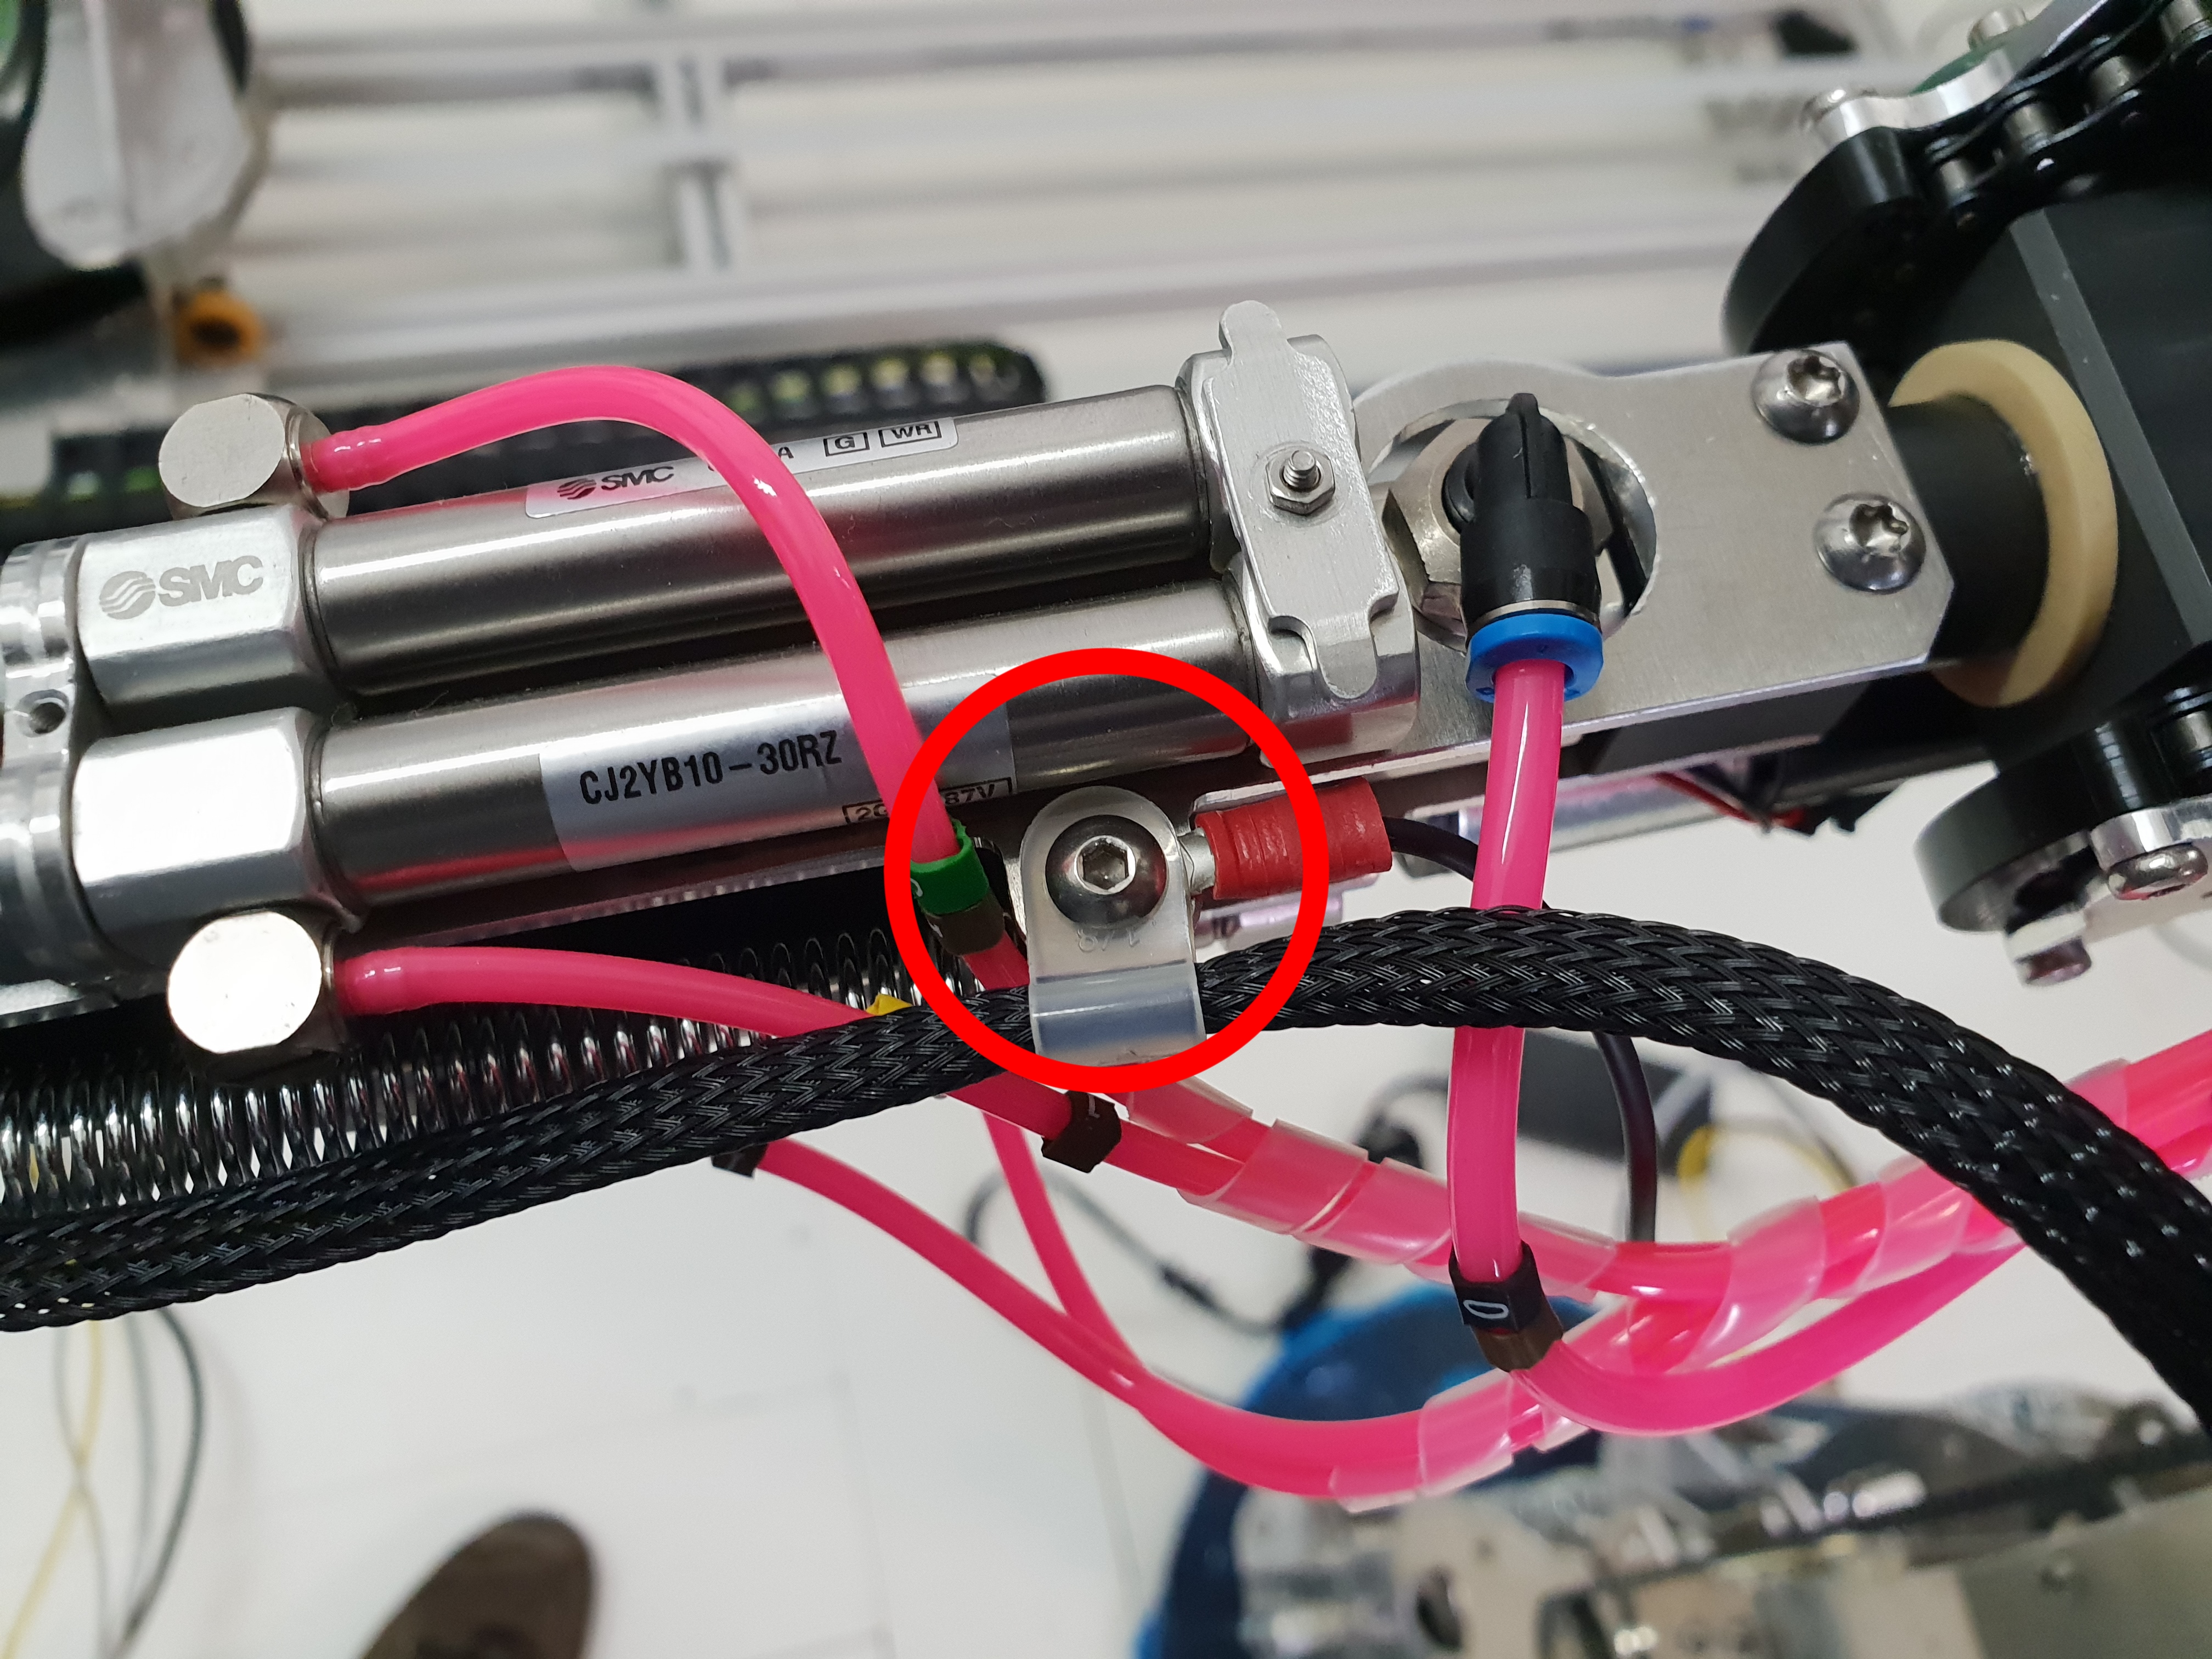
| 11:42, 4 February 2019 | Elbow ground wire connection.jpg (file) |  |
4.93 MB | 1 | |
| 11:46, 4 February 2019 | Elbow ground wire connection 2.jpg (file) |  |
4.36 MB | 1 | |
| 10:20, 1 March 2019 | Tools for head swap.jpg (file) |  |
4.65 MB | 1 | |
| 11:13, 1 March 2019 | Shell bolt locations.jpg (file) |  |
4.94 MB | 1 | |
| 11:14, 1 March 2019 | Rear shell removed.jpg (file) |  |
4.01 MB | 1 | |
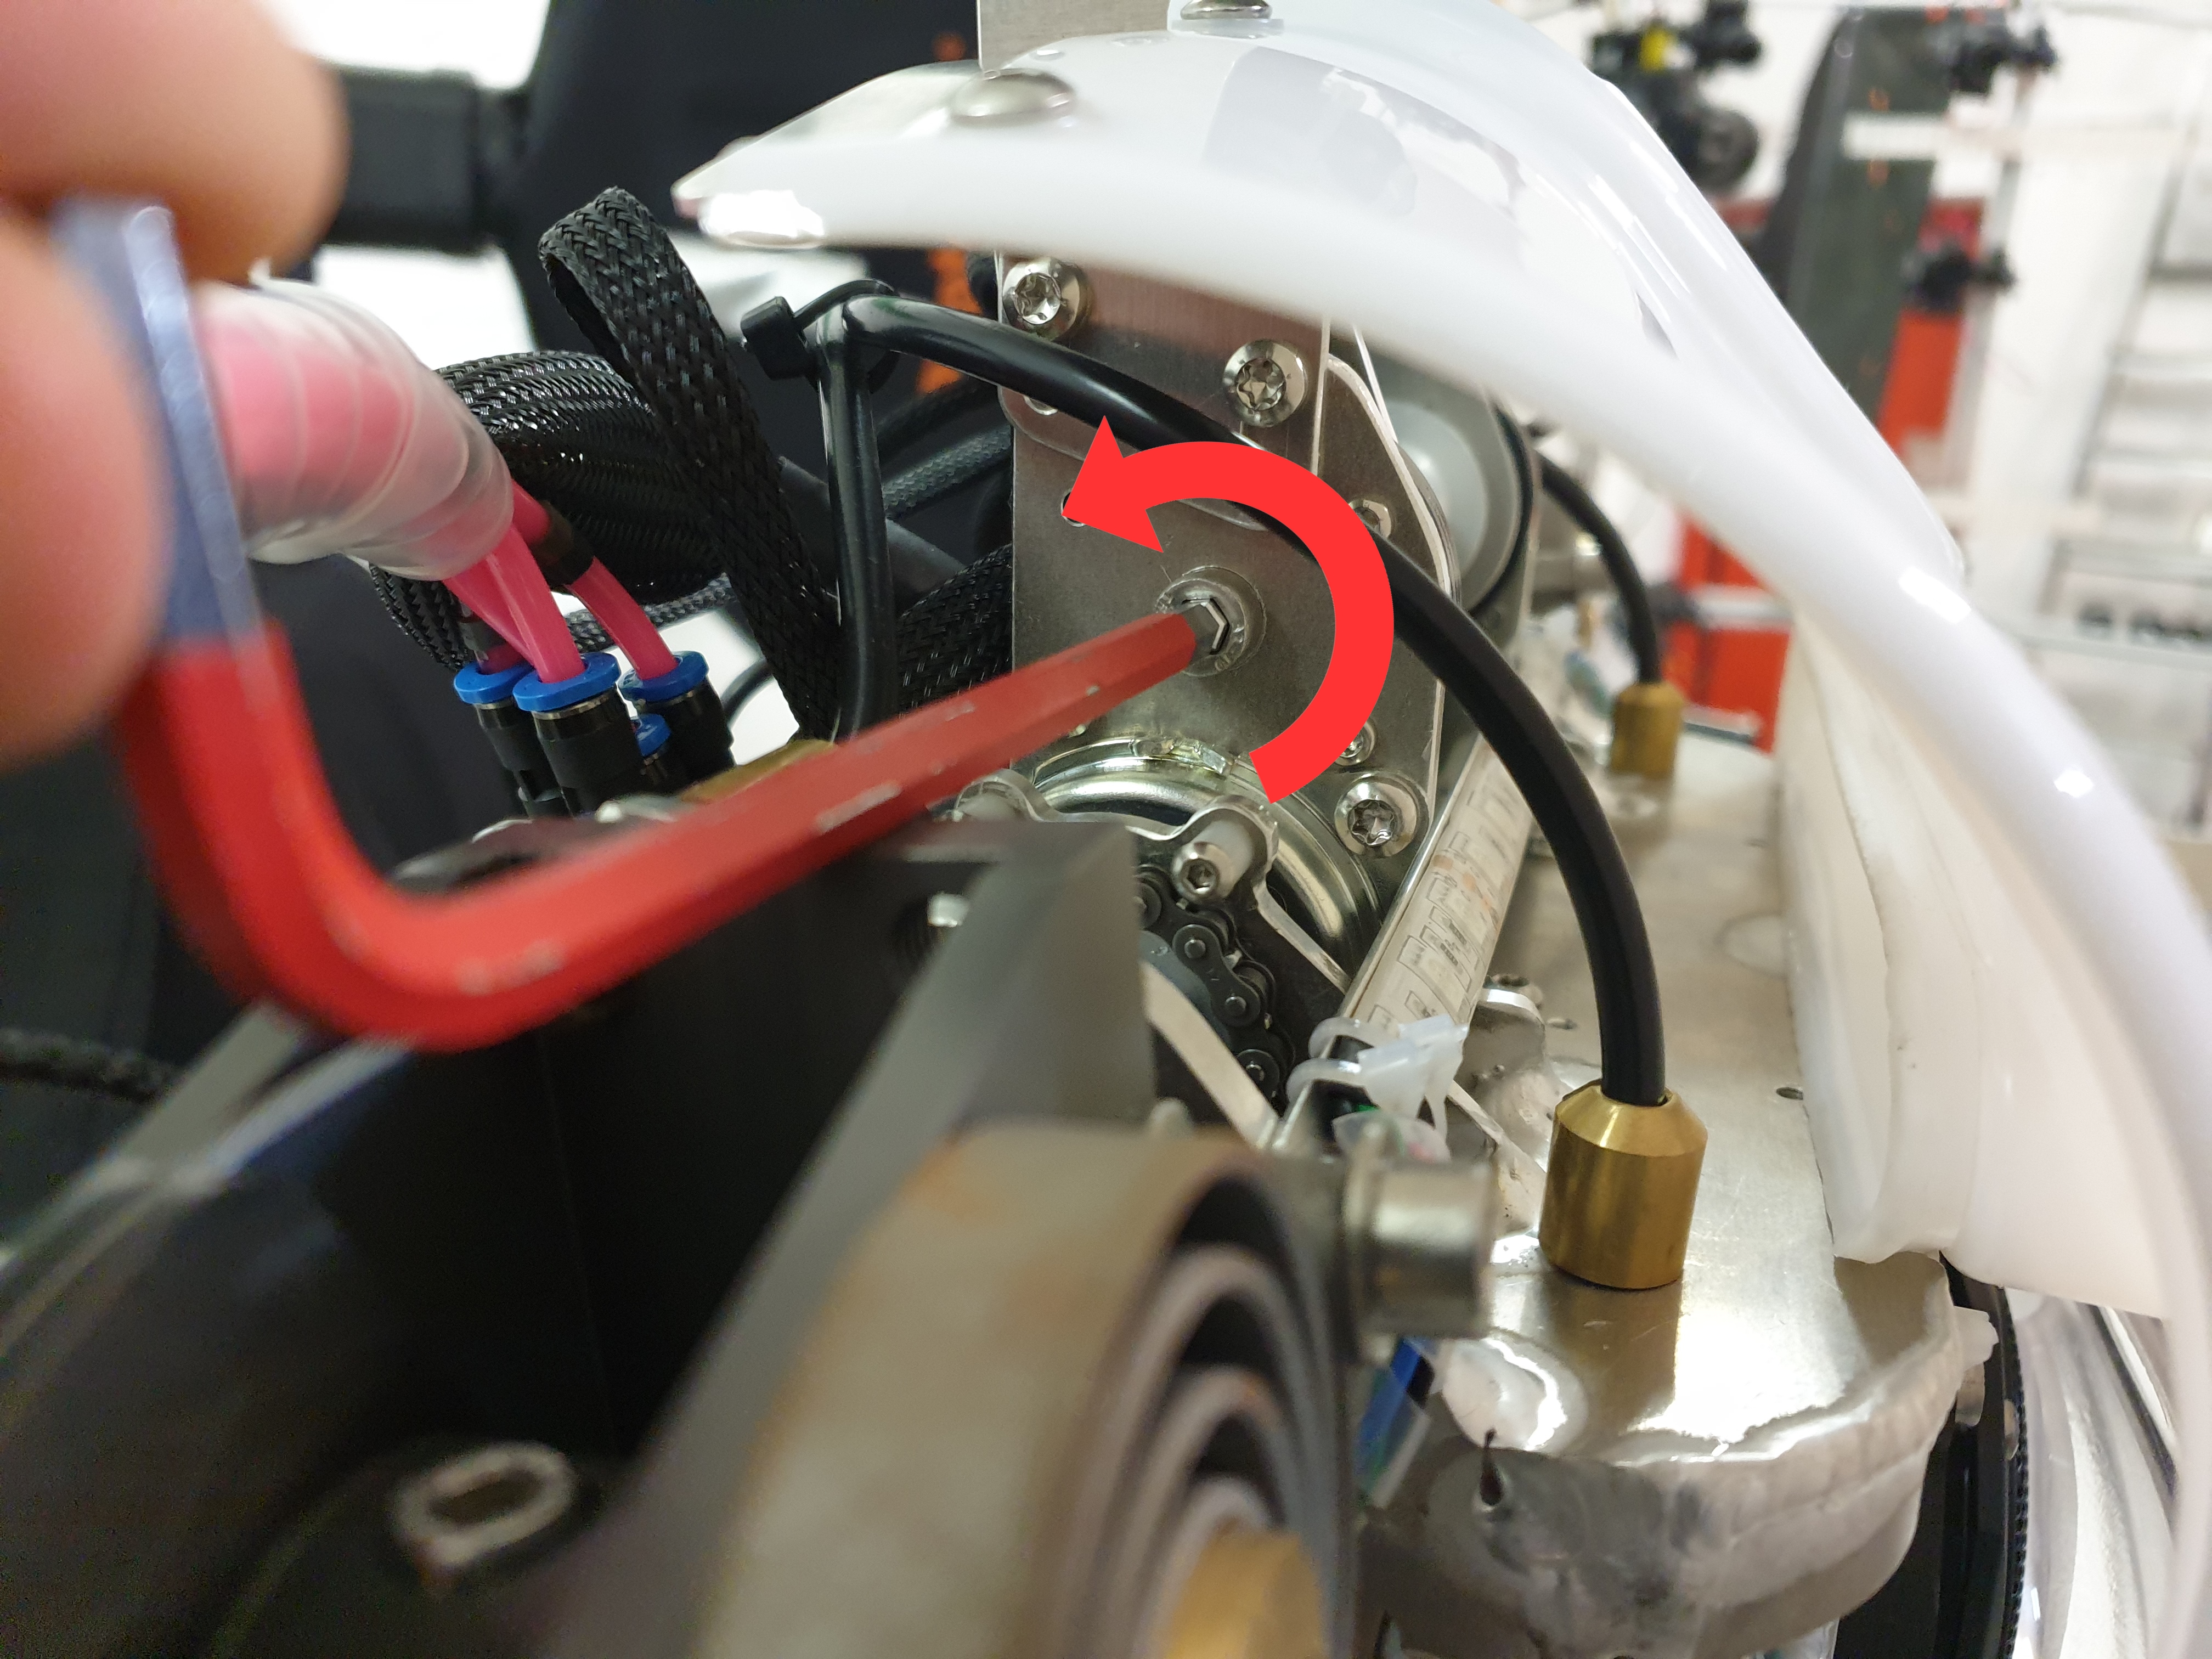
| 11:24, 1 March 2019 | Neck bolt removal.jpg (file) |  |
4.81 MB | 1 | |
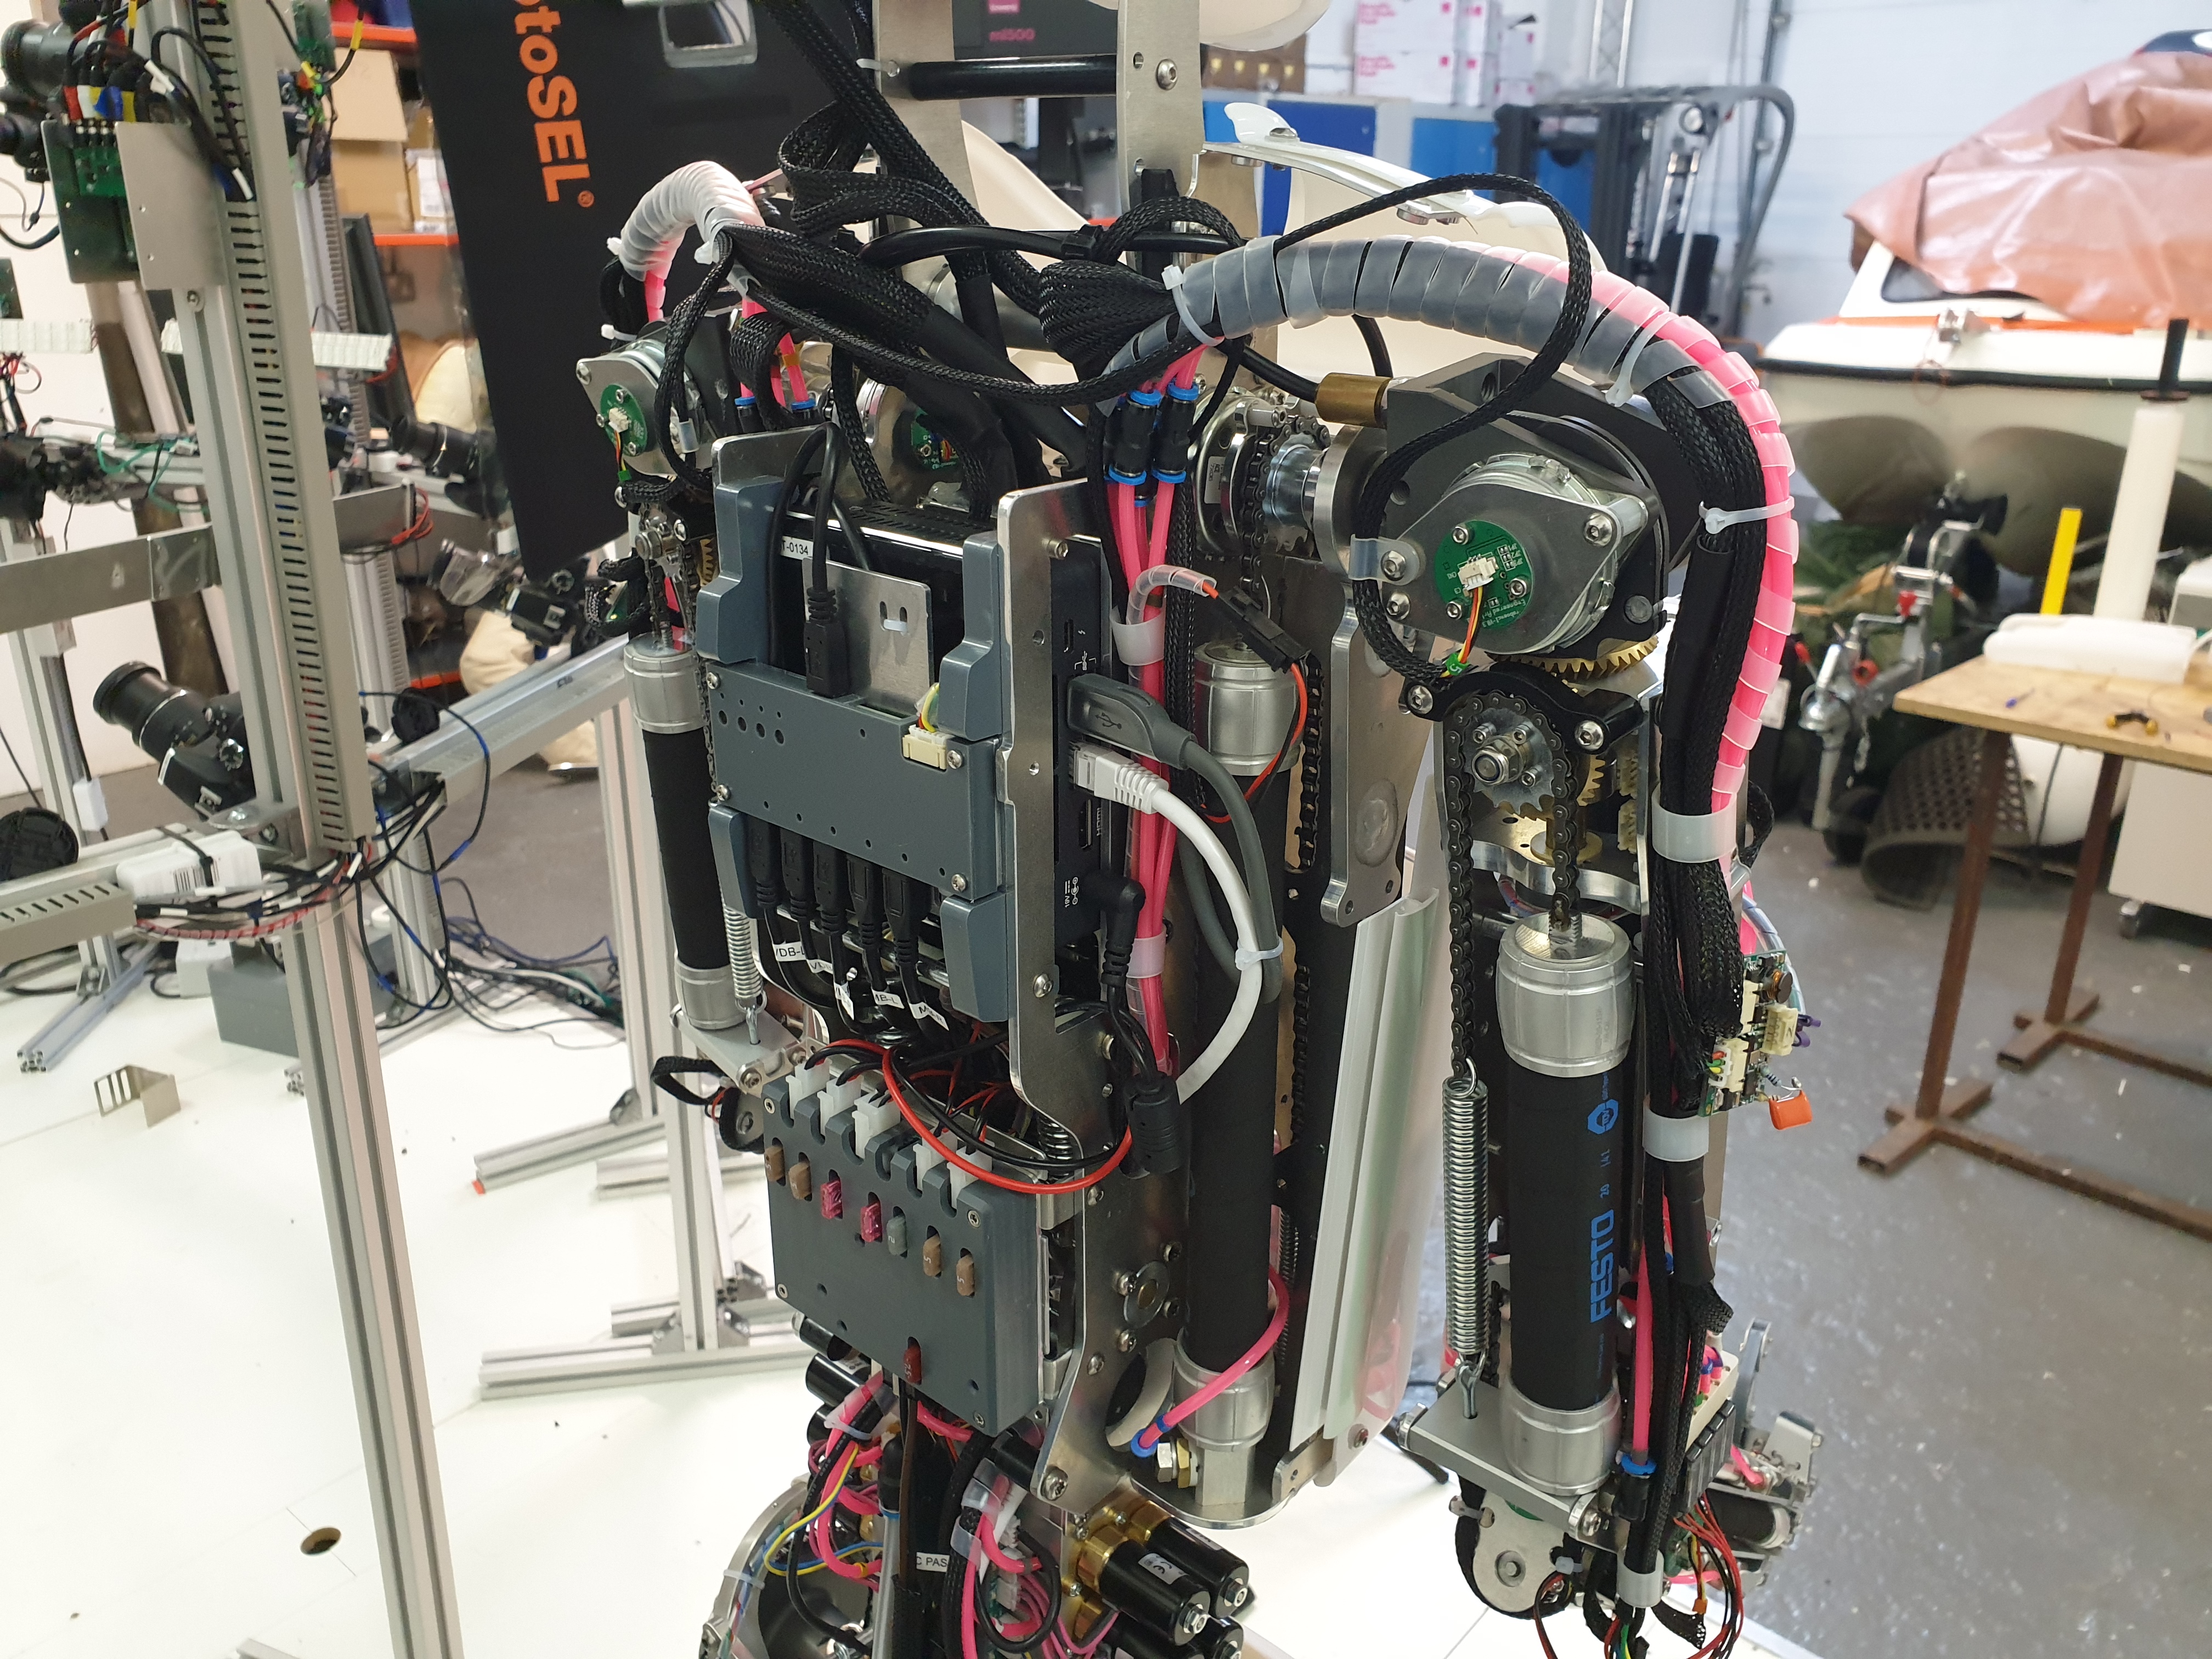
| 11:29, 1 March 2019 | Head loom back of head.jpg (file) |  |
3.3 MB | 1 | |
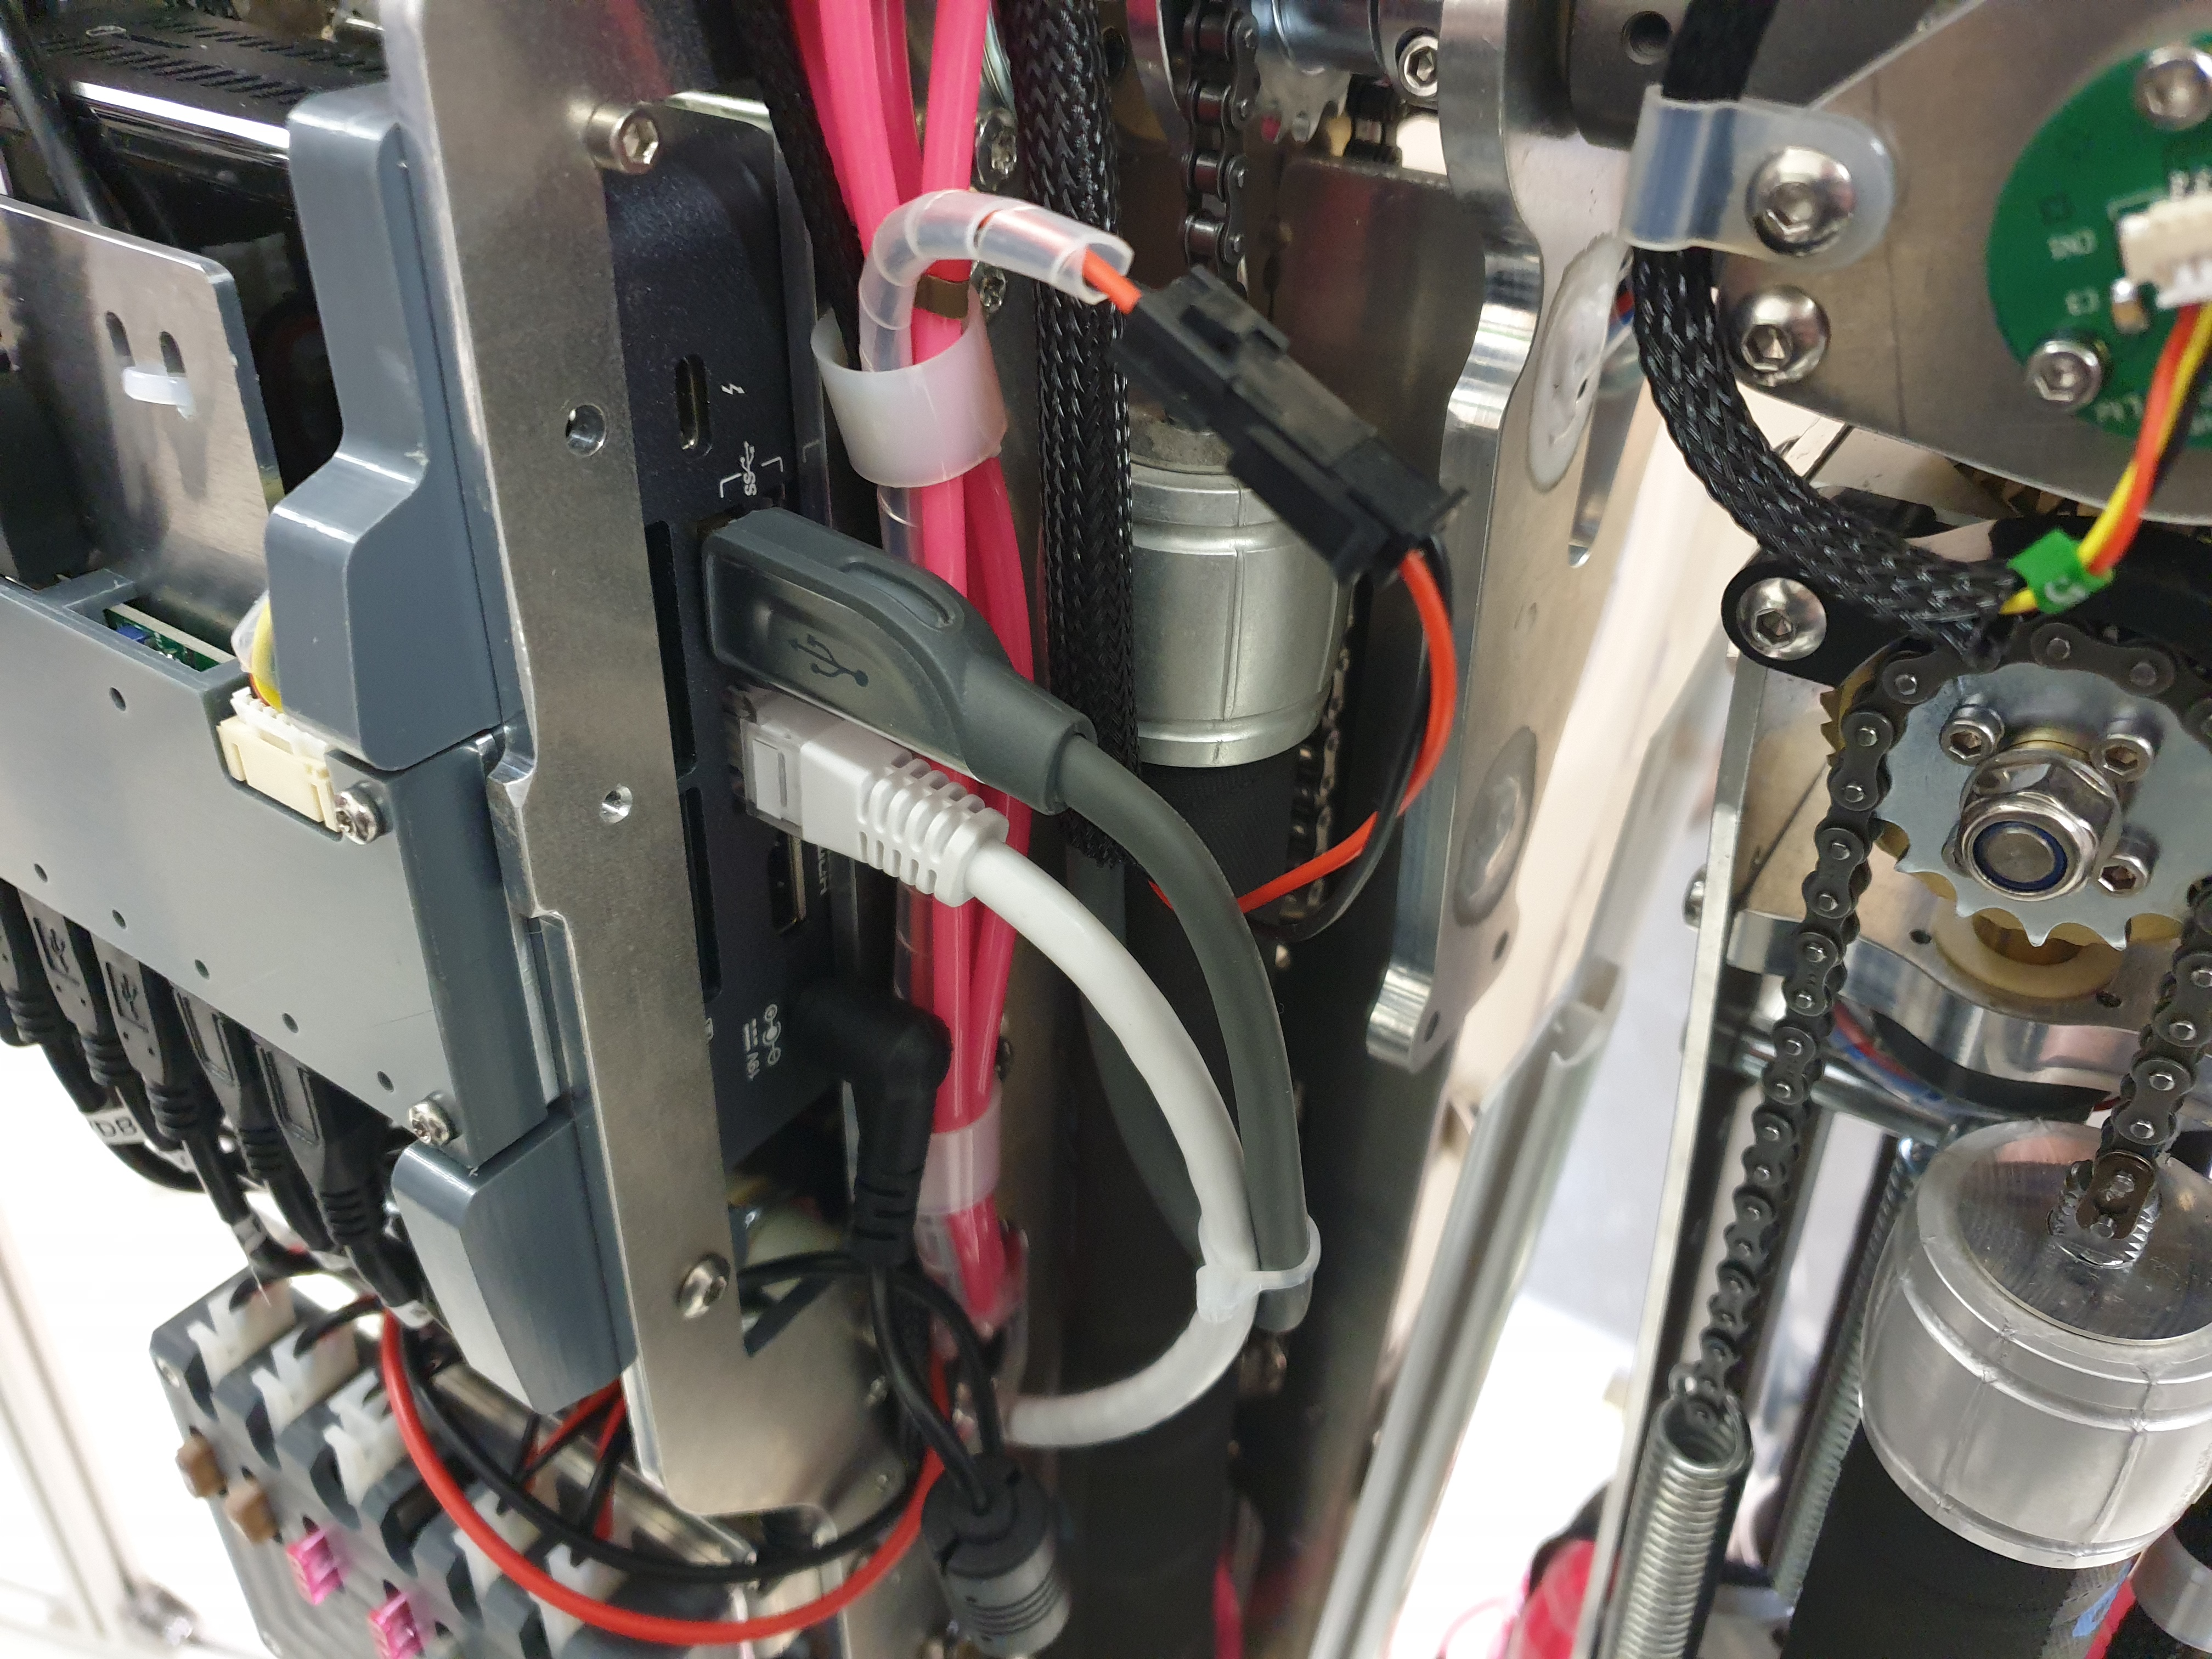
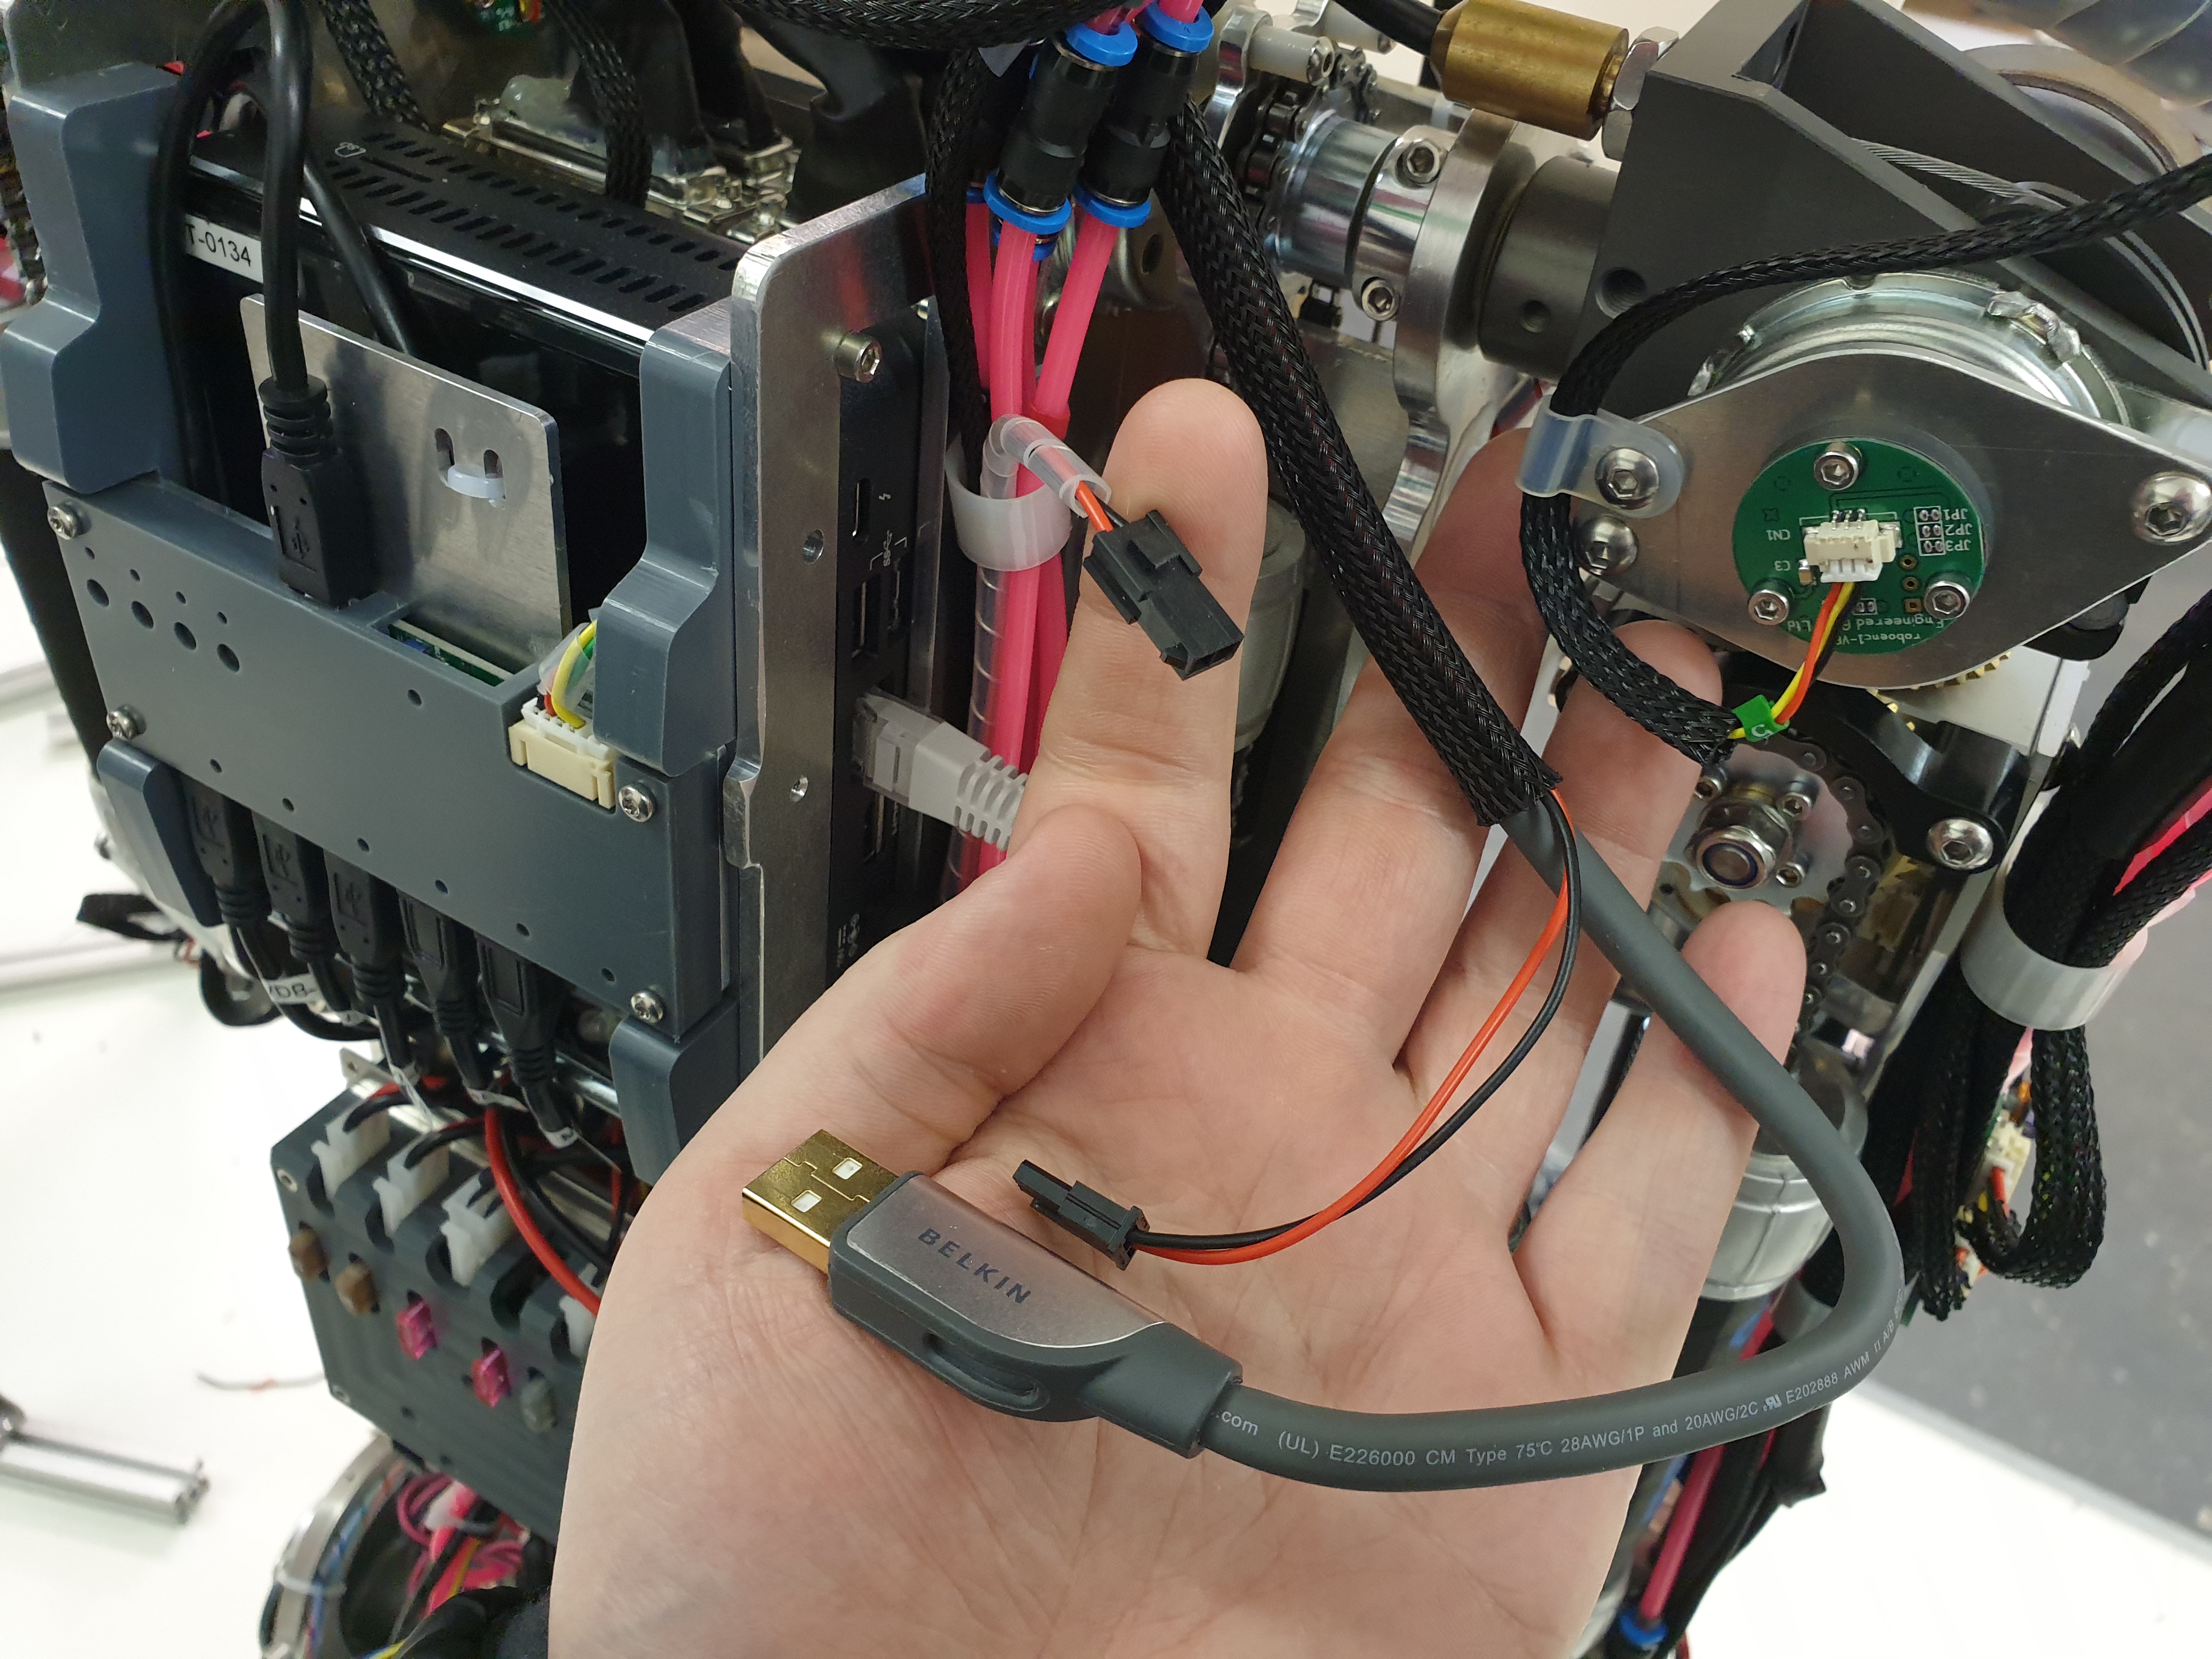
| 11:41, 1 March 2019 | USB Loom 1.jpg (file) |  |
3.83 MB | 1 | |
| 11:42, 1 March 2019 | USB Loom 2.jpg (file) |  |
3.69 MB | 1 | |
| 11:54, 1 March 2019 | Neck tab 1.jpg (file) |  |
2.85 MB | 1 | |
| 11:56, 1 March 2019 | Neck tab 2.jpg (file) |  |
3.78 MB | 1 | |
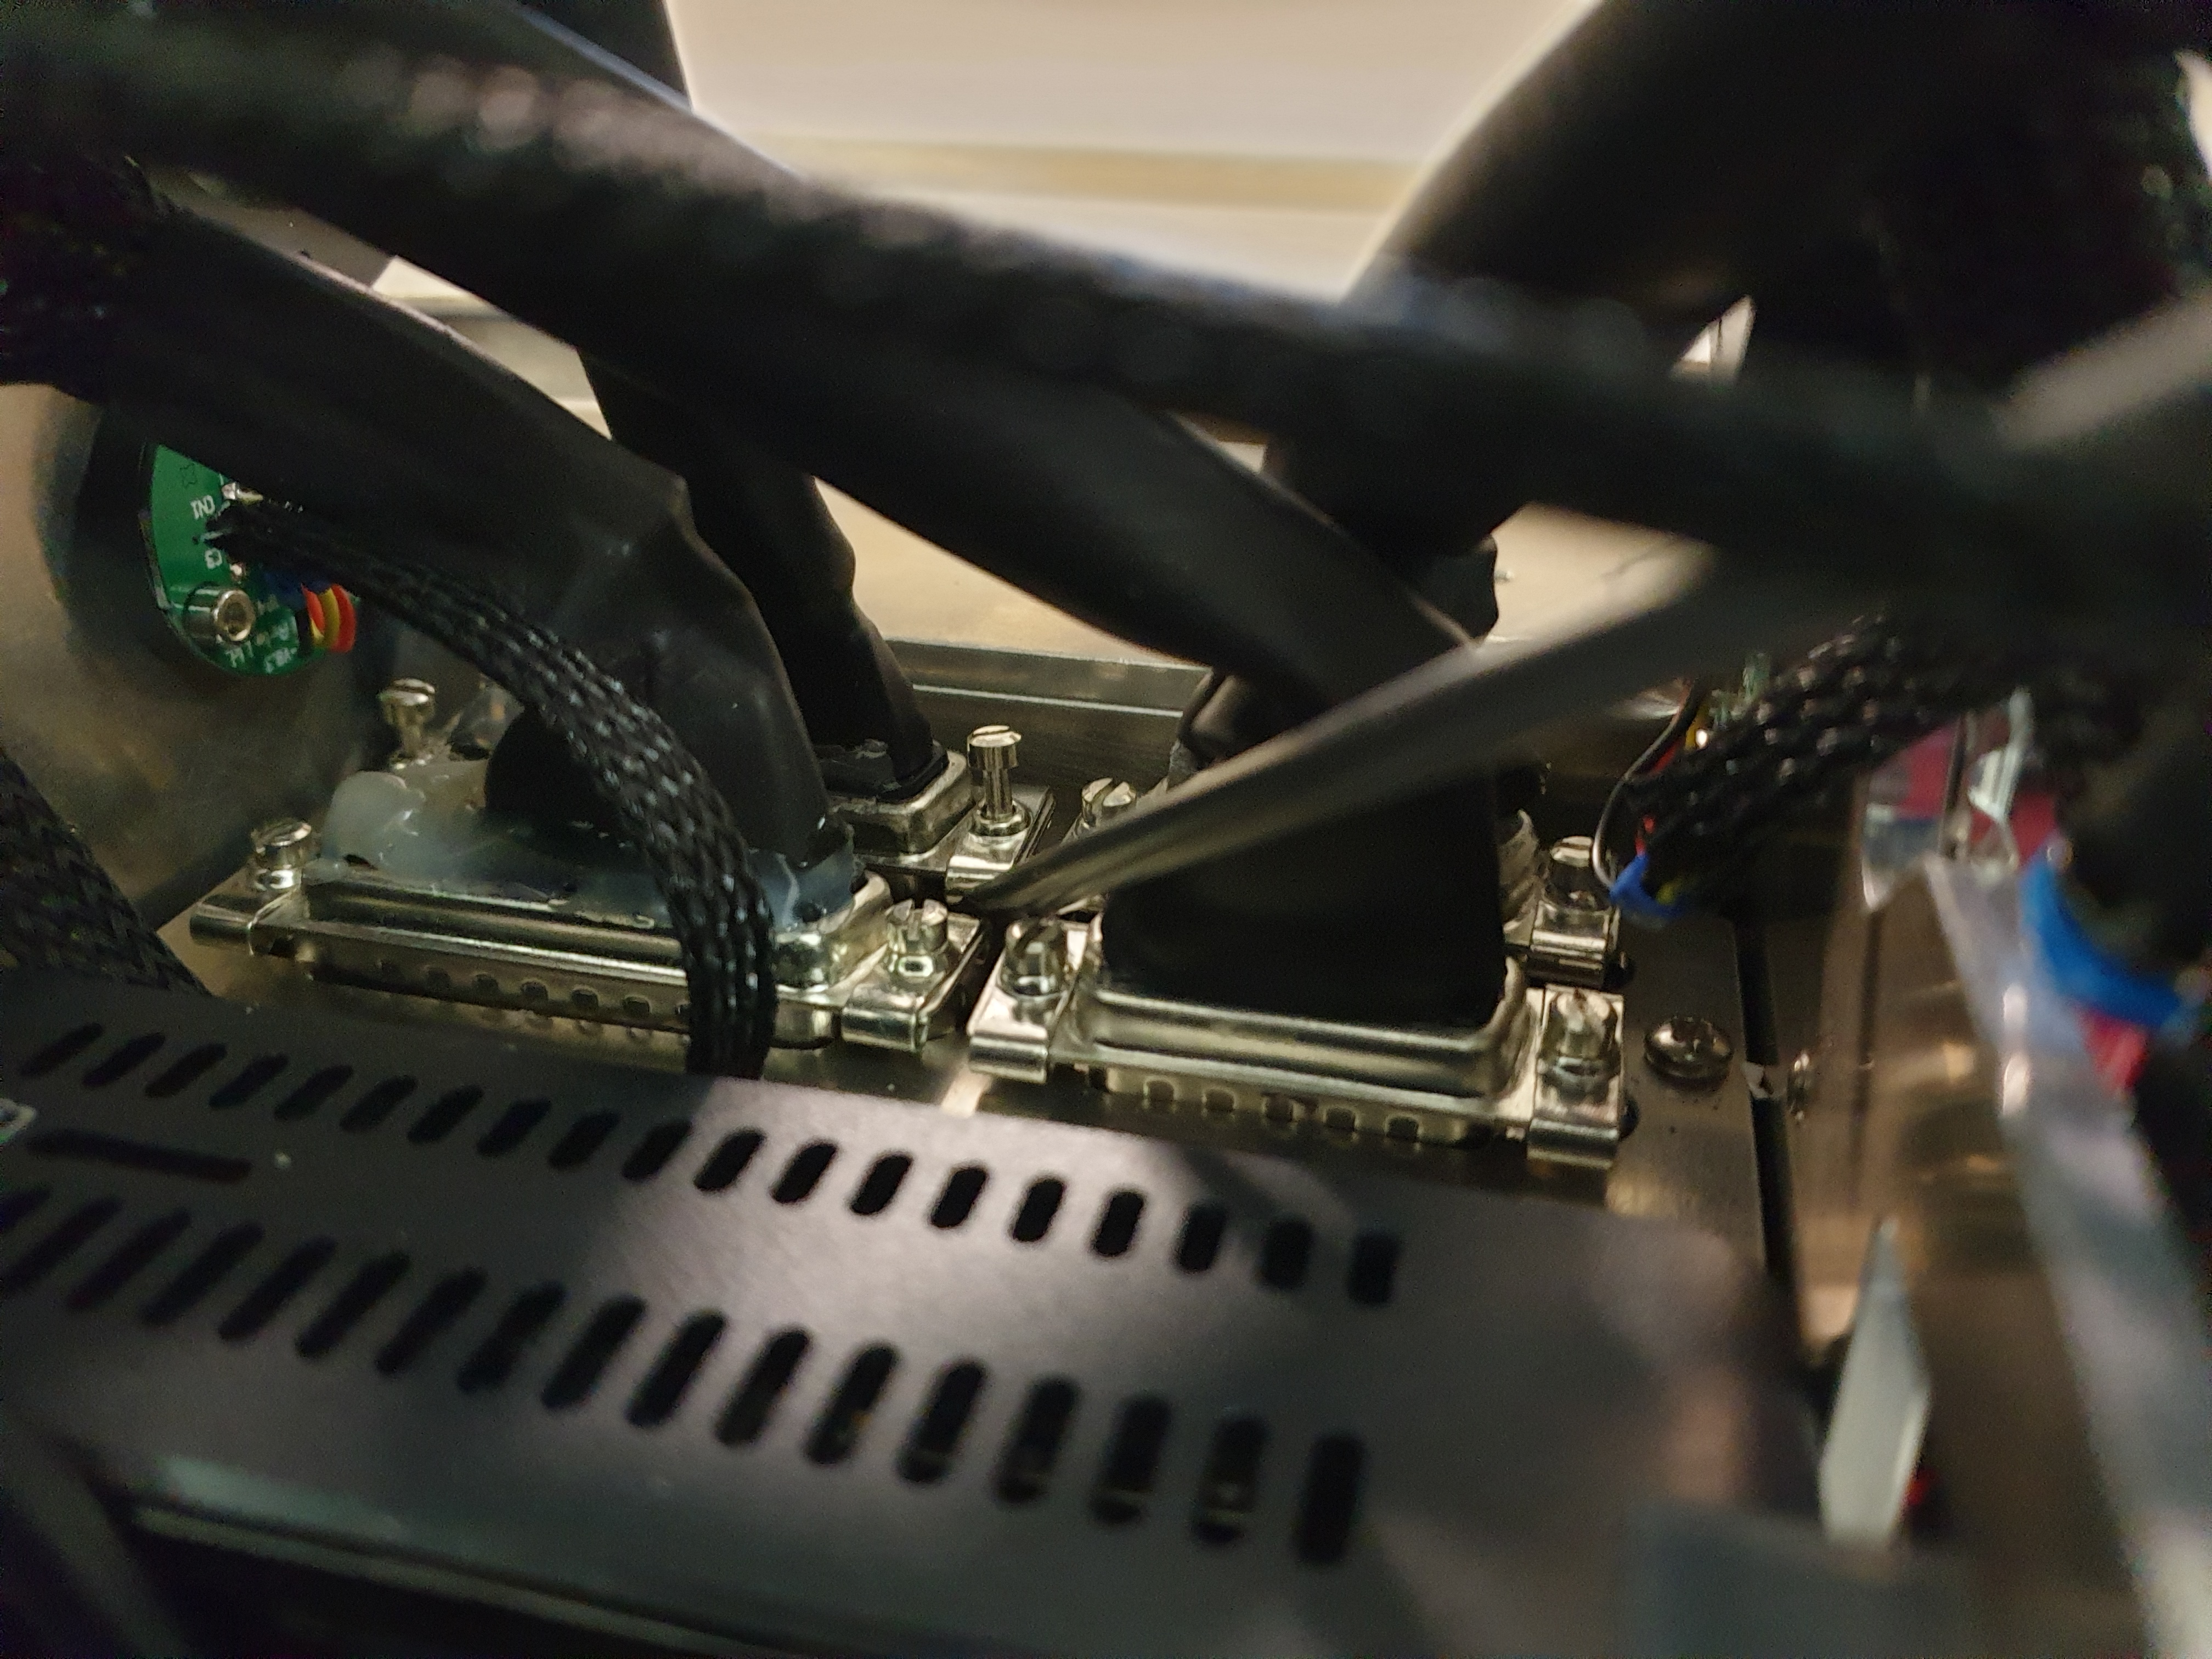
| 12:01, 1 March 2019 | Unscrewing serial connector.jpg (file) |  |
3.36 MB | 1 | |
| 12:10, 1 March 2019 | Prying the serial connector up.jpg (file) |  |
3.64 MB | 1 |